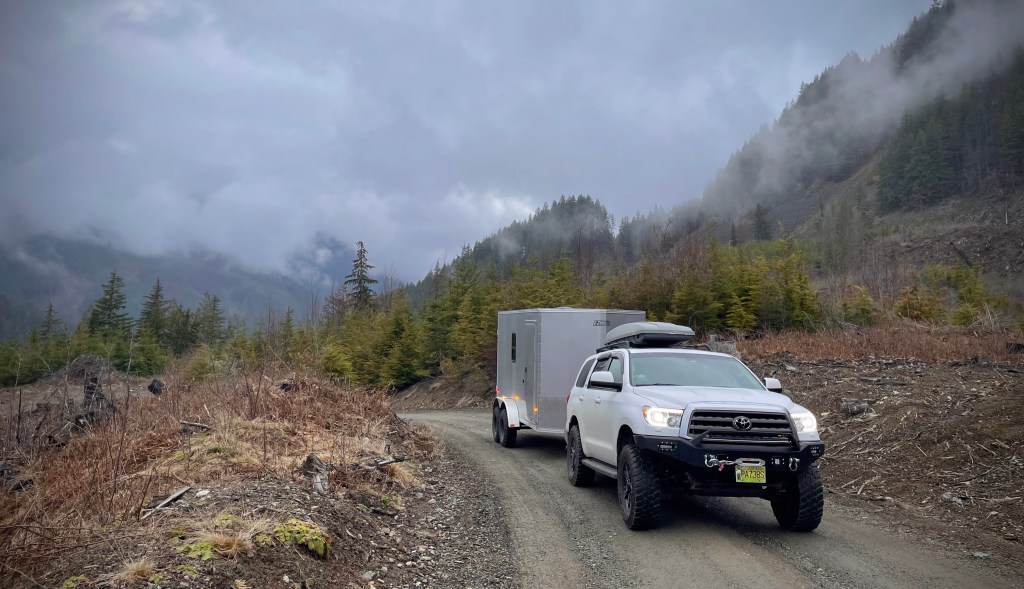
After several iterations of camp trailers to support our growing family, we’ve been working on customizing a cargo trailer to suit our needs. There are many “offroad” adventure trailers on the market, but nothing out there was just right for our travels. We wanted a simplistic and durable trailer with zero setup time, sleeps our family of seven, and can still be hauled on the backroads. It would have to be comfortable in the depths of winter and the heights of summer. We did some research and settled on converting an enclosed cargo trailer ourselves.
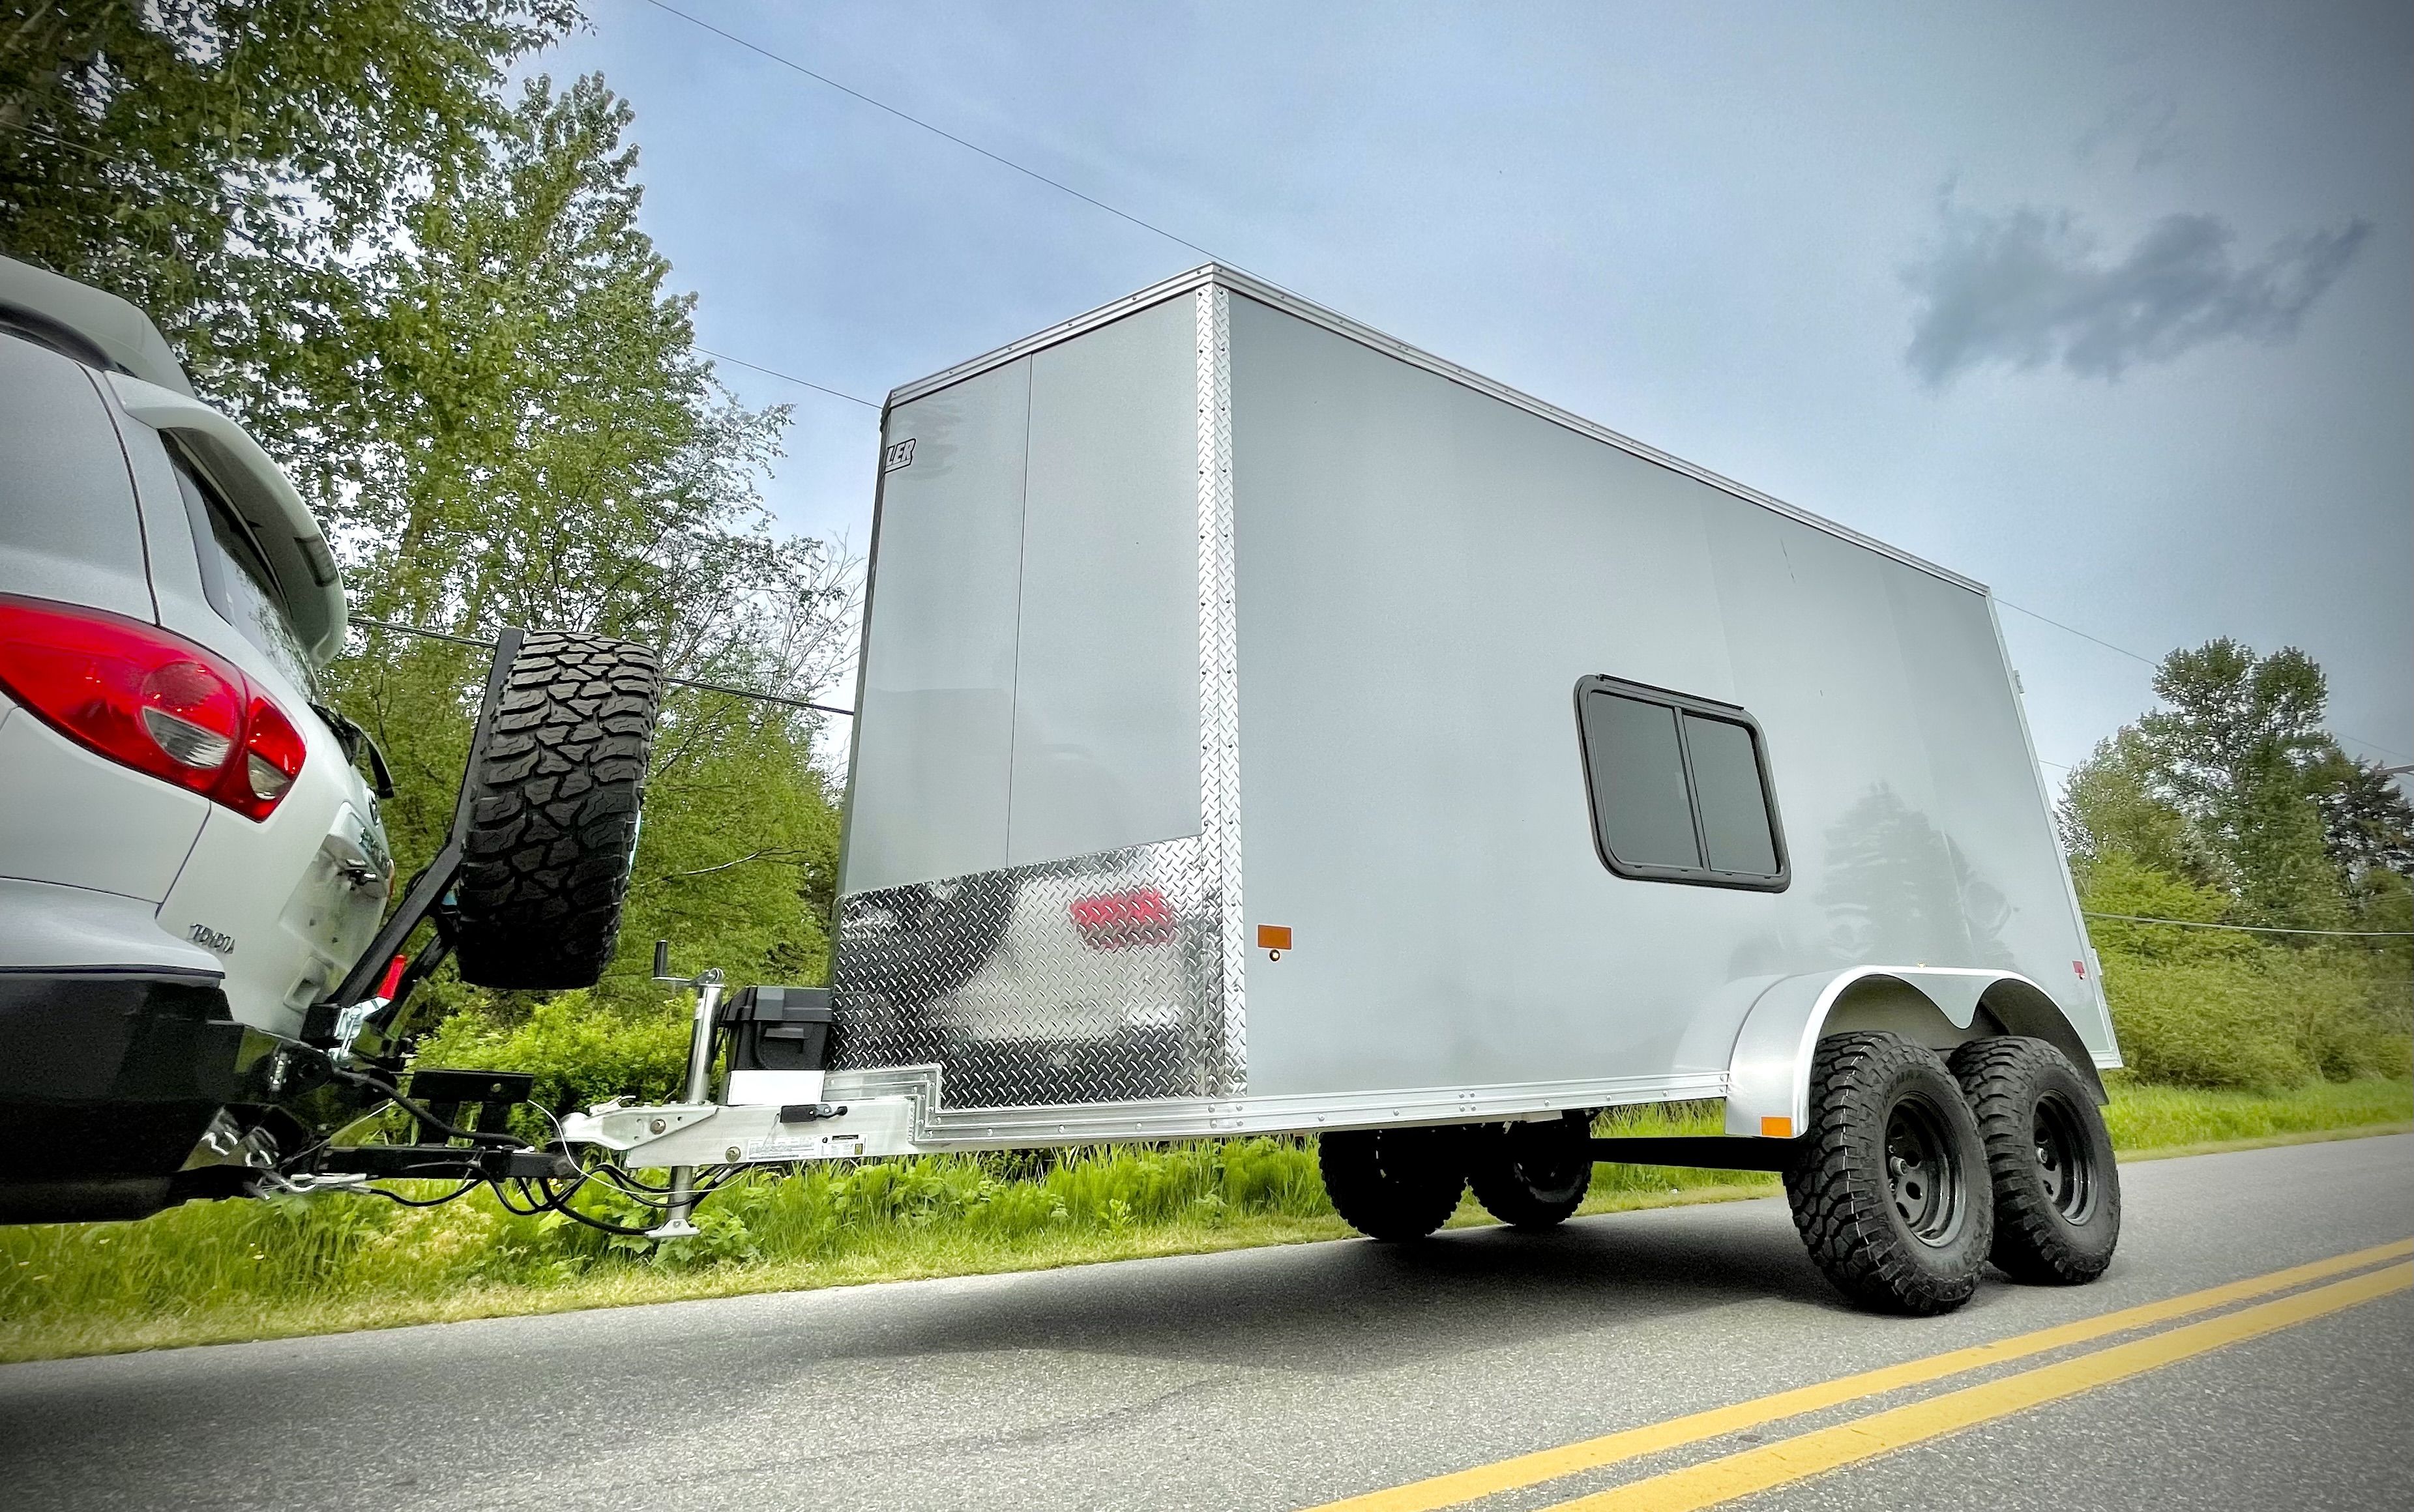
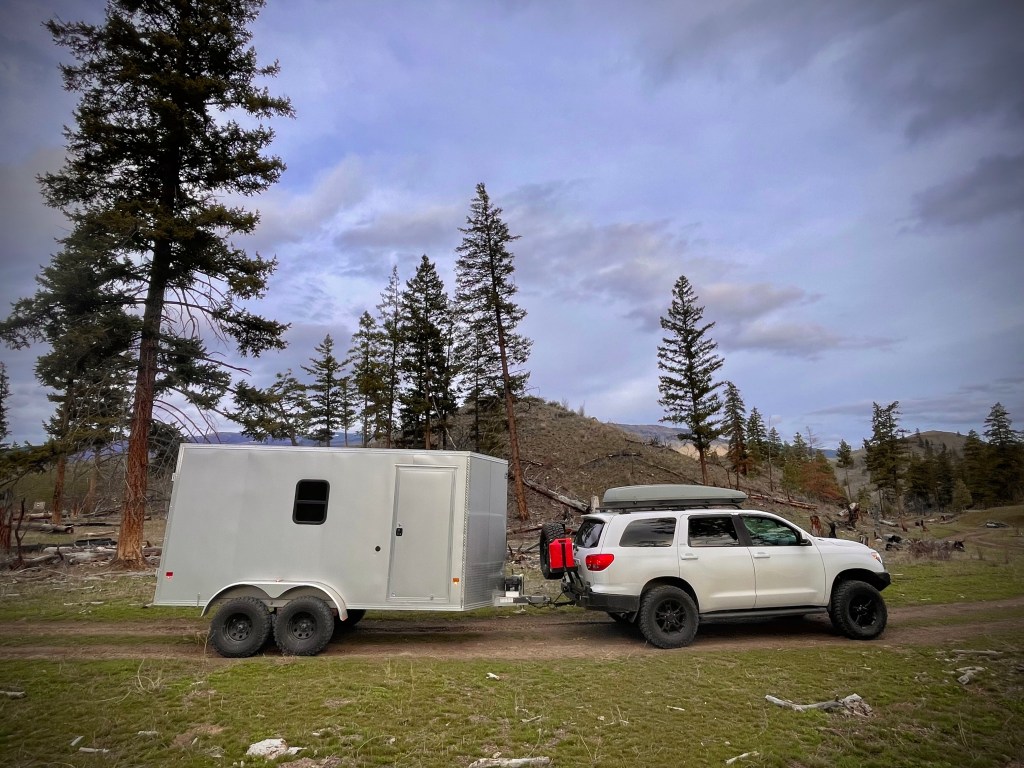
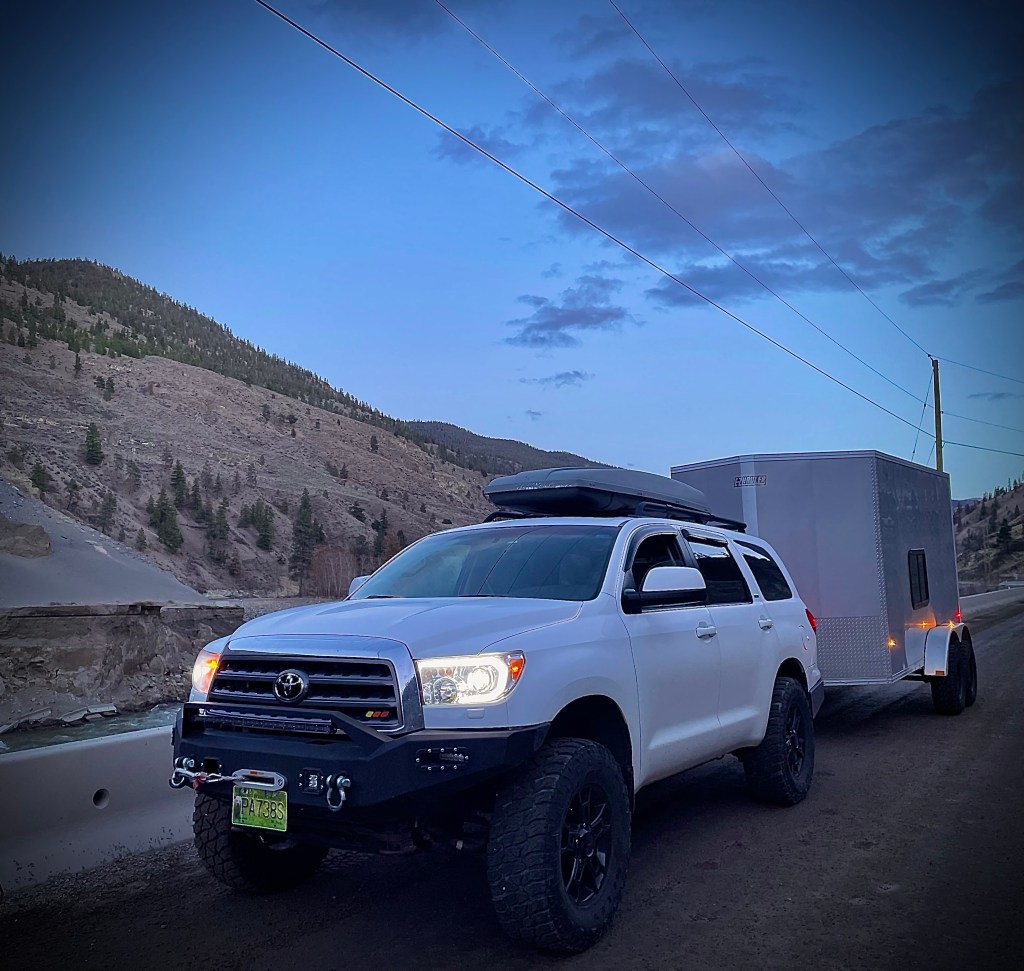
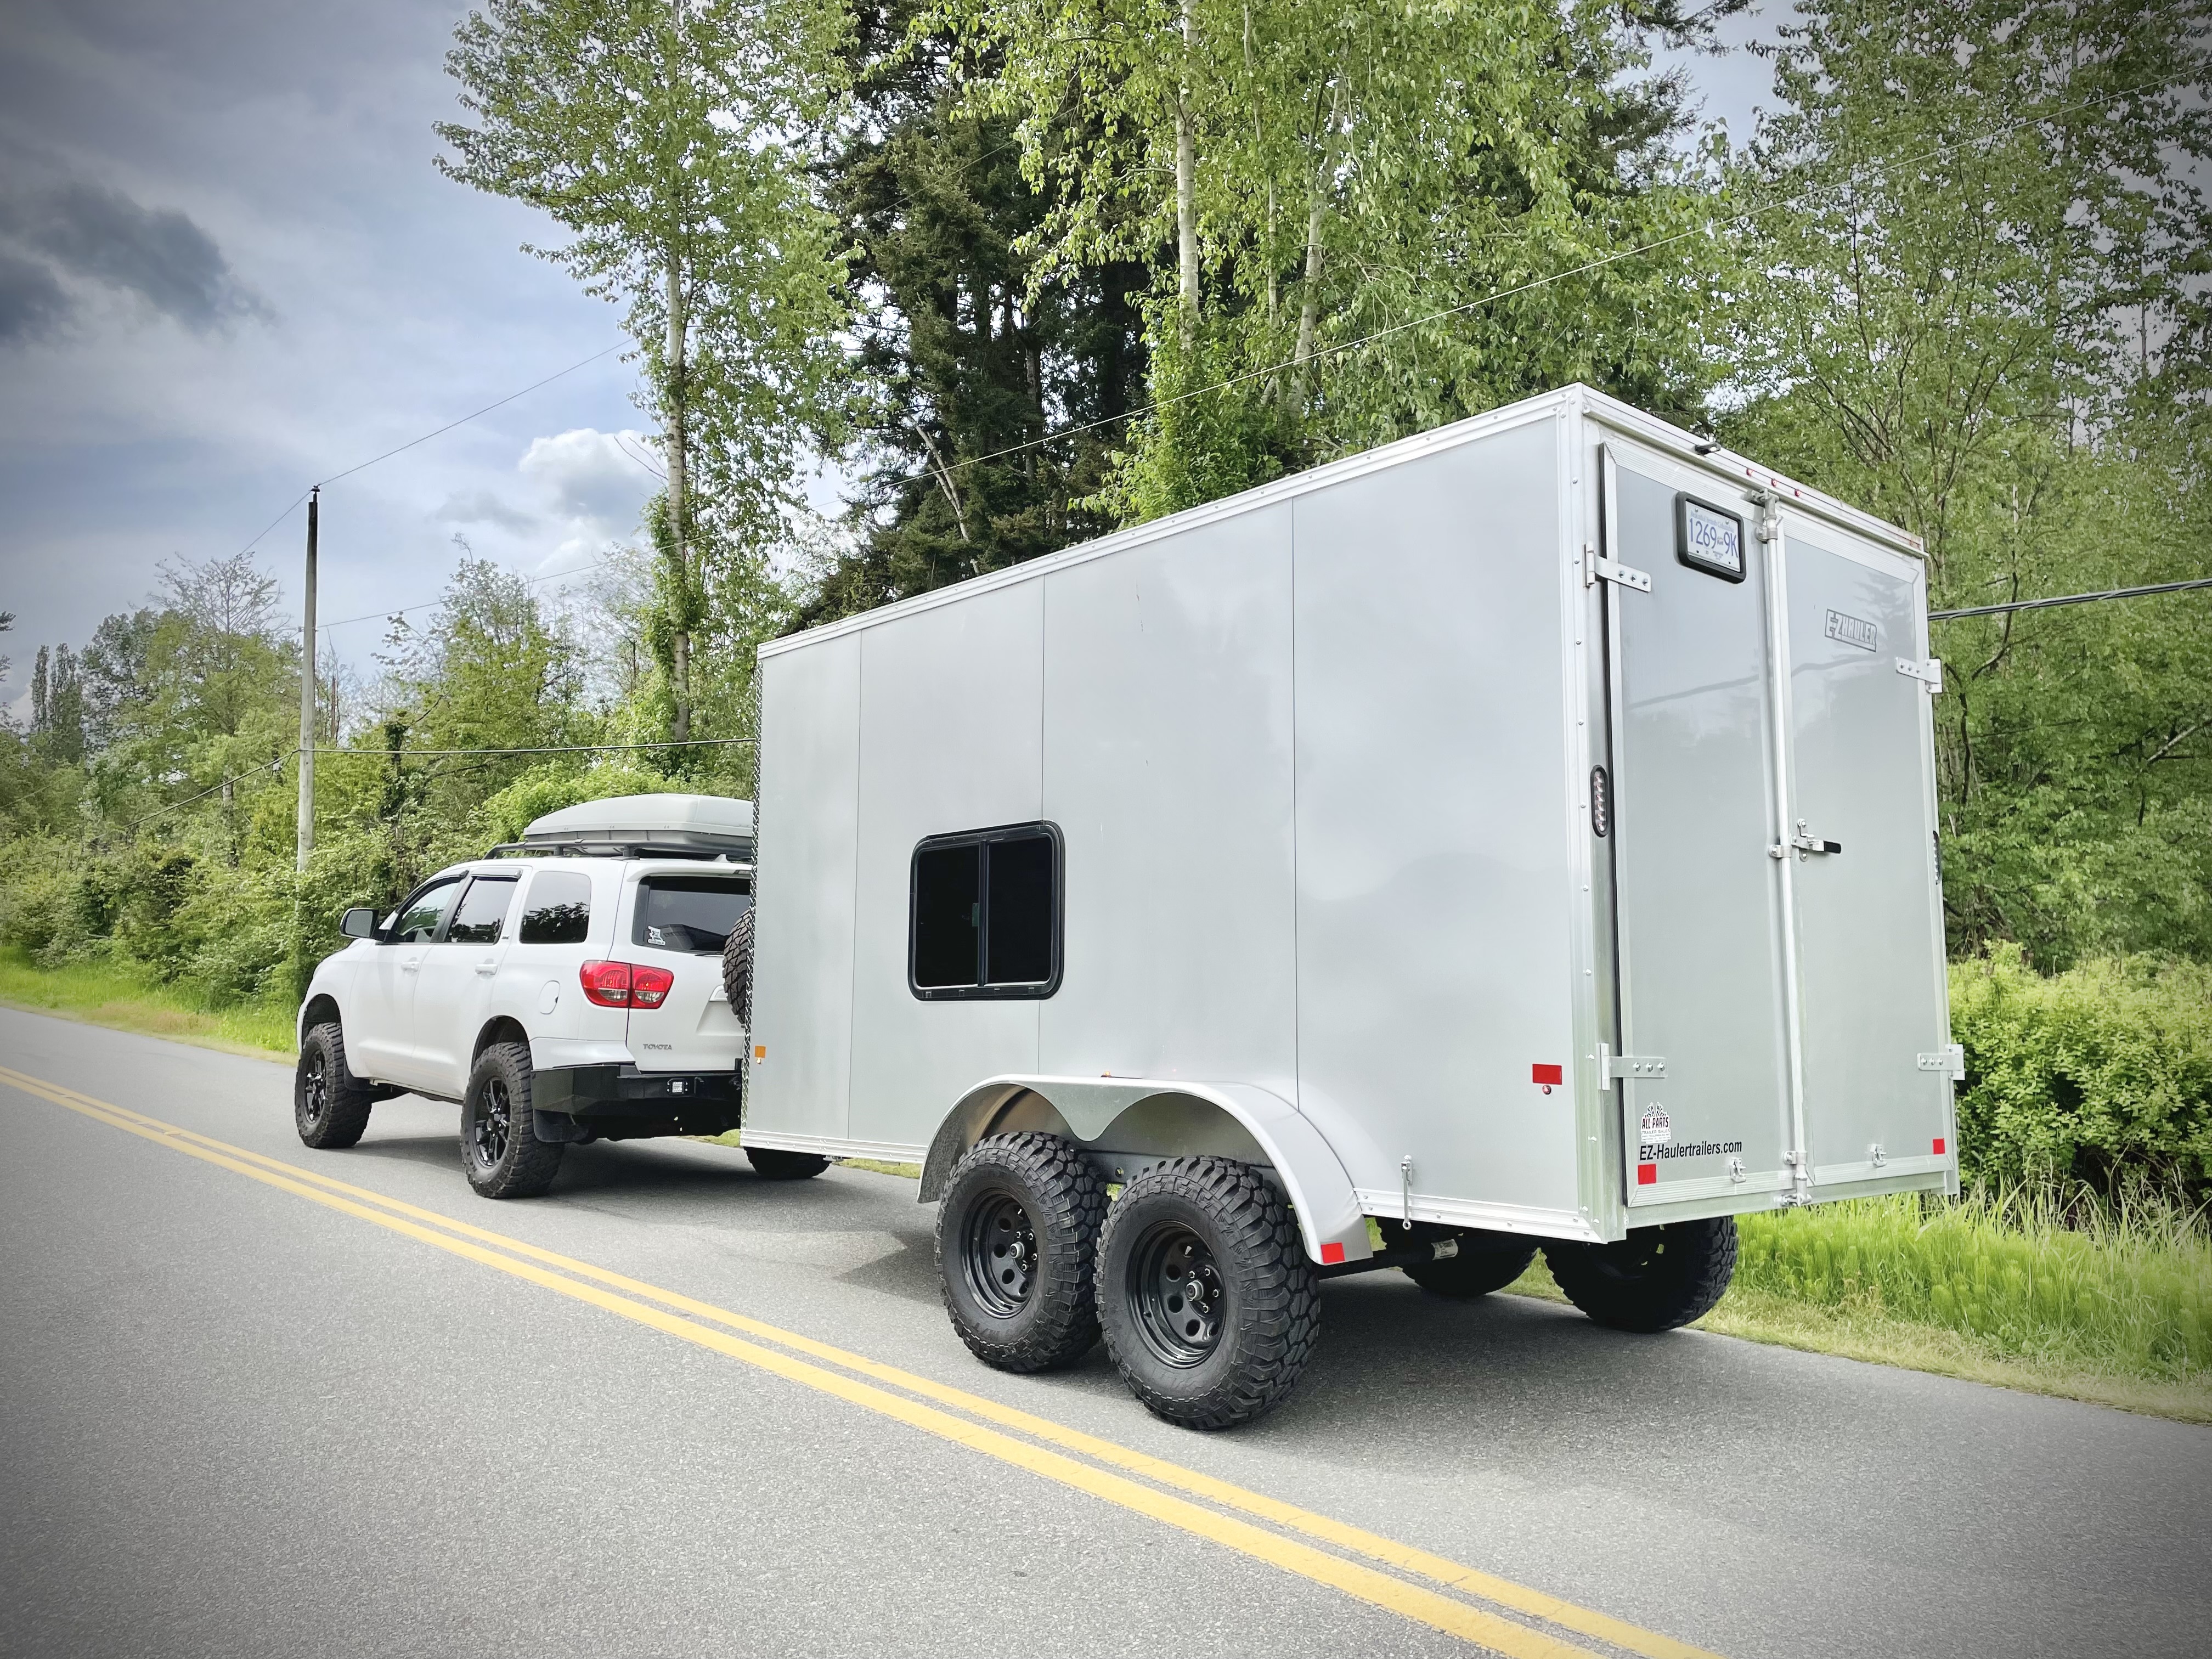
We custom ordered a fully aluminum 7×14 EZ-Hauler trailer with an 2’ v-nose up front, and tandem 3500lb axles. The dry weight was approximately 2200 lbs thanks to the aluminium frame. We spec’d it out with two windows, straight axles for clearance, and a 7’ interior height. Another component we added was a basic 12V battery system with interior lights.
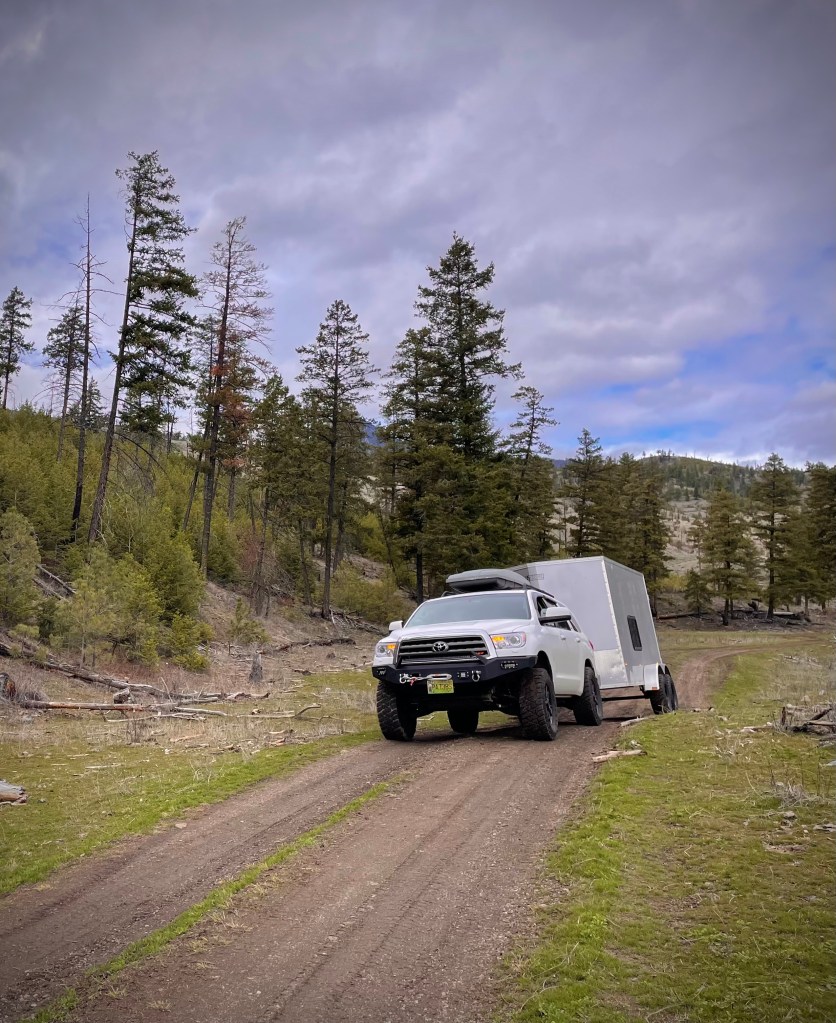
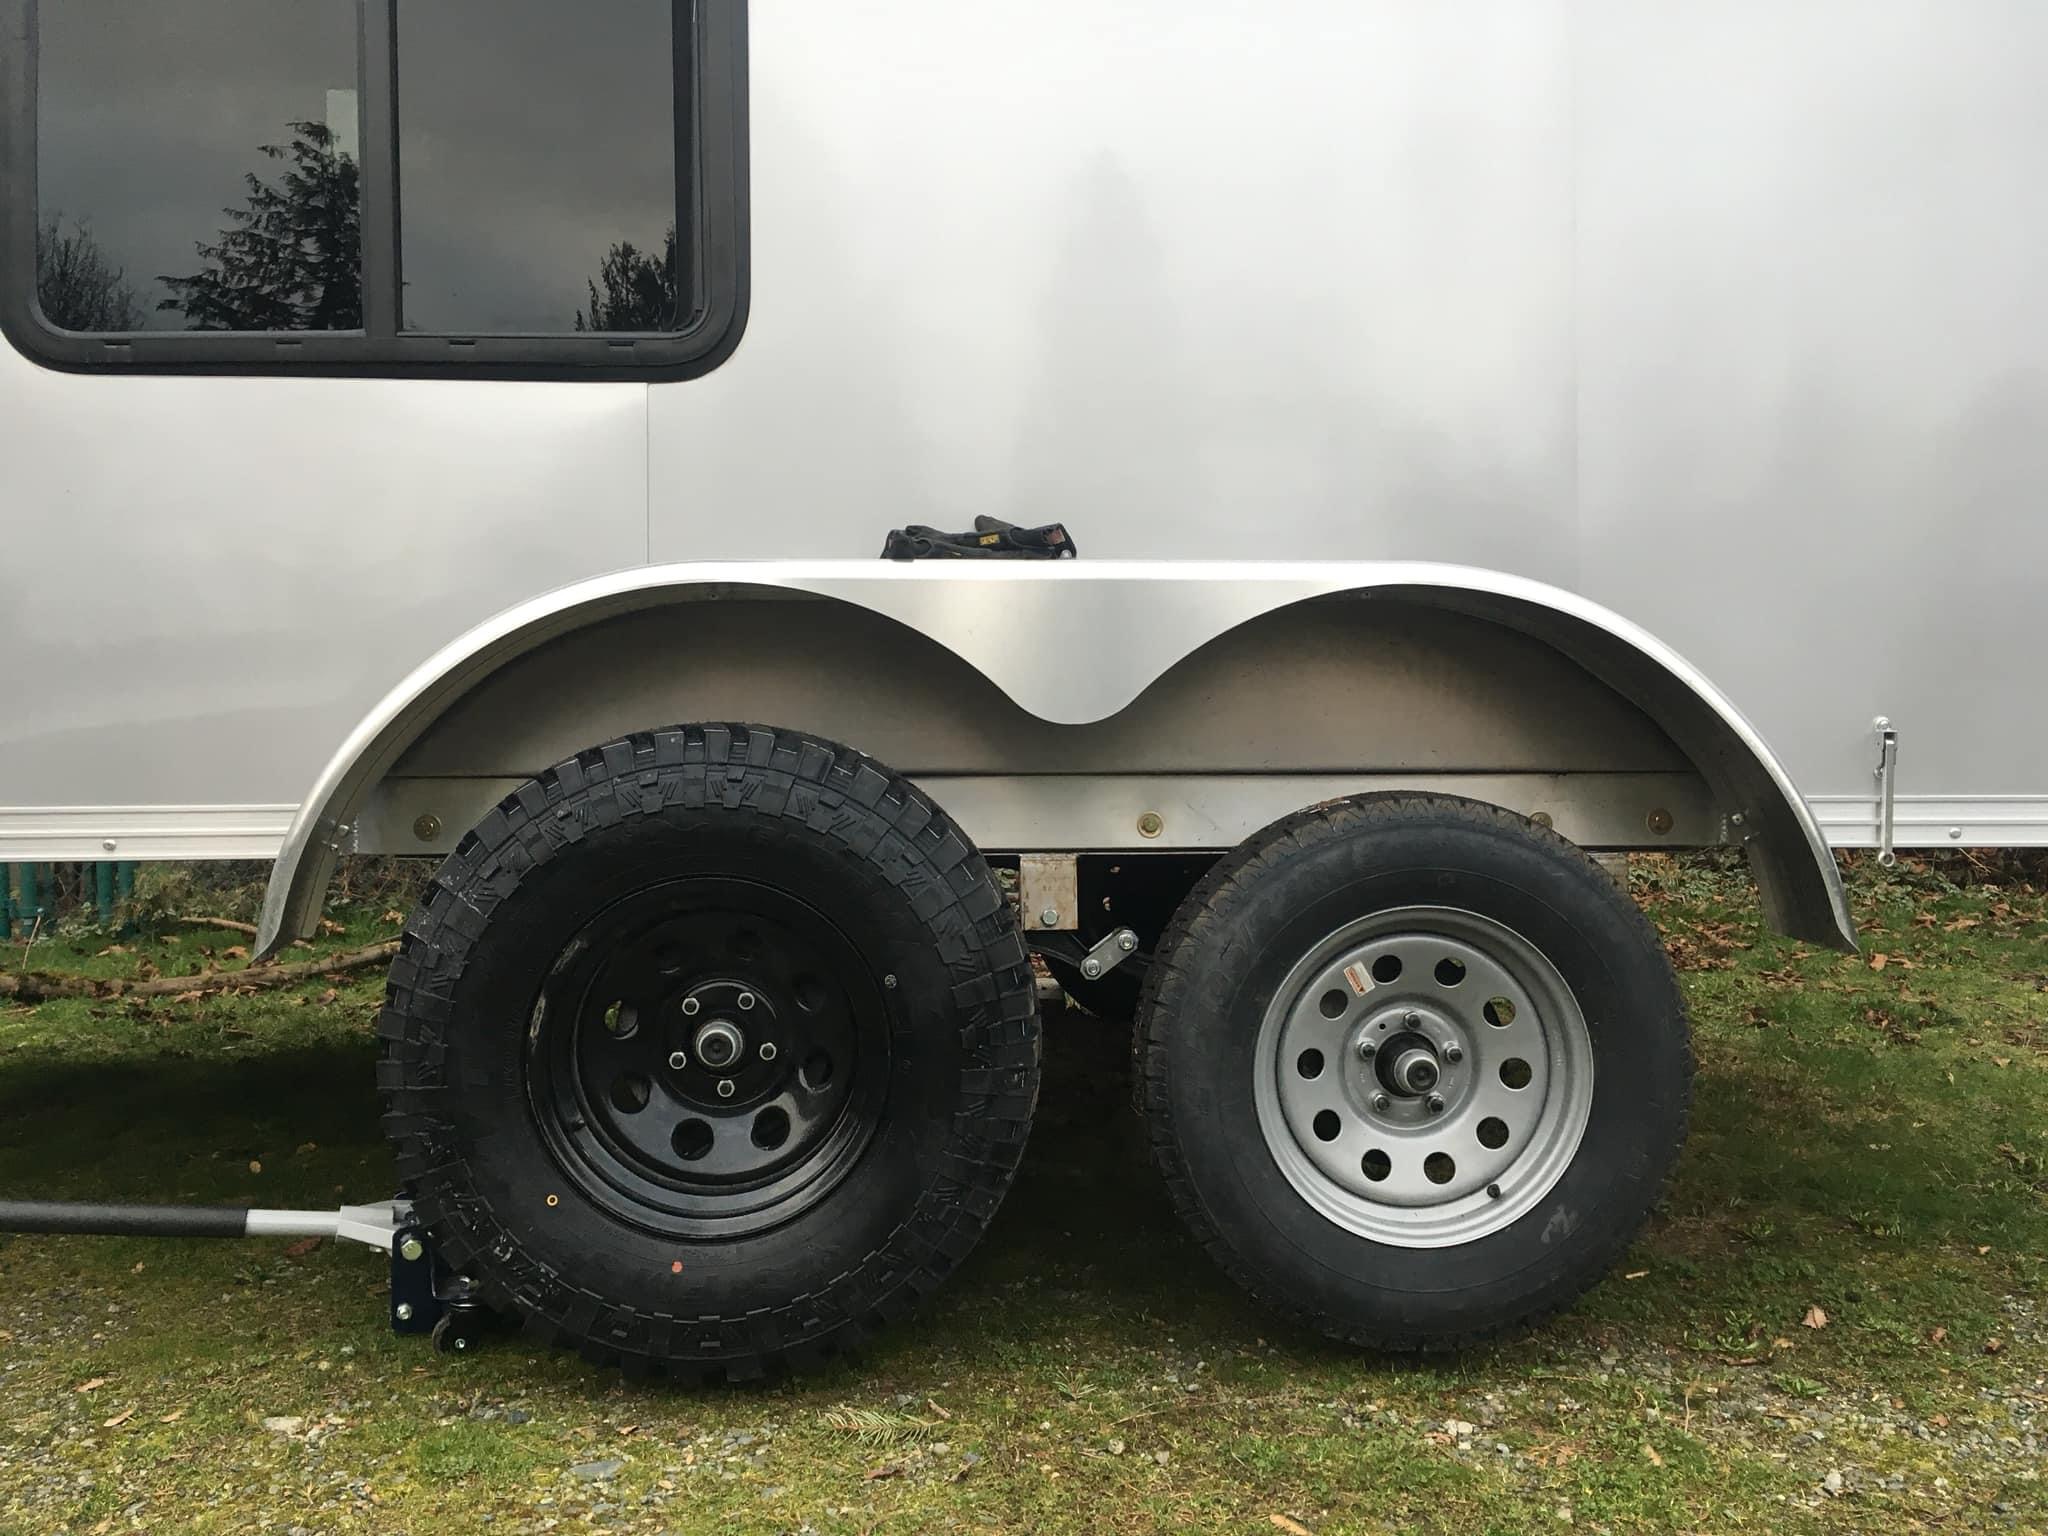
Once it arrived, we brought it home and slowly began the transformation. Step one was having the axles “flipped” (spring over conversion) and then installing 31” mud terrains mounted on 15×8 black steelies and This would increase the ground clearance and break-over angles significantly. A custom extended tongue was created for us by a local welder in order for the Sequoia’s rear tire swing-out to clear the trailer when attached.
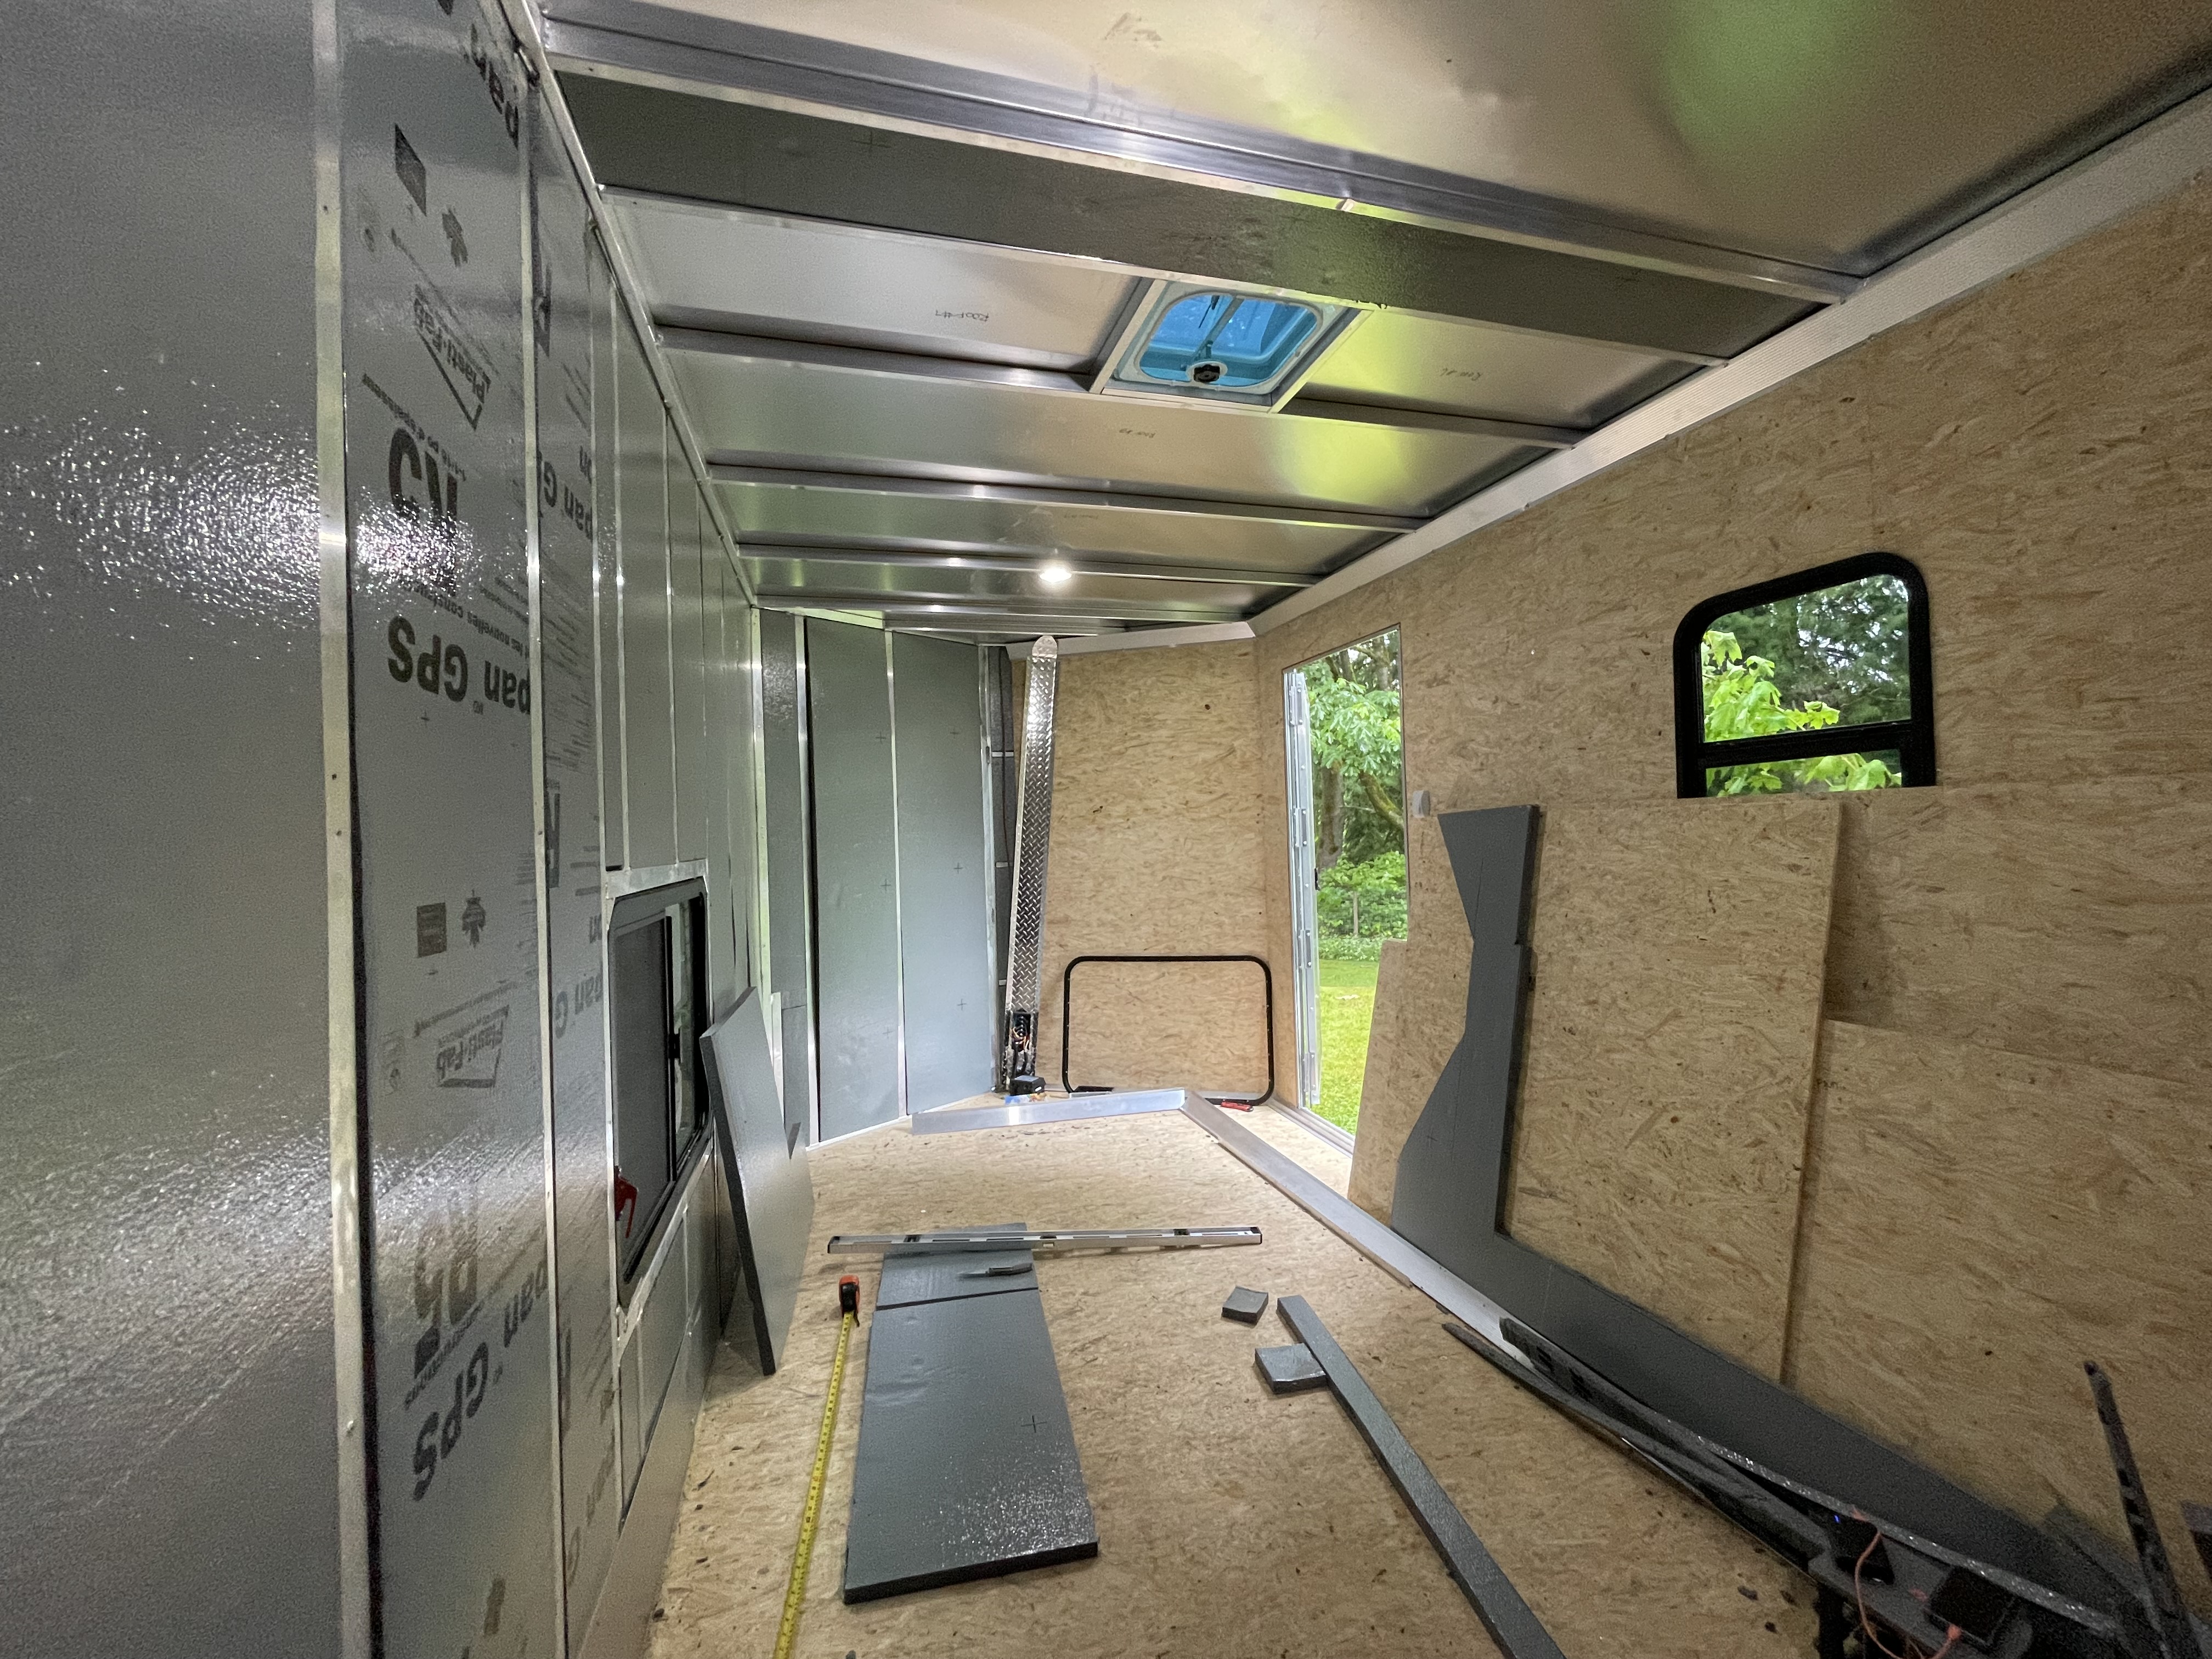
With the exterior sorted we went to work on the inside modifications, which included removing the plywood and installing 1” foam board insulation. This would keep the heat out/in depending on our camping environment. Later, we plan on adding 2” rigid foam to the underside before winter.
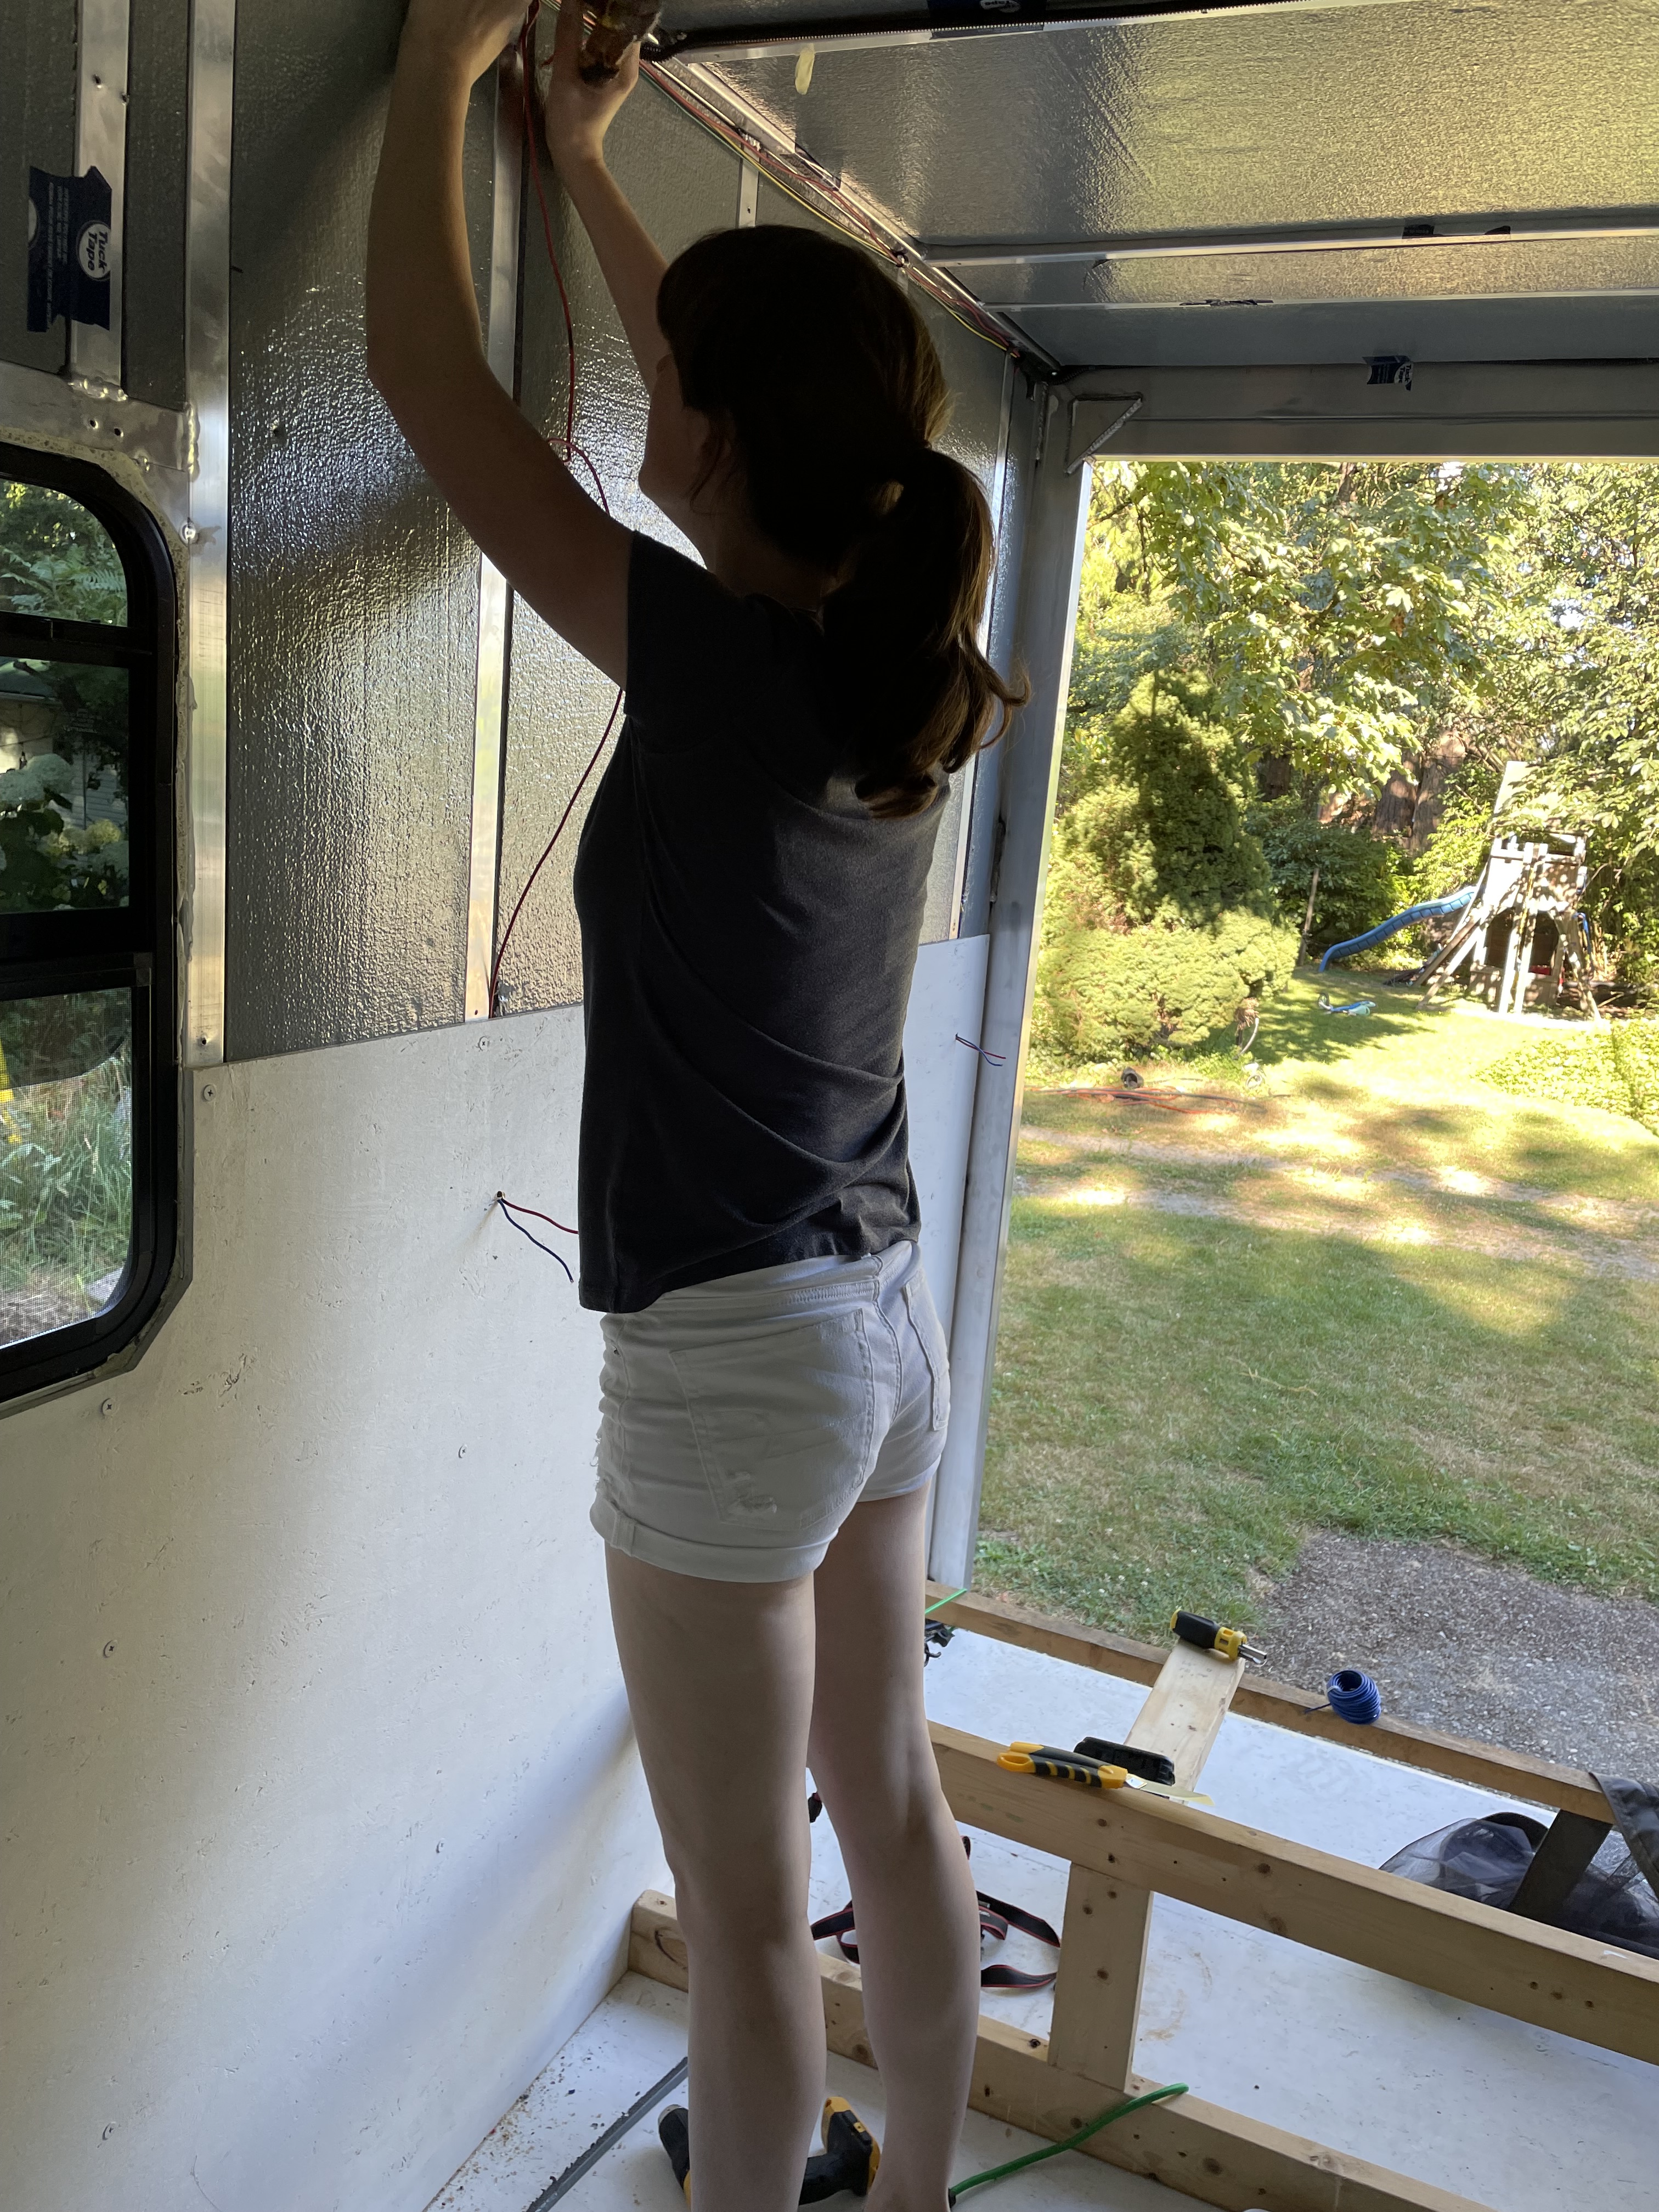
While the plywood was off we ran extra 12v wiring for more lighting, and wired in a panel with voltage display and dual-usb outlets. A Maxxair fan was installed in the ceiling for air movement as desired.
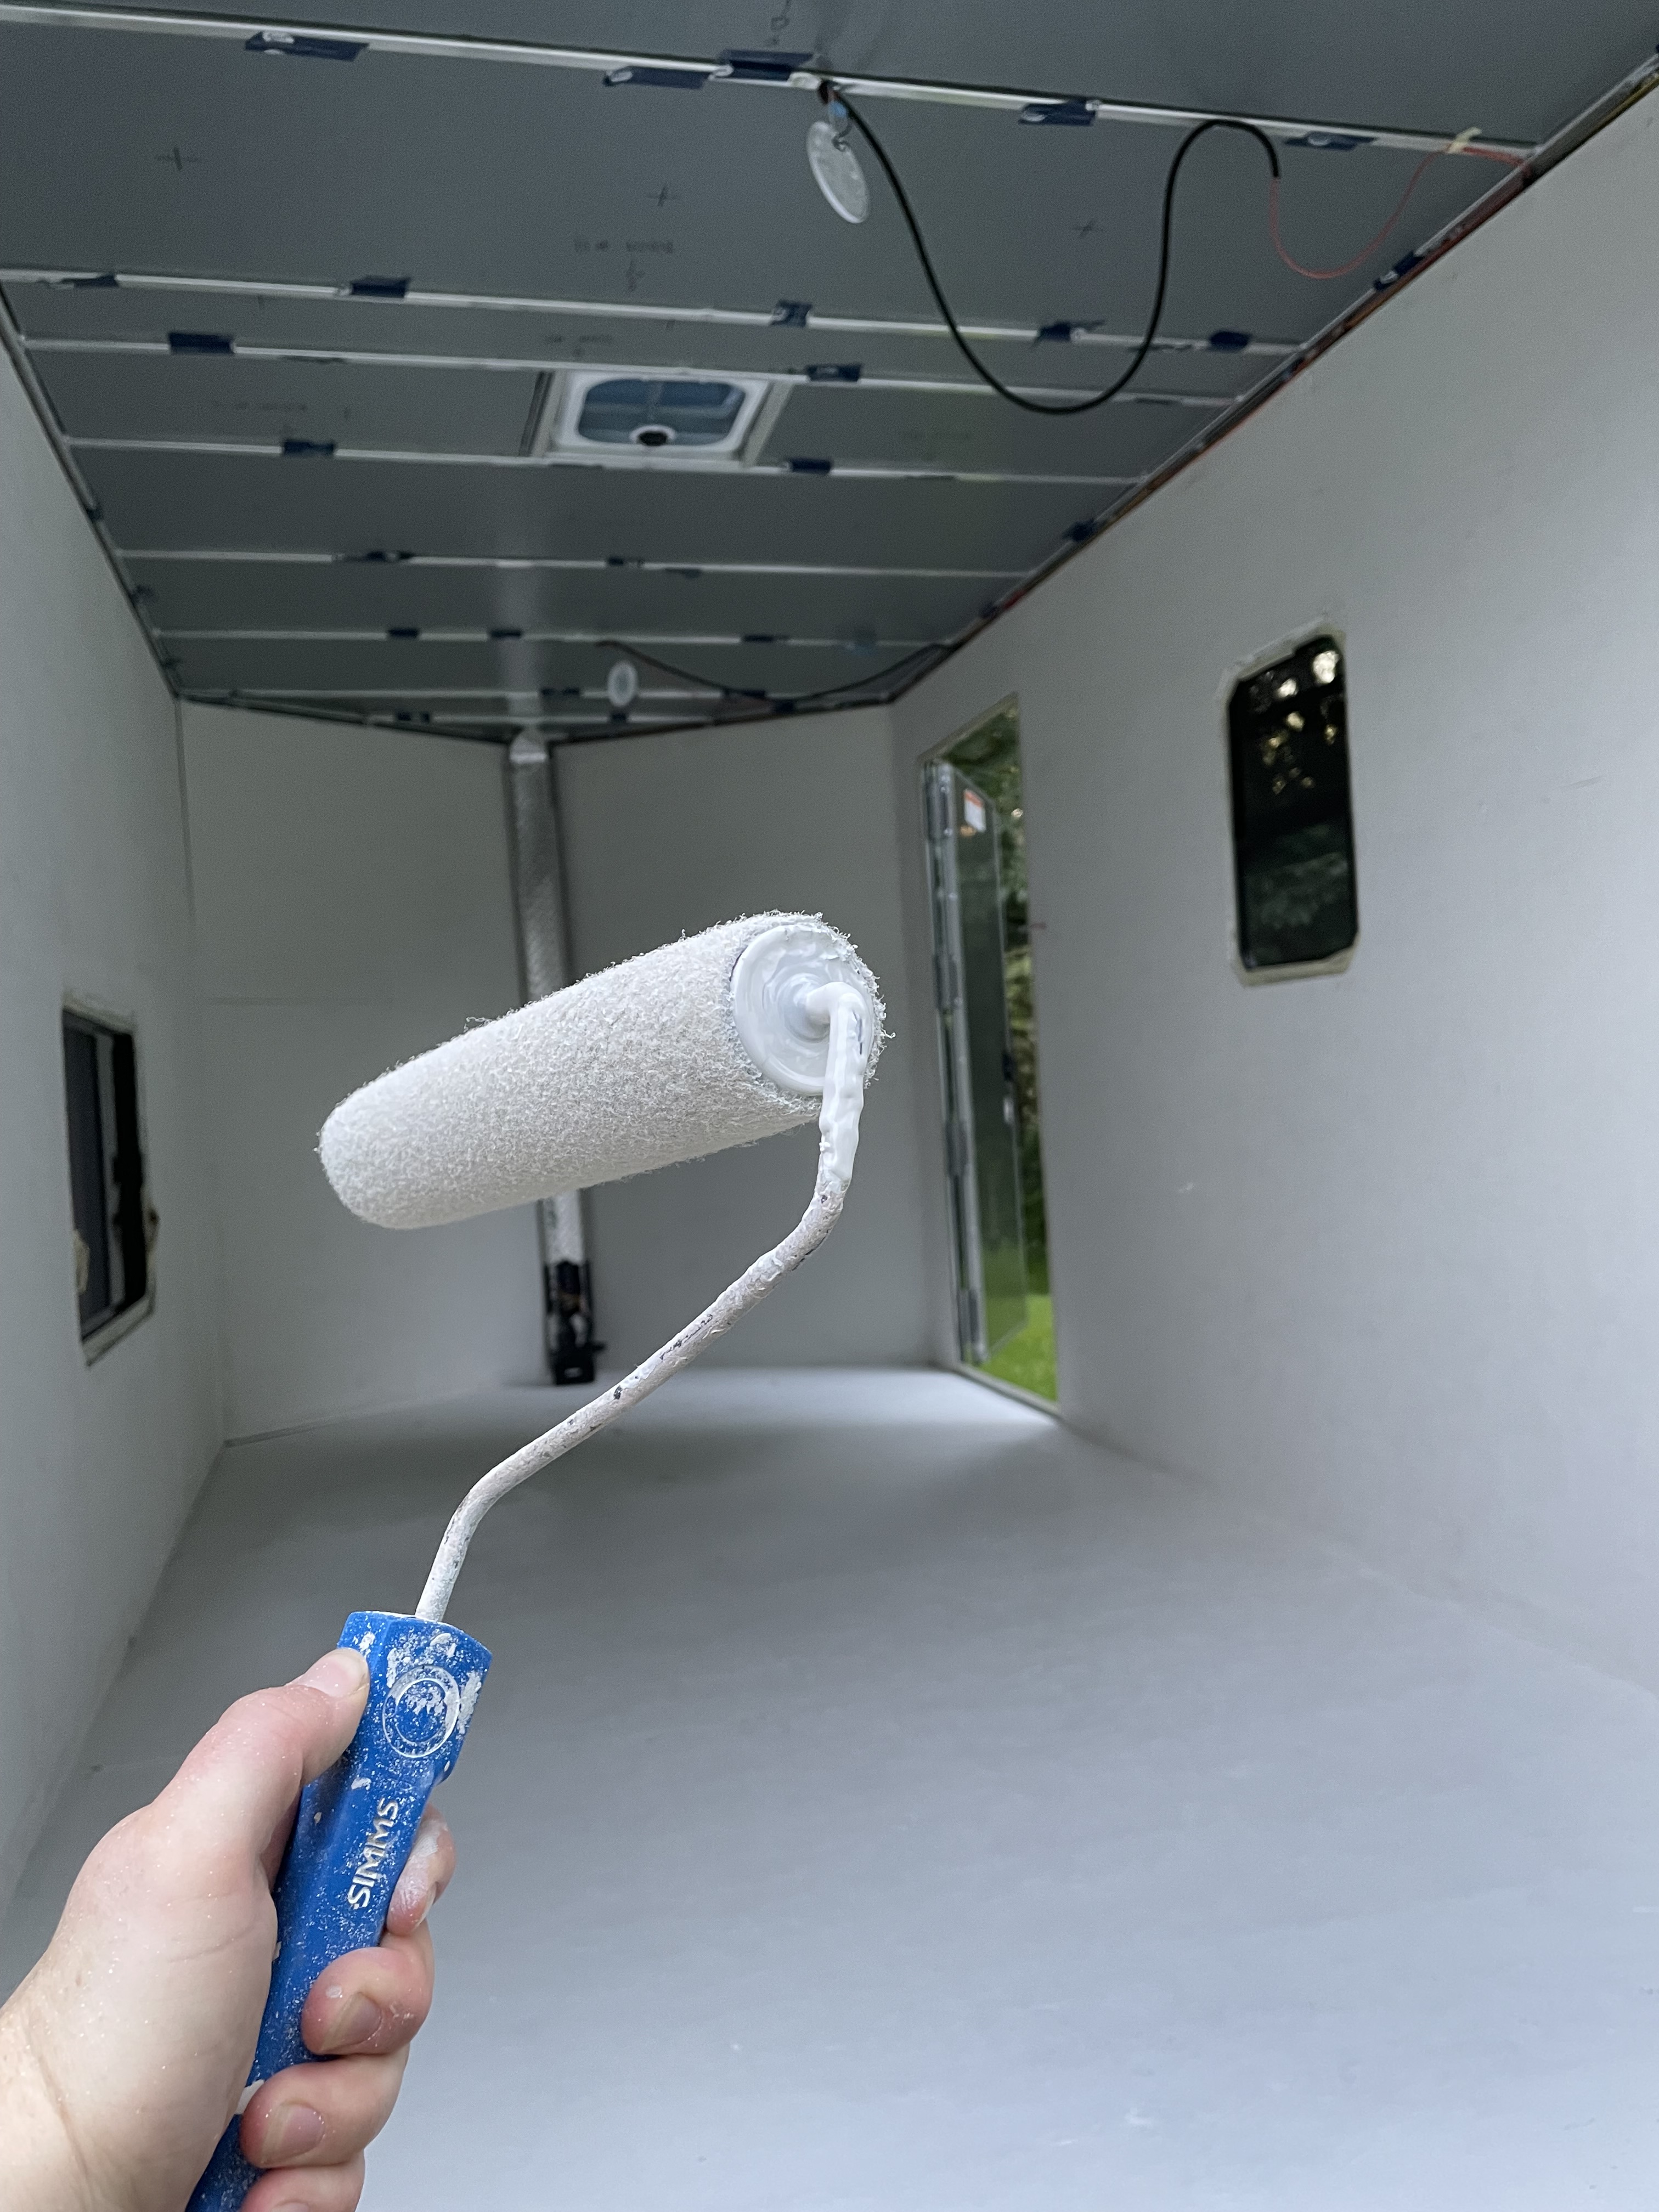
Once buttoned back up, we covered the walls and floor with Killz primer for our blank canvass.
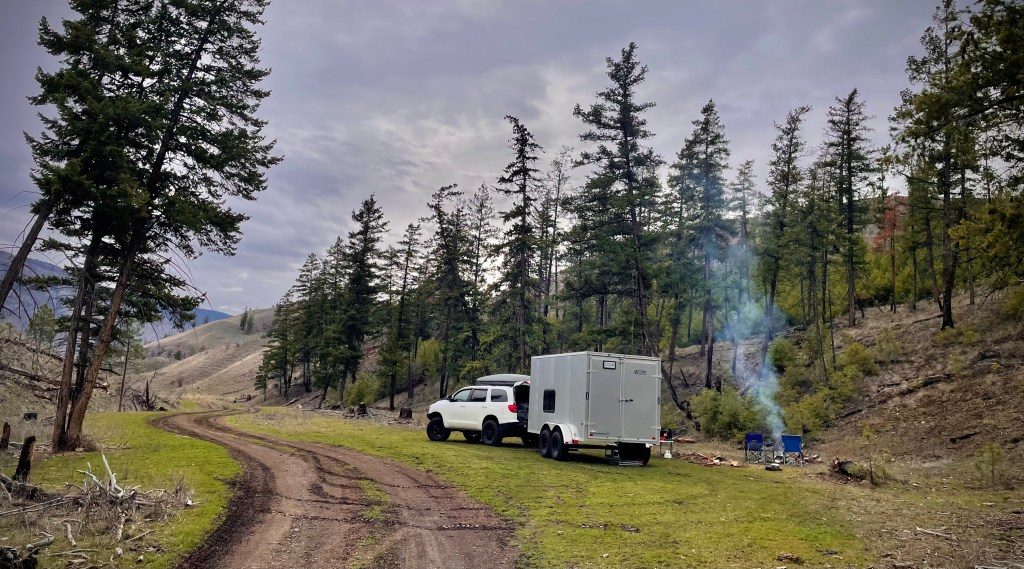
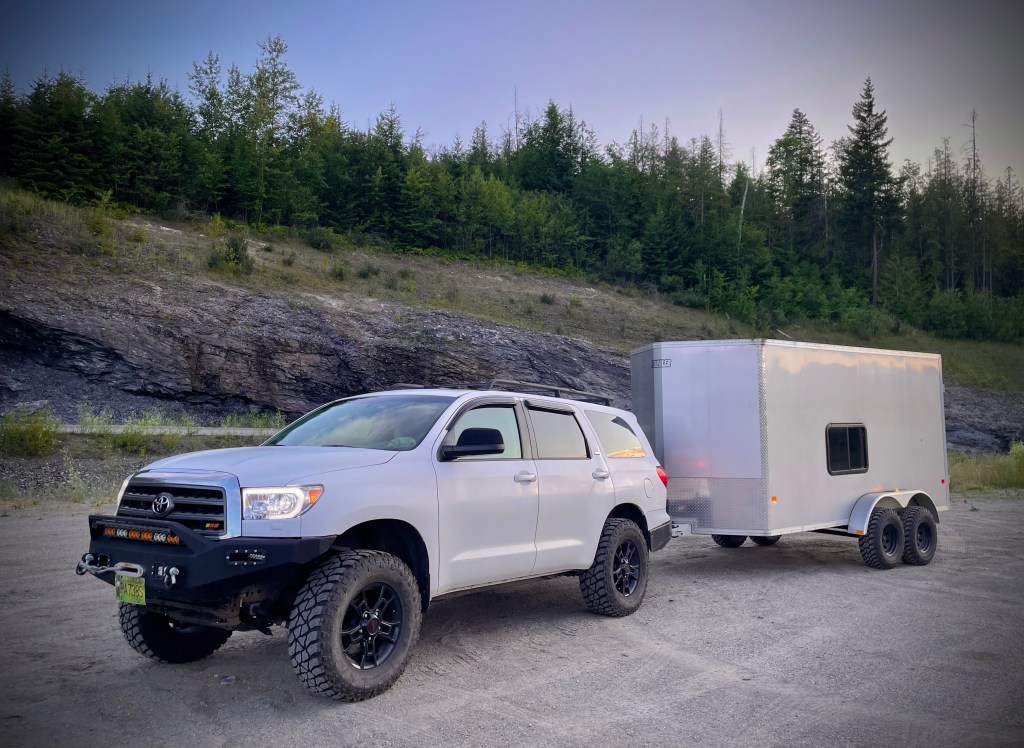
The plan for the trailer, which has been dubbed “The Bunkhouse”, was to keep things simple and durable, without adding unnecessary weight. No bathroom or plumbing, a simple camp kitchen setup utilizing existing gear (cooking inside or out), and plenty of comfortable bunks up front, with a divided gear garage accessed from the rear barn doors.
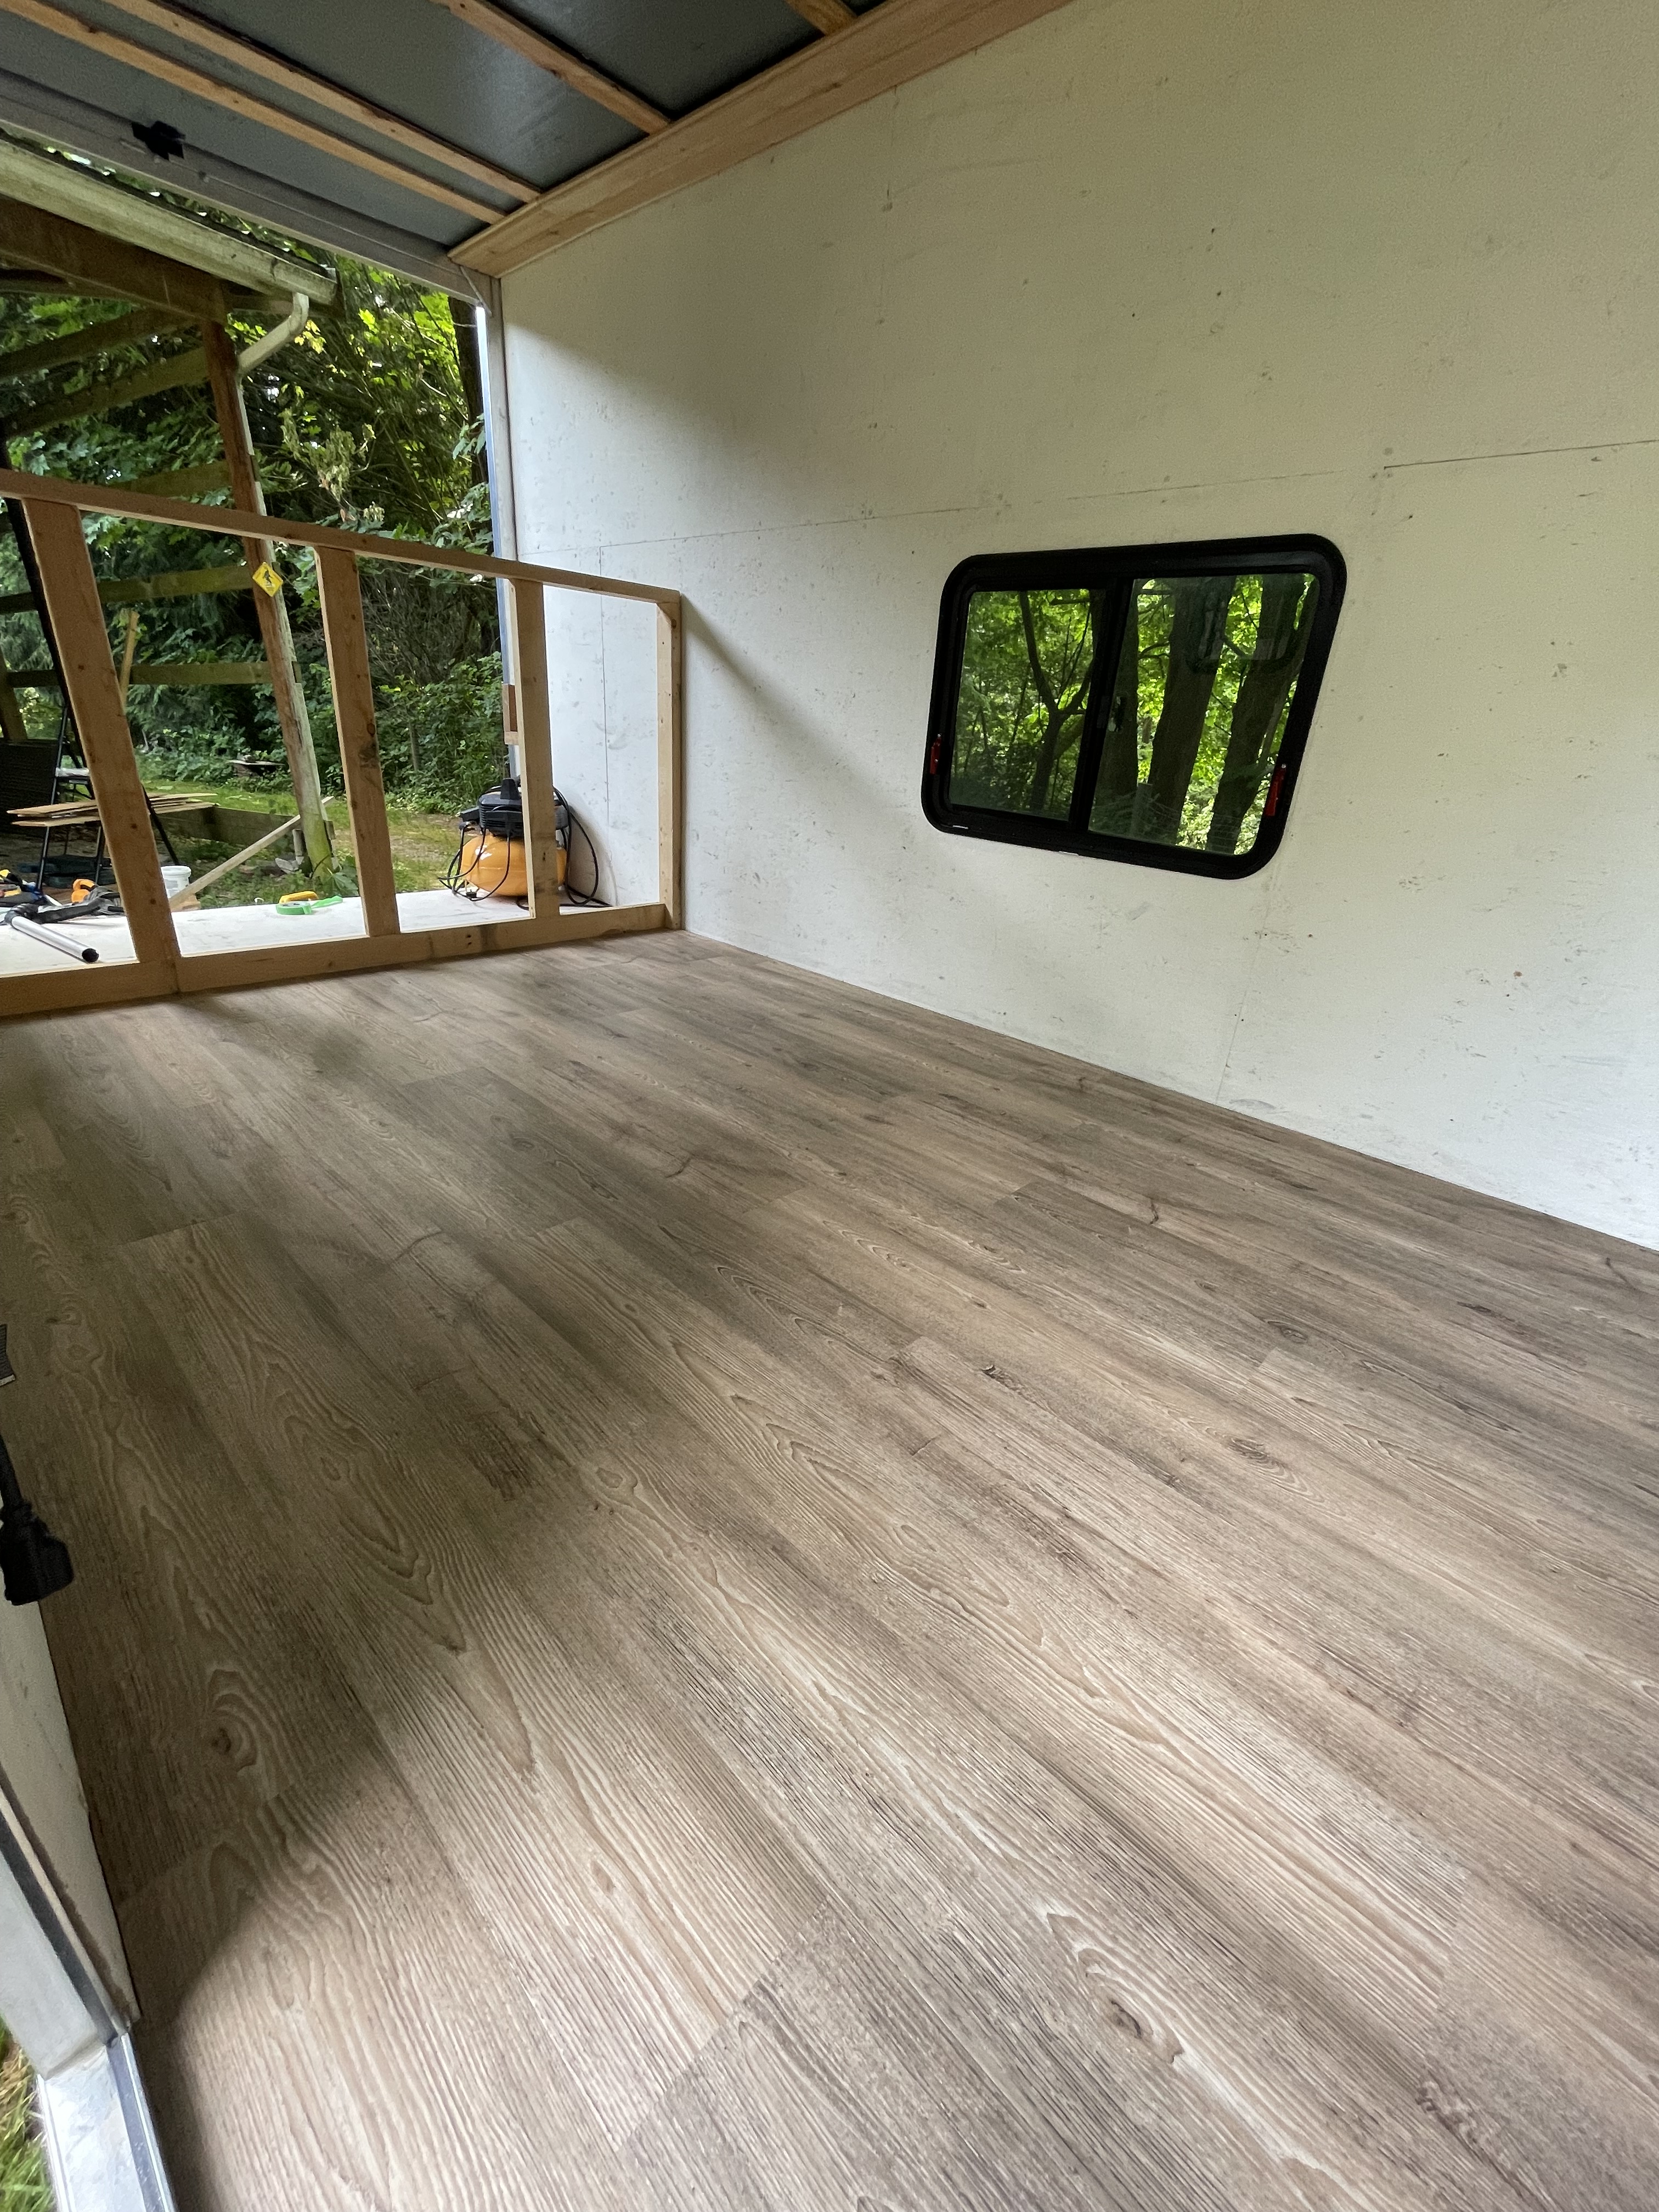
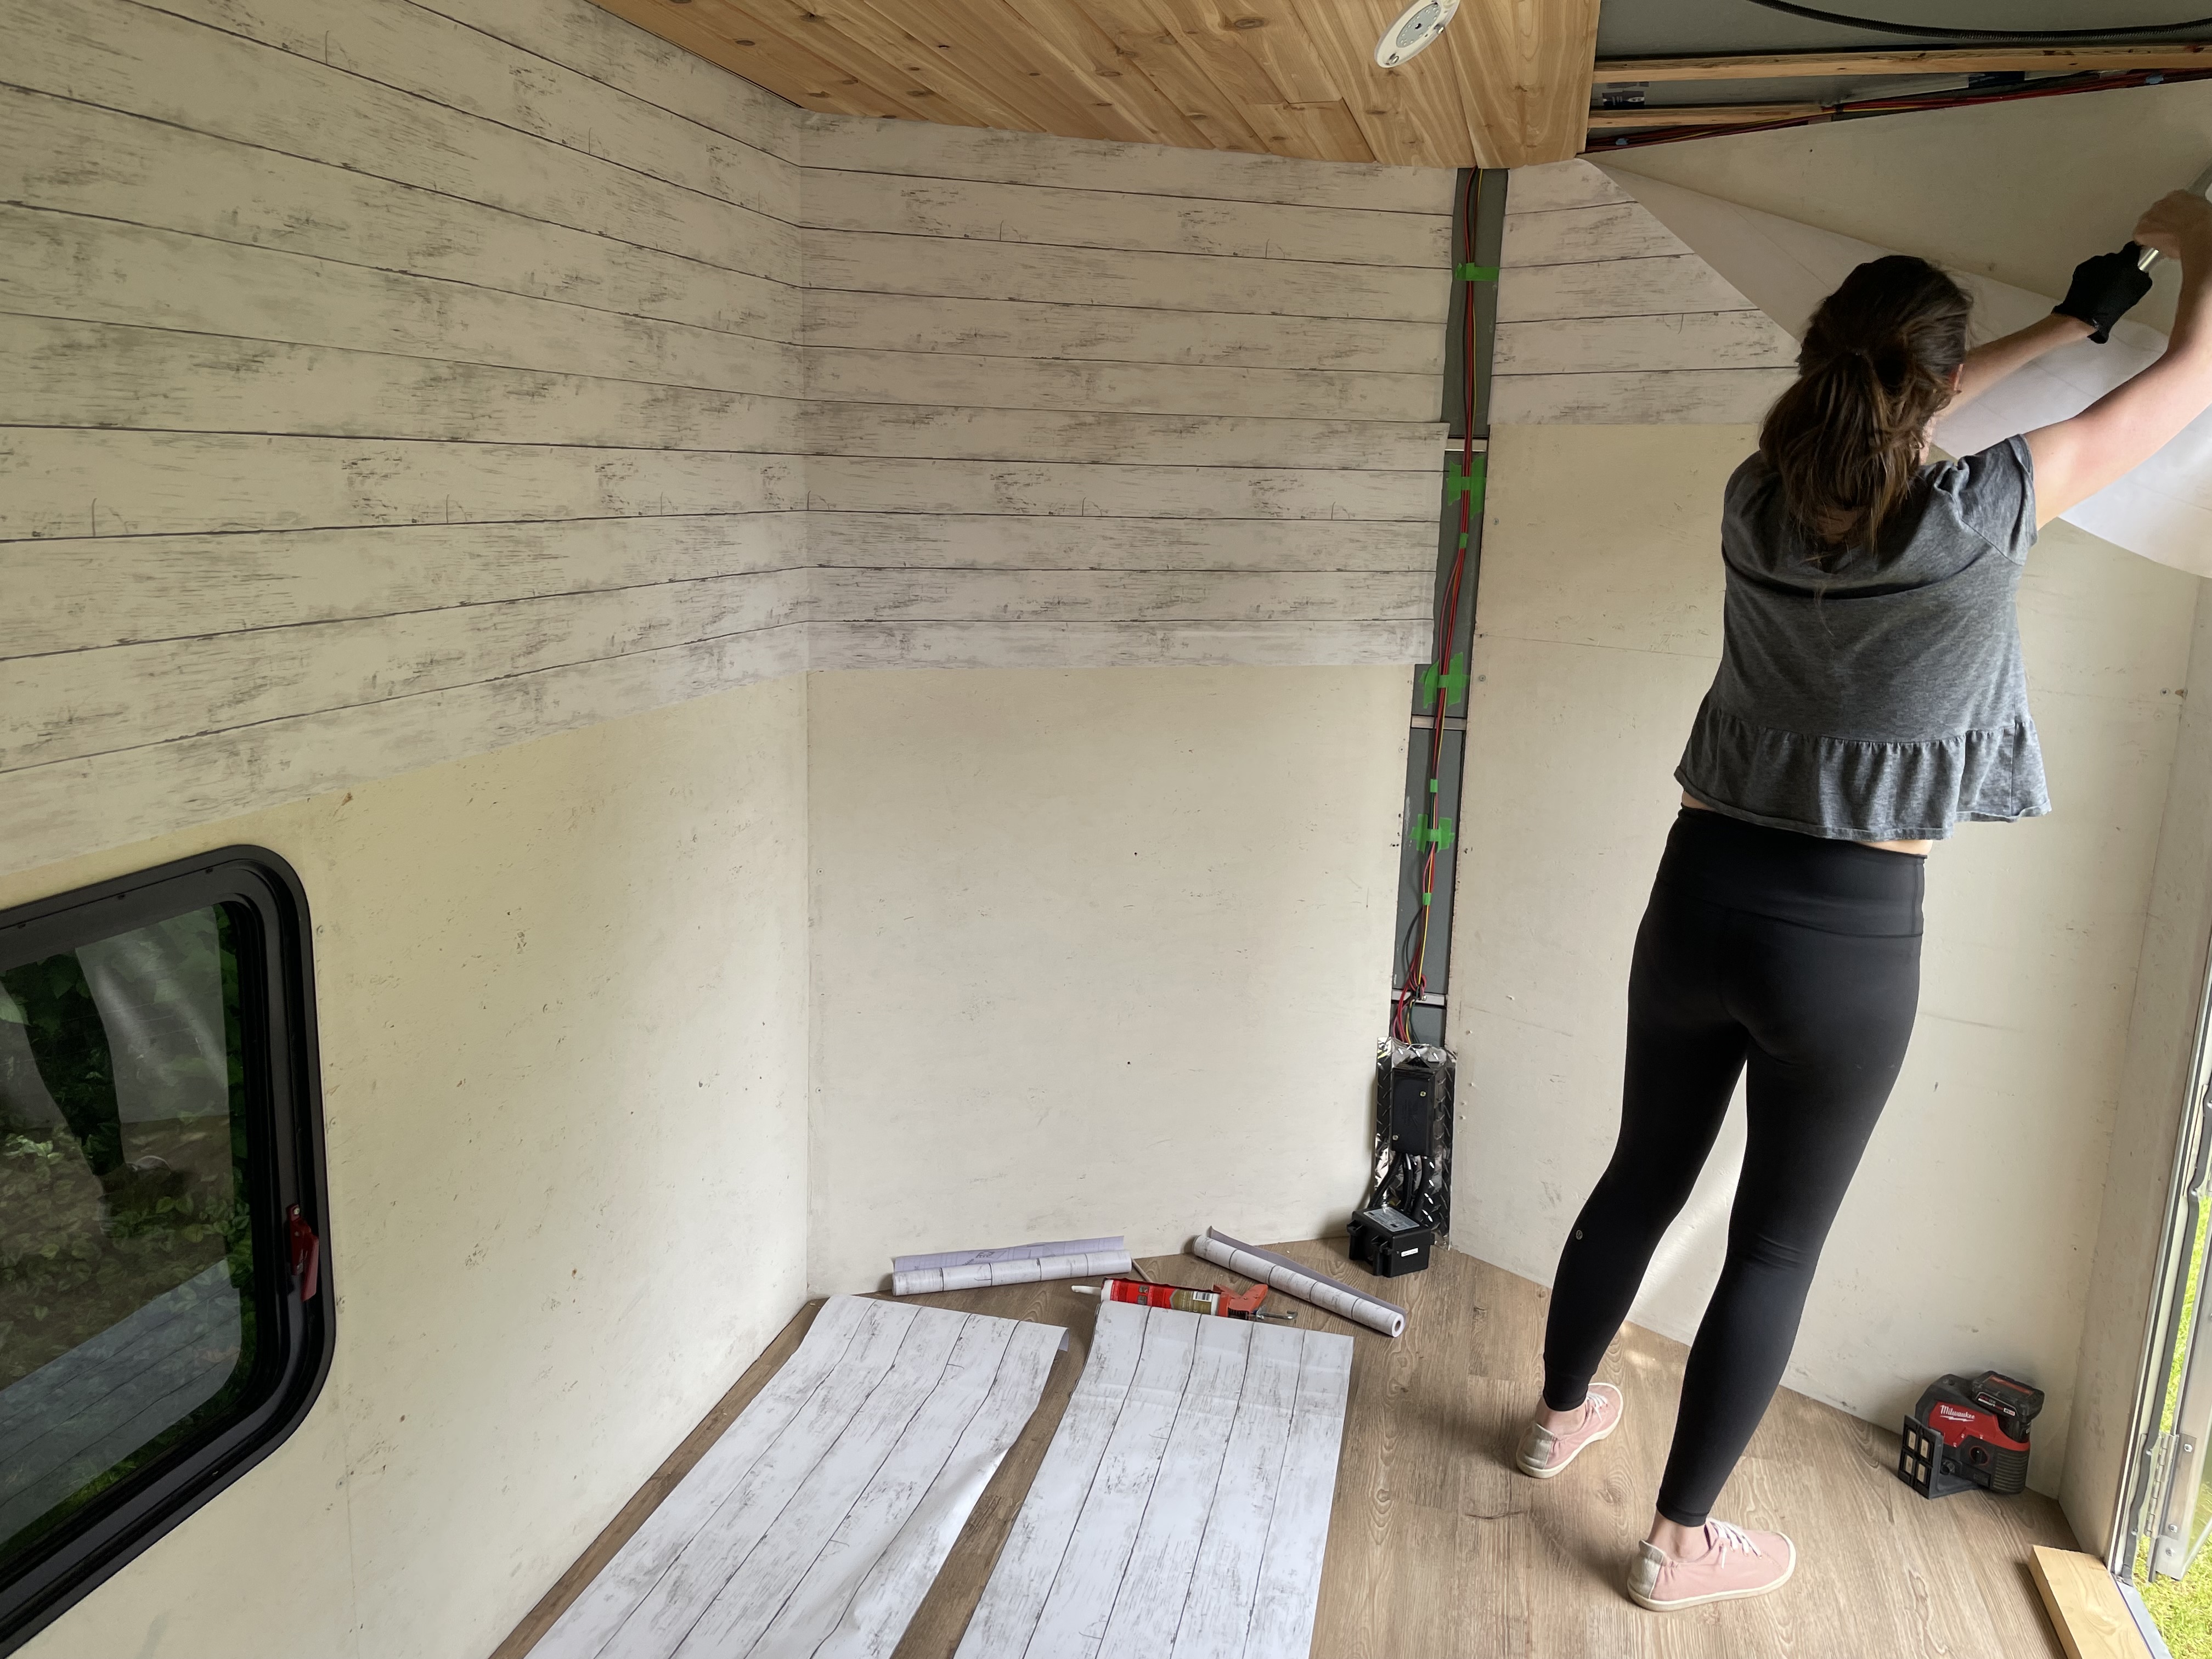
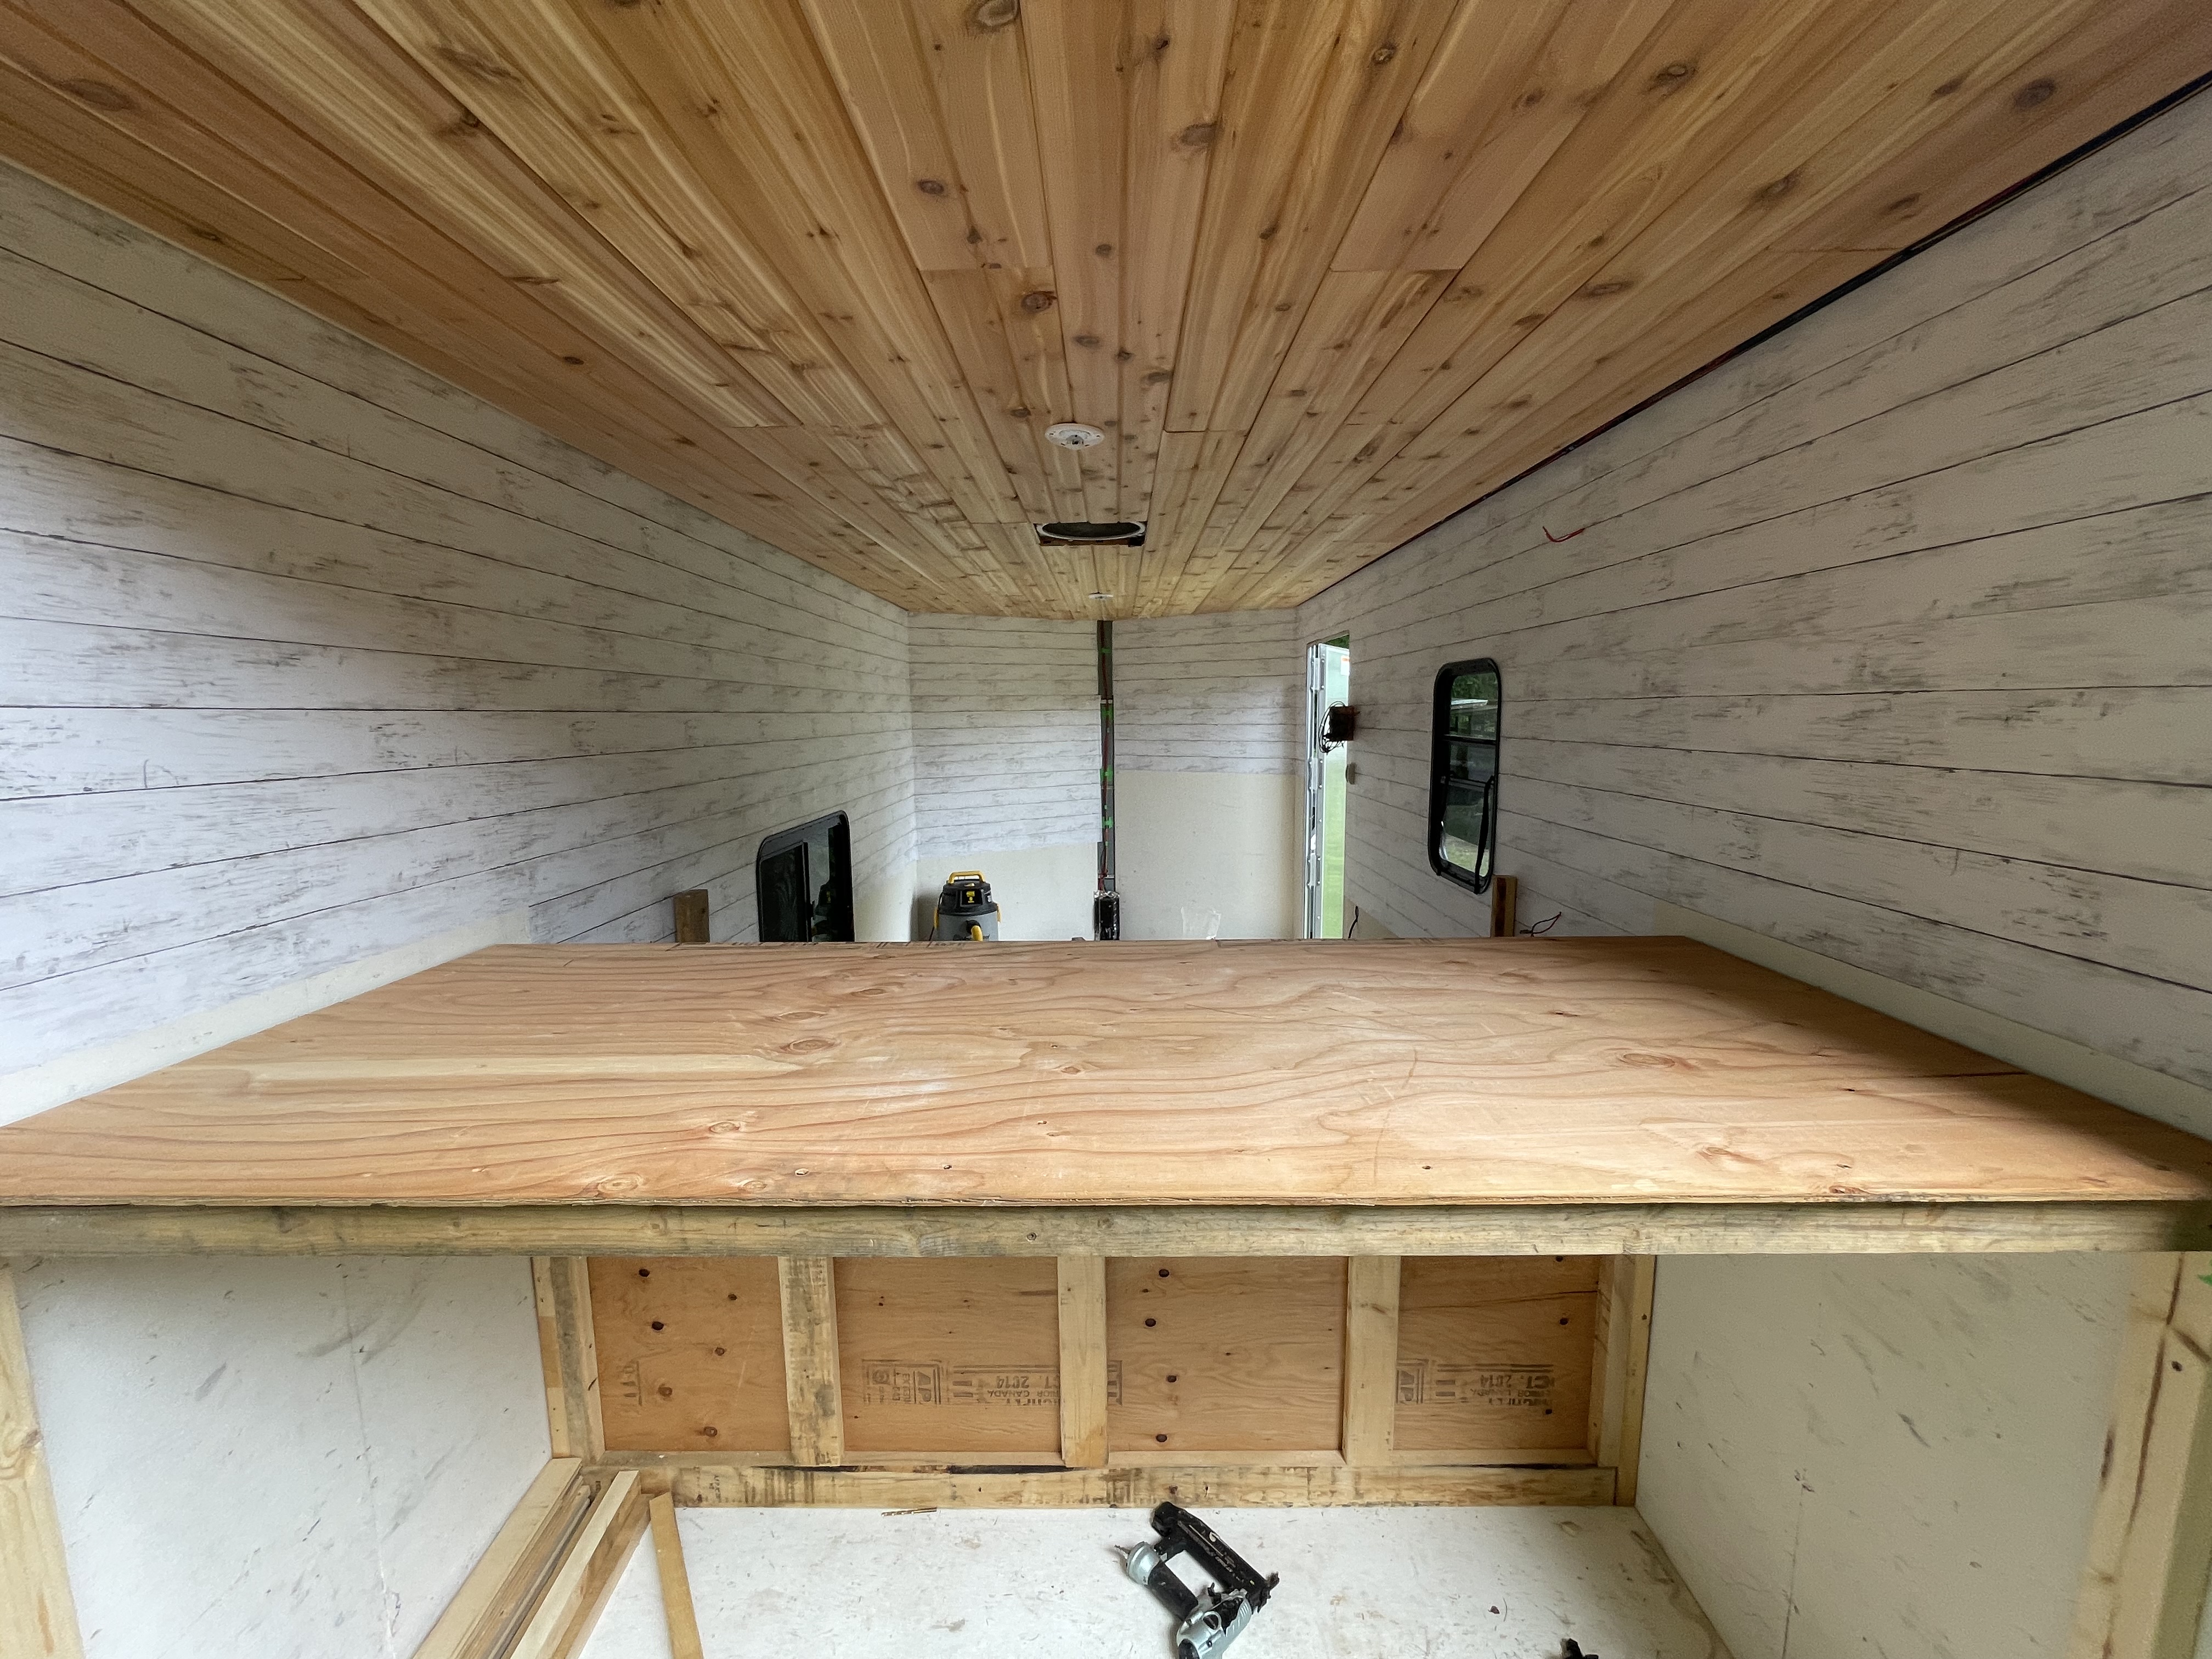
Luxury vinyl plank was glued down for a durable and attractive floor, with cedar T & G covering the ceiling. We planned to install white FRP in a shiplap pattern on the walls, but abandoned the idea for a featherweight wallpaper with a shiplap theme.
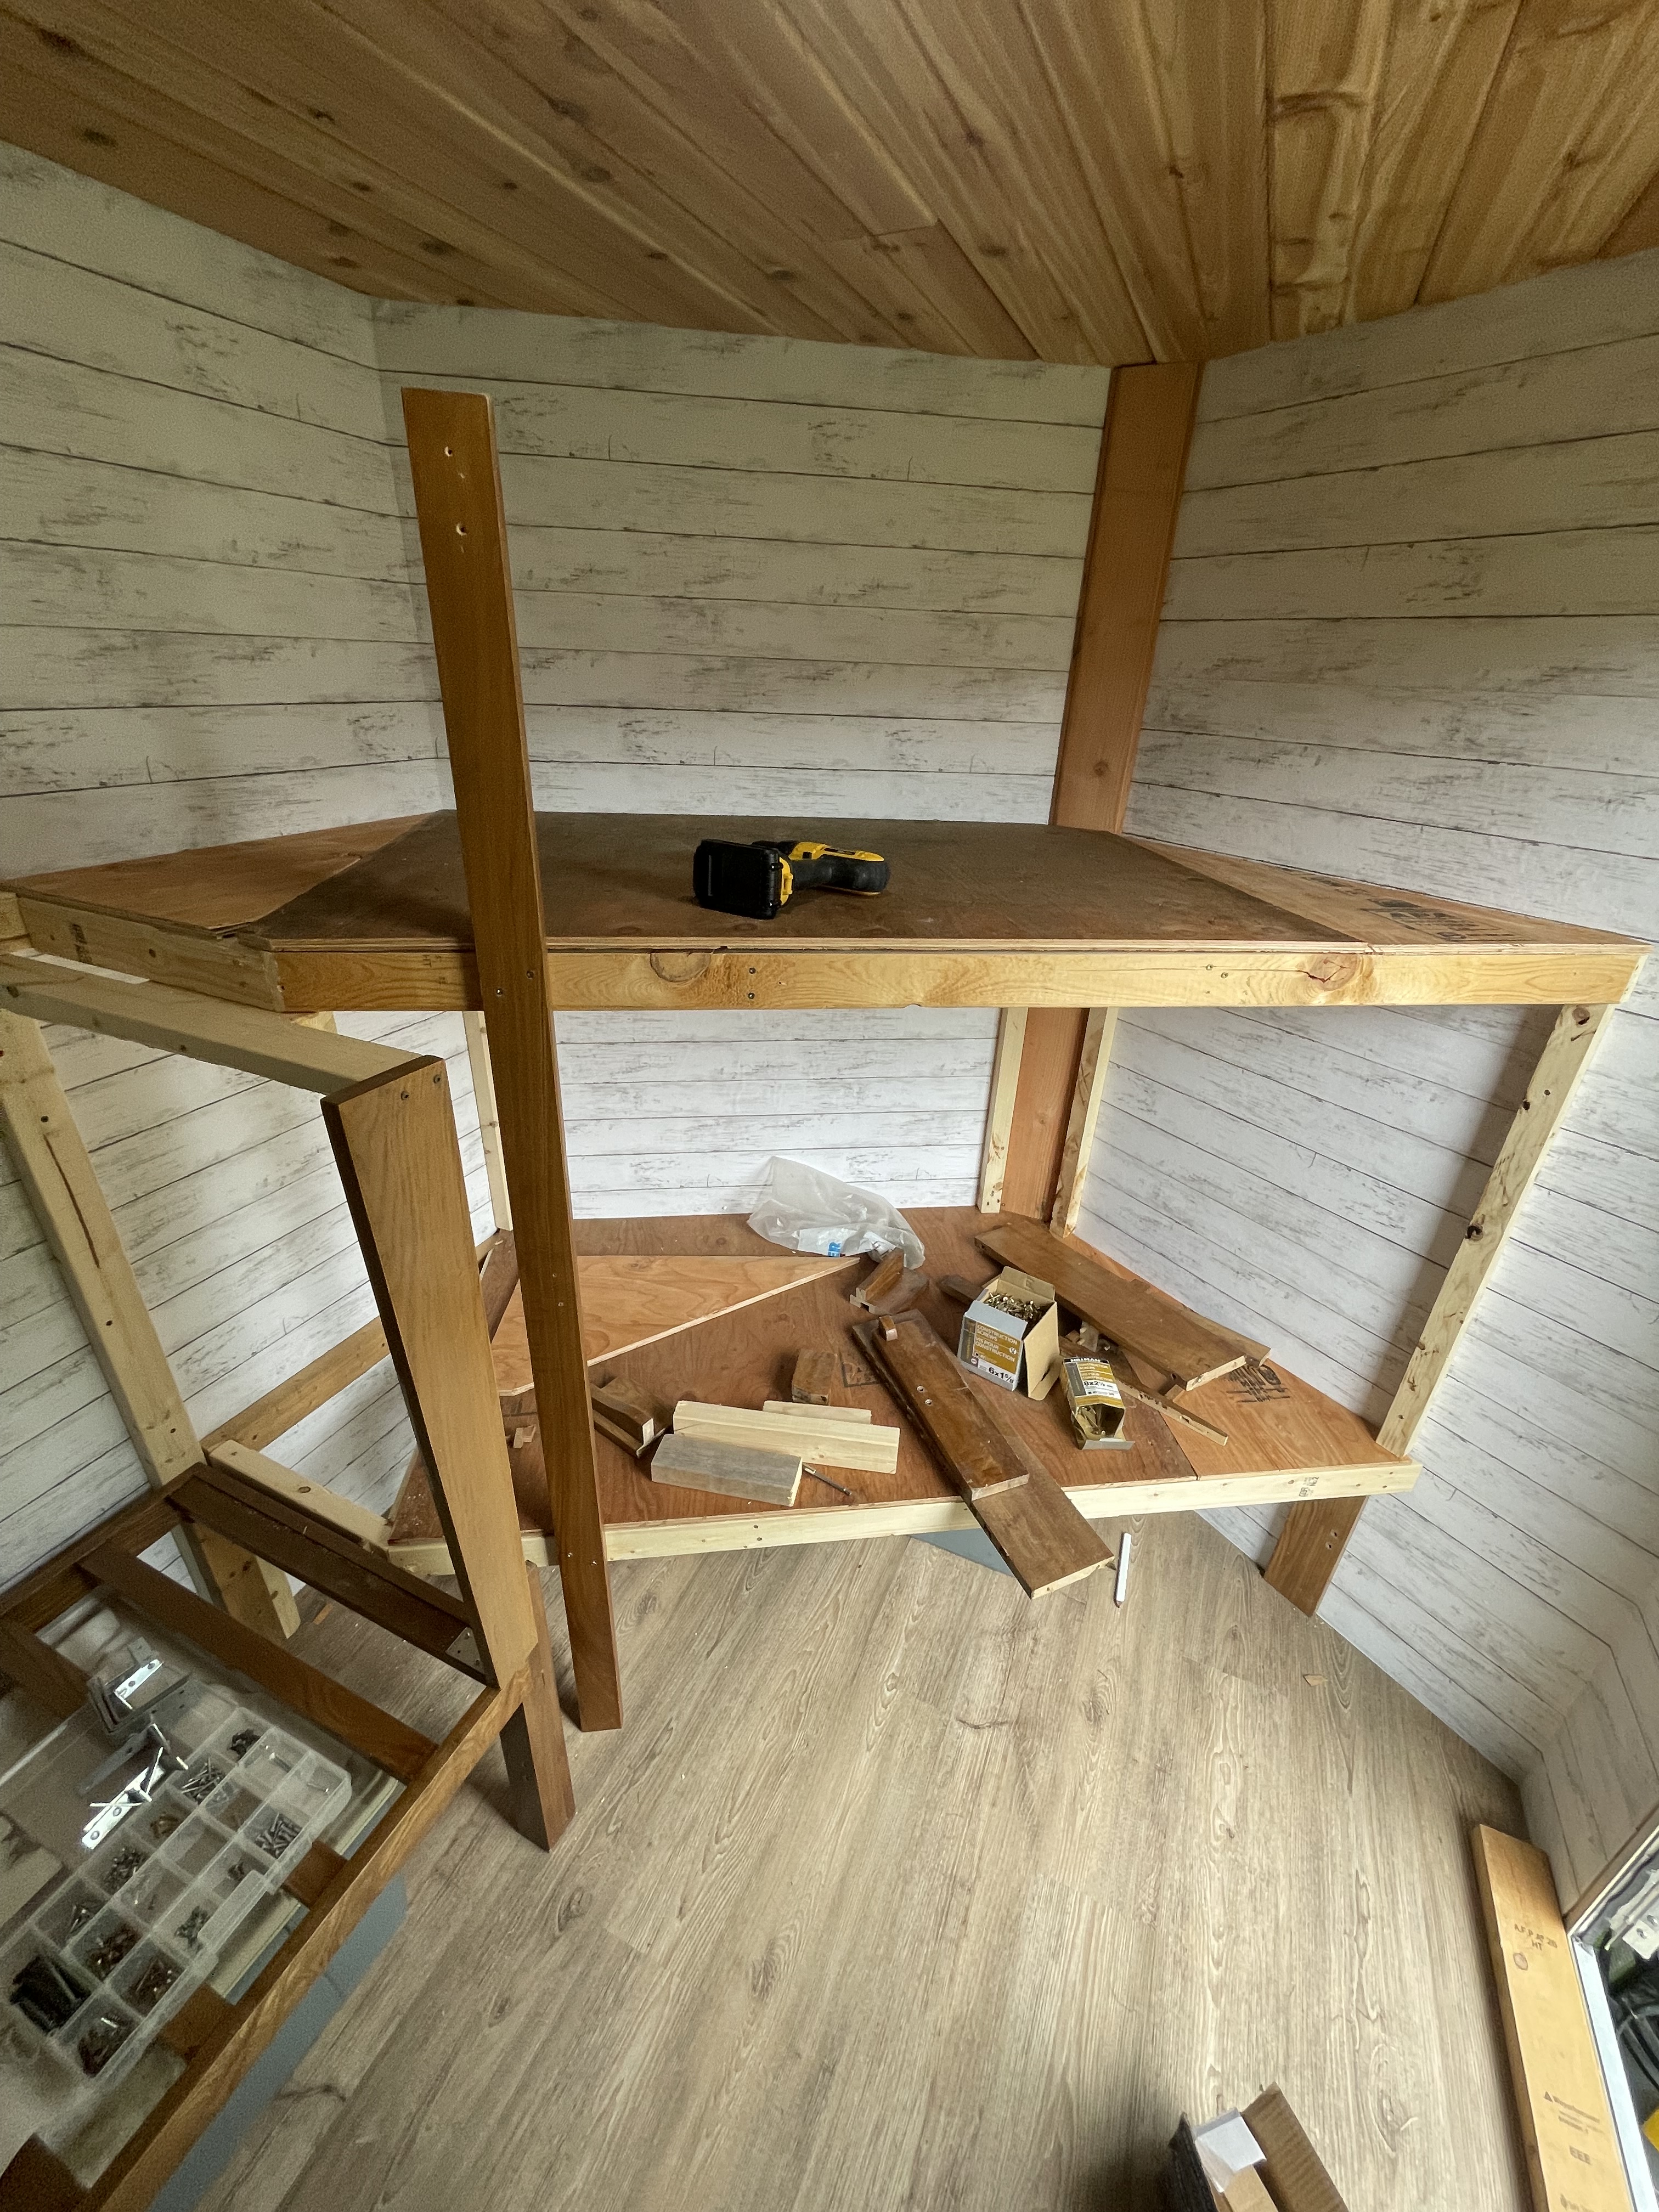
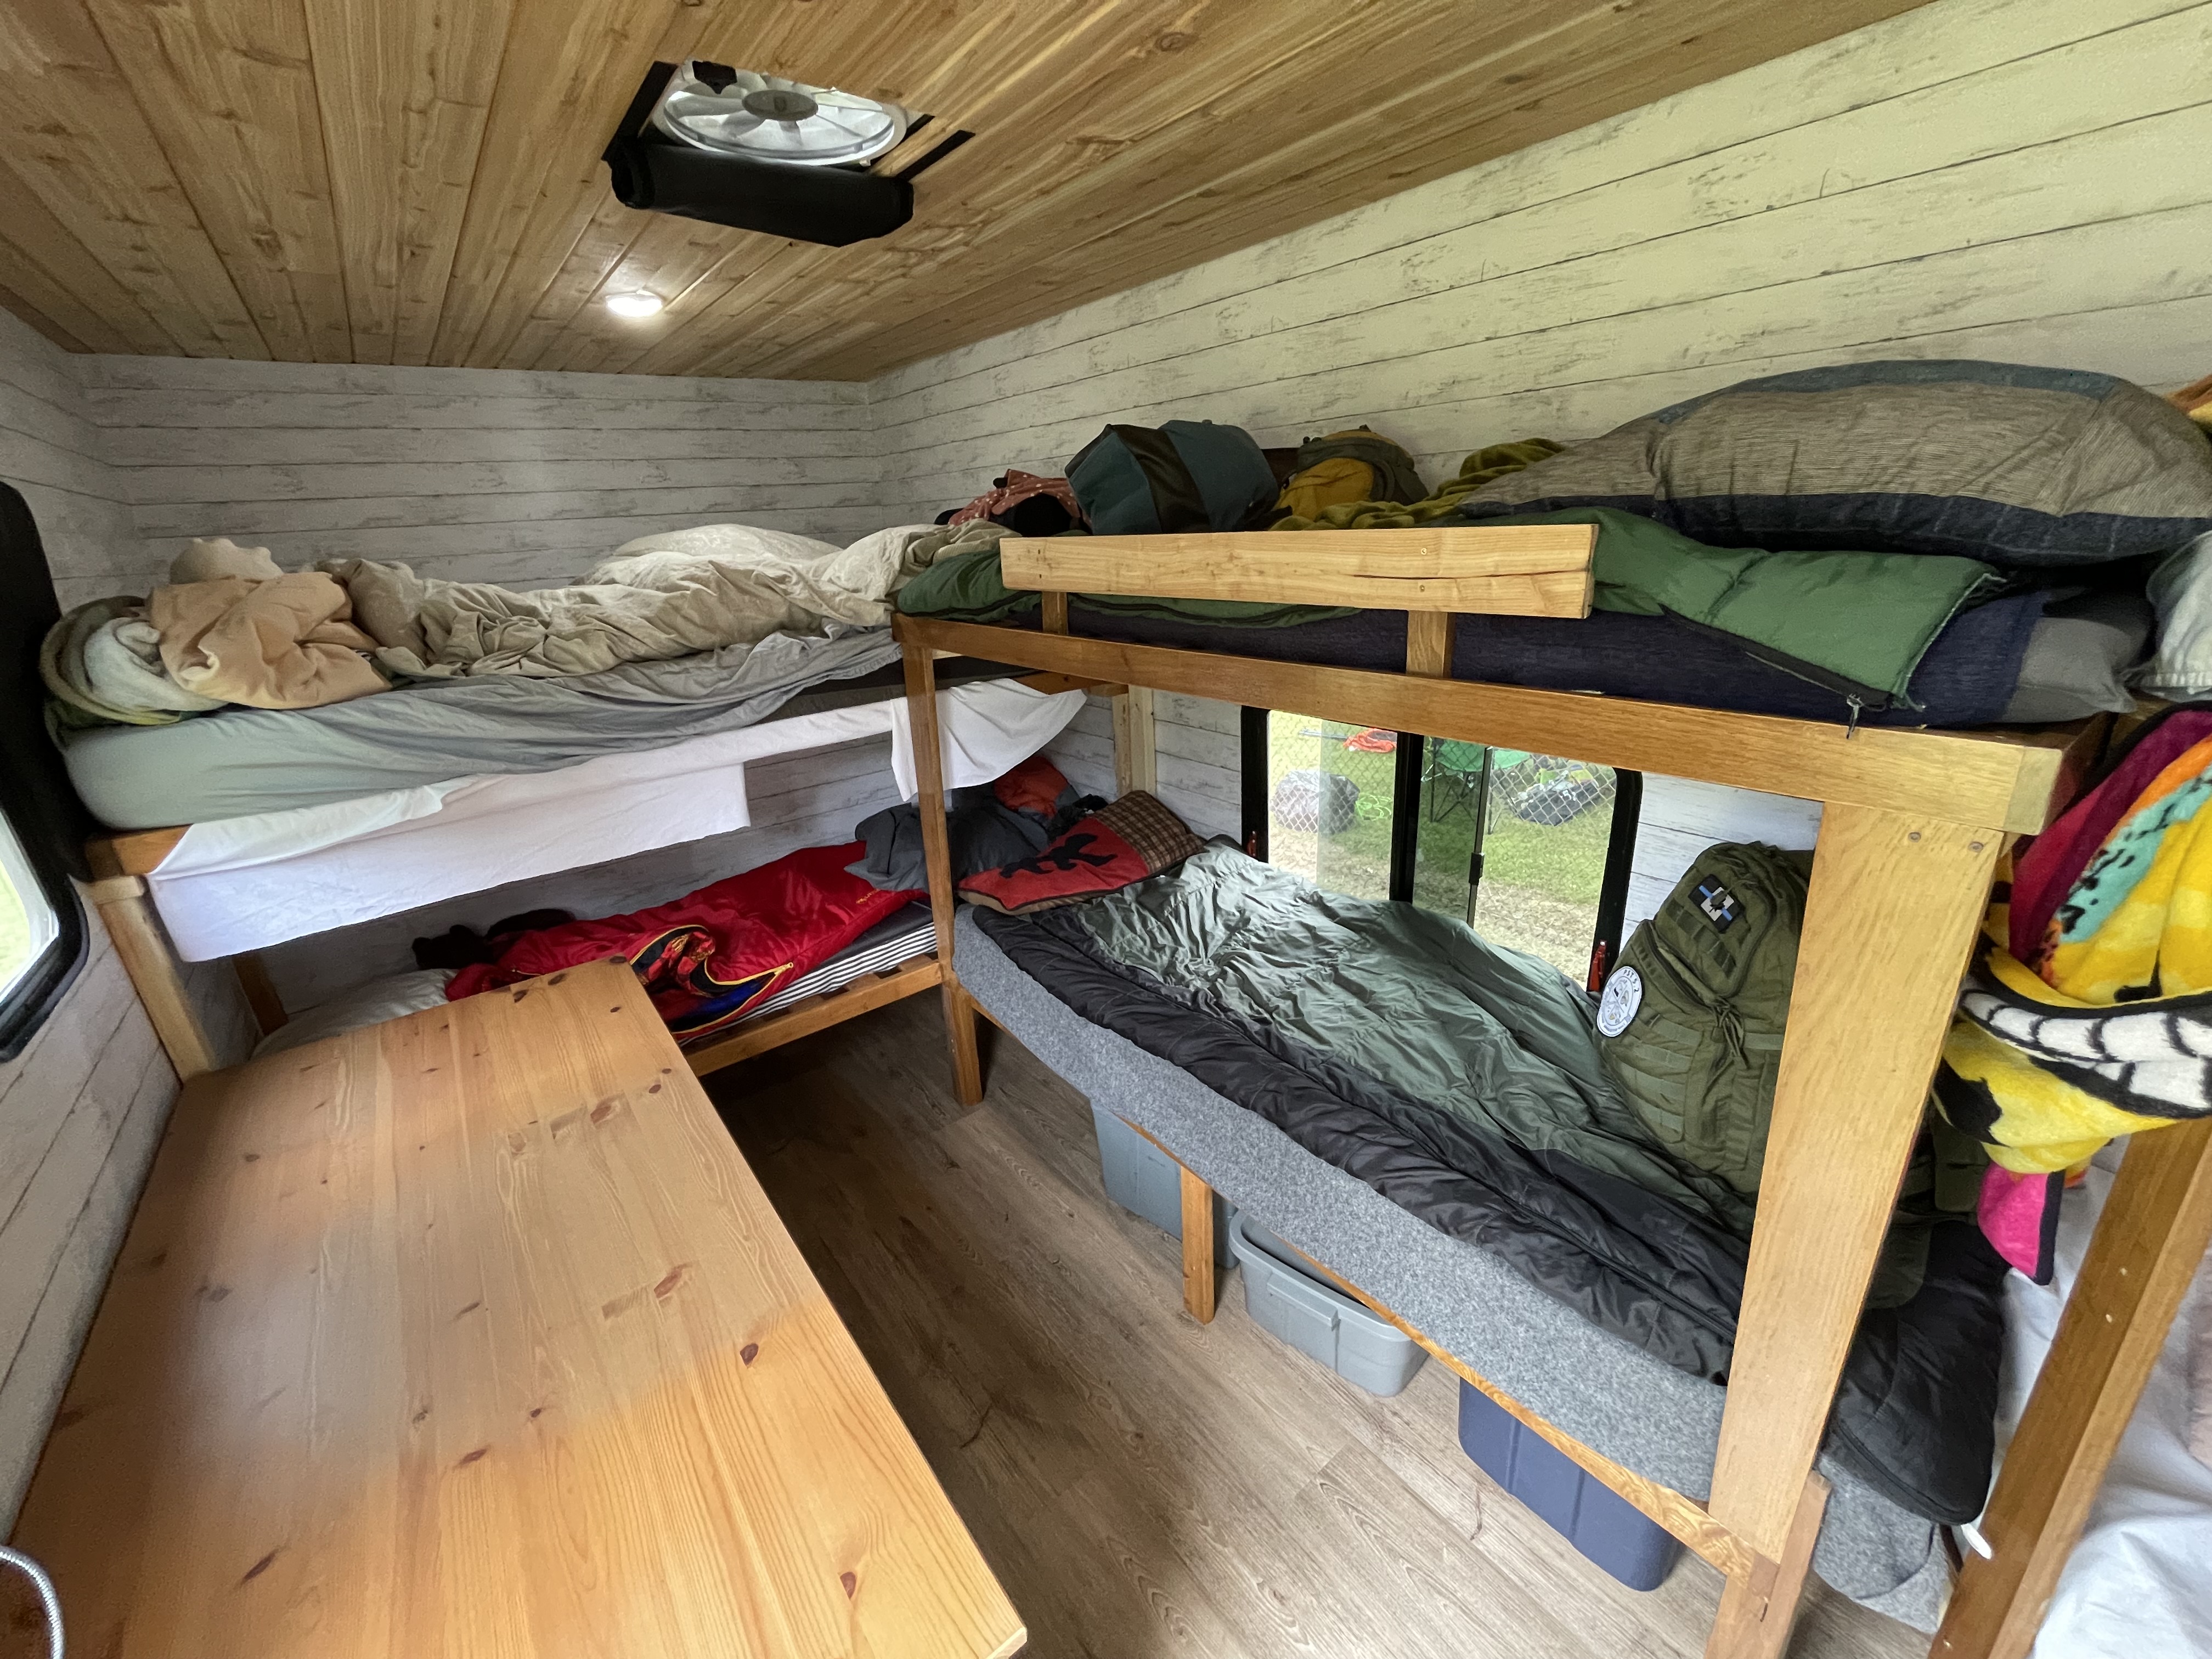
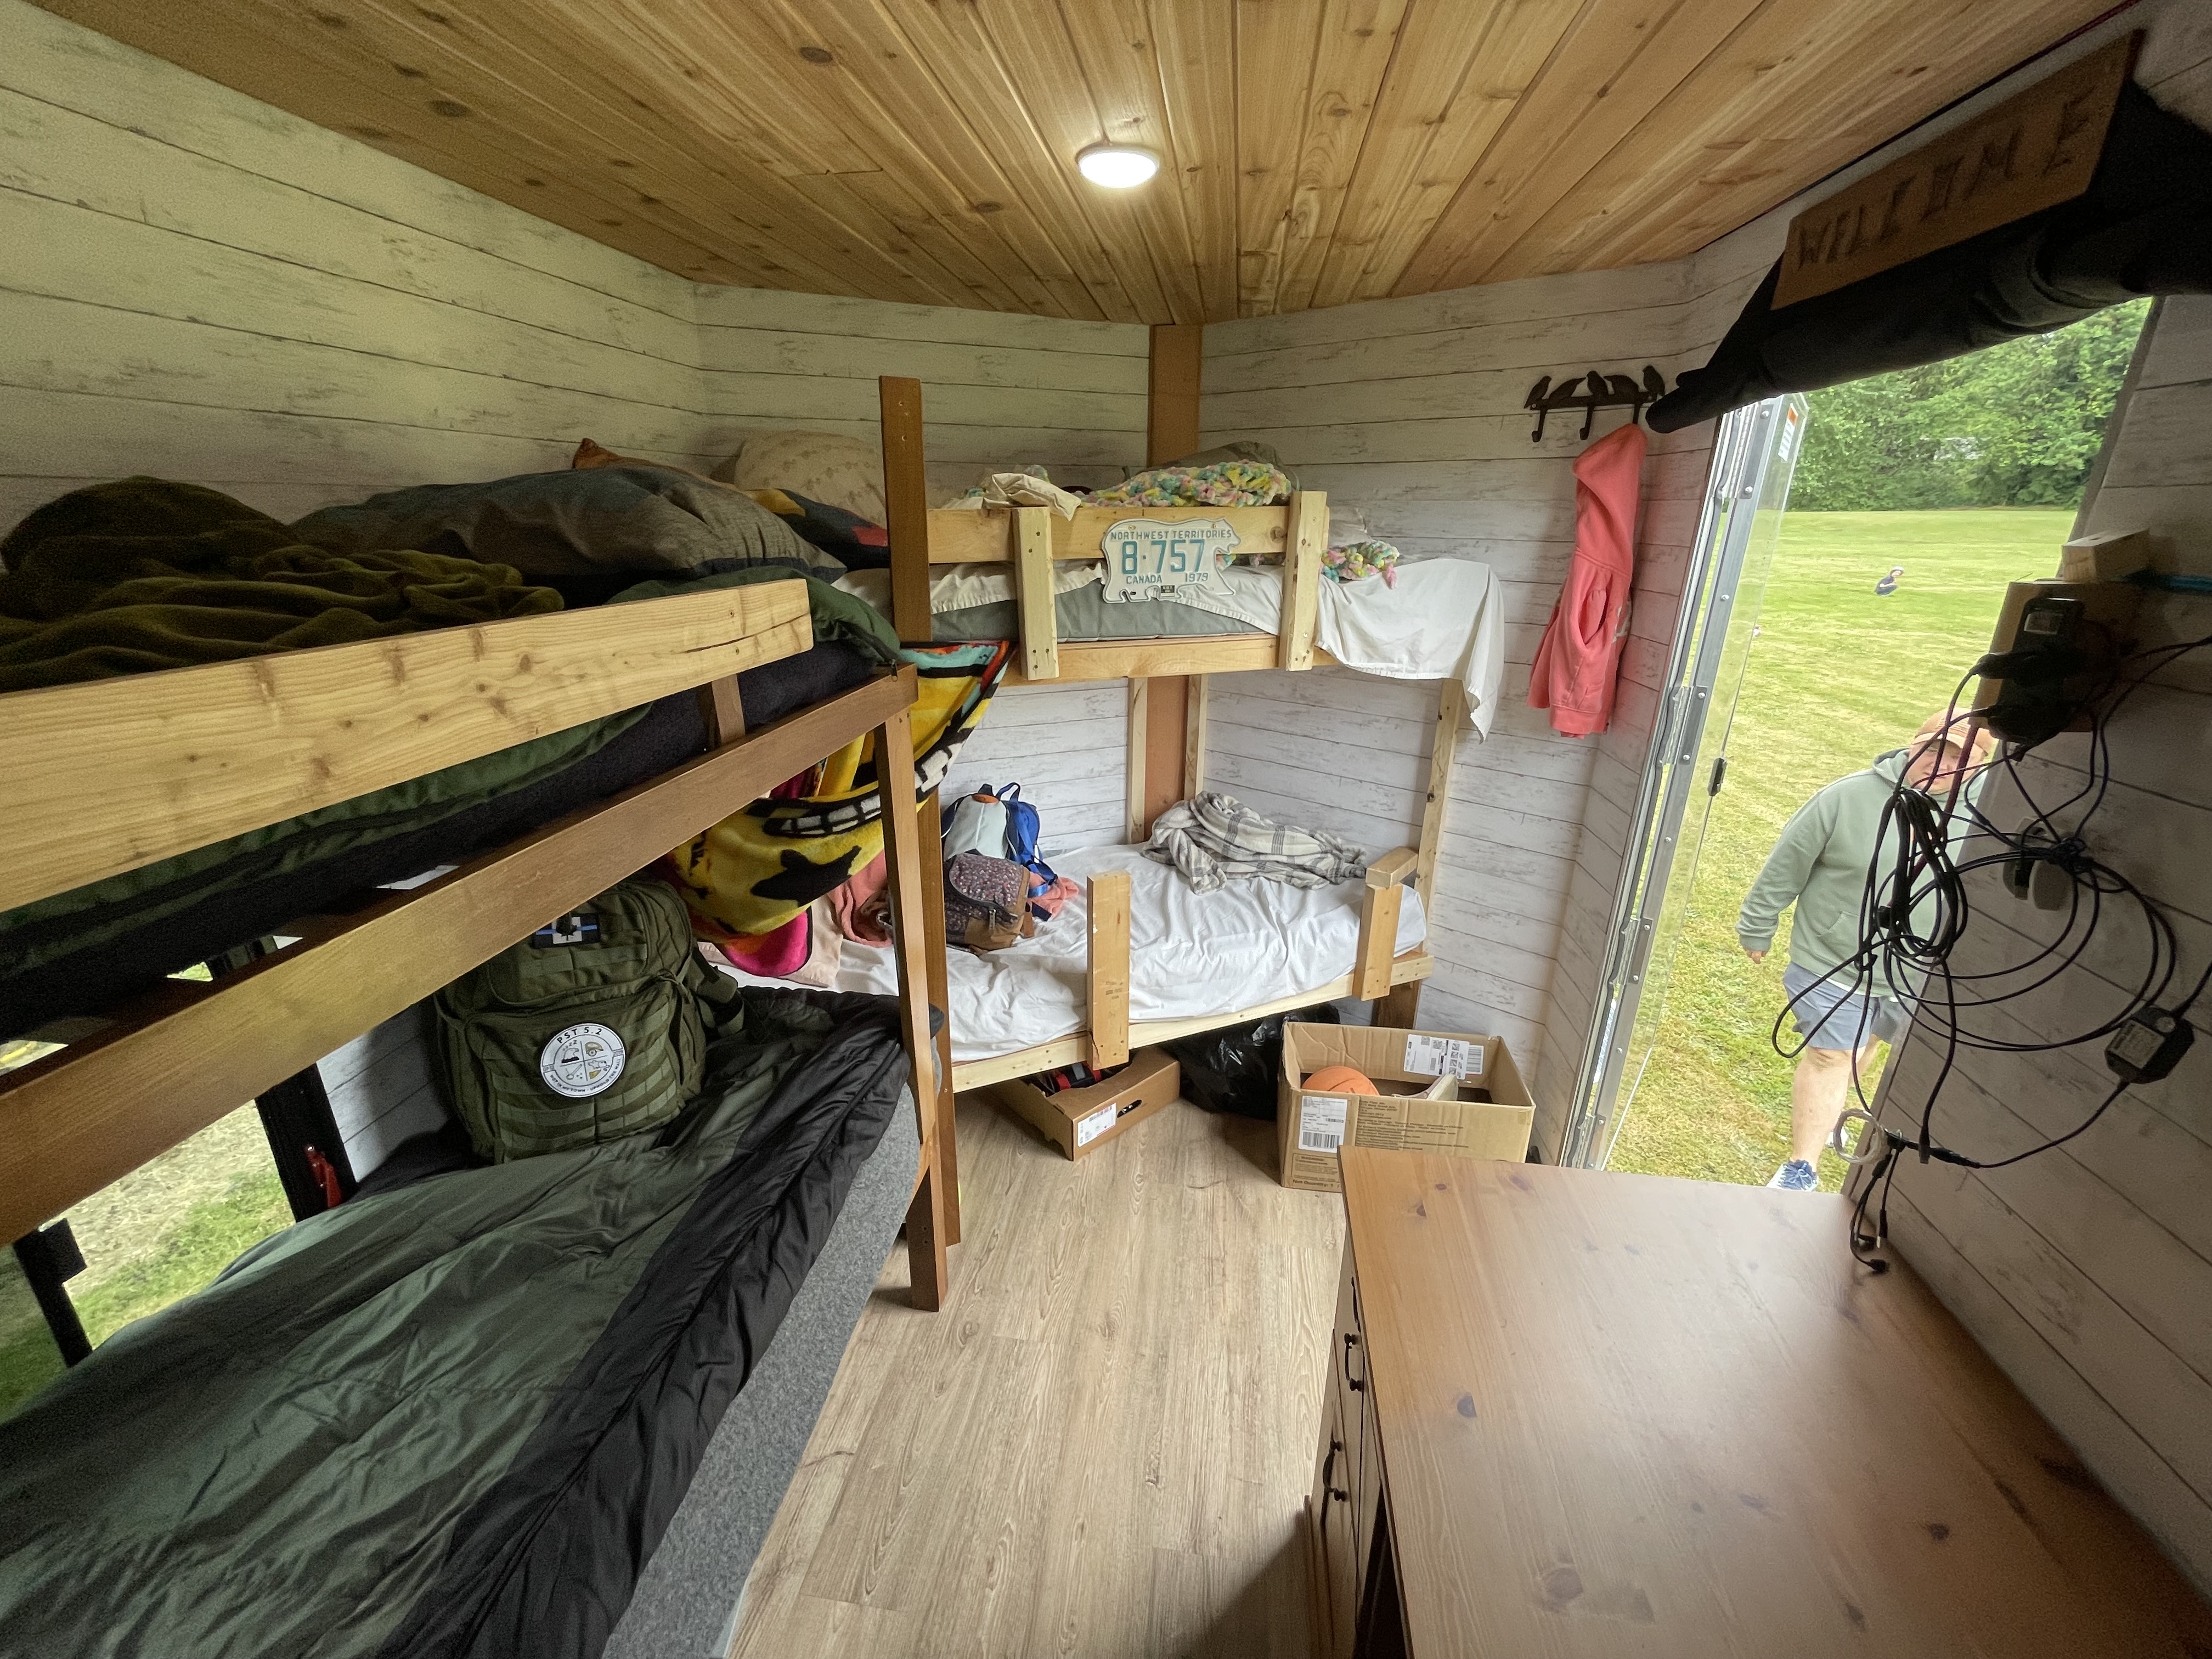
Next up was a pony wall near the back, supporting a queen bed platform and a vertical partition above that to separate the rear “garage” from the cabin area (second photo shows the completed wall).

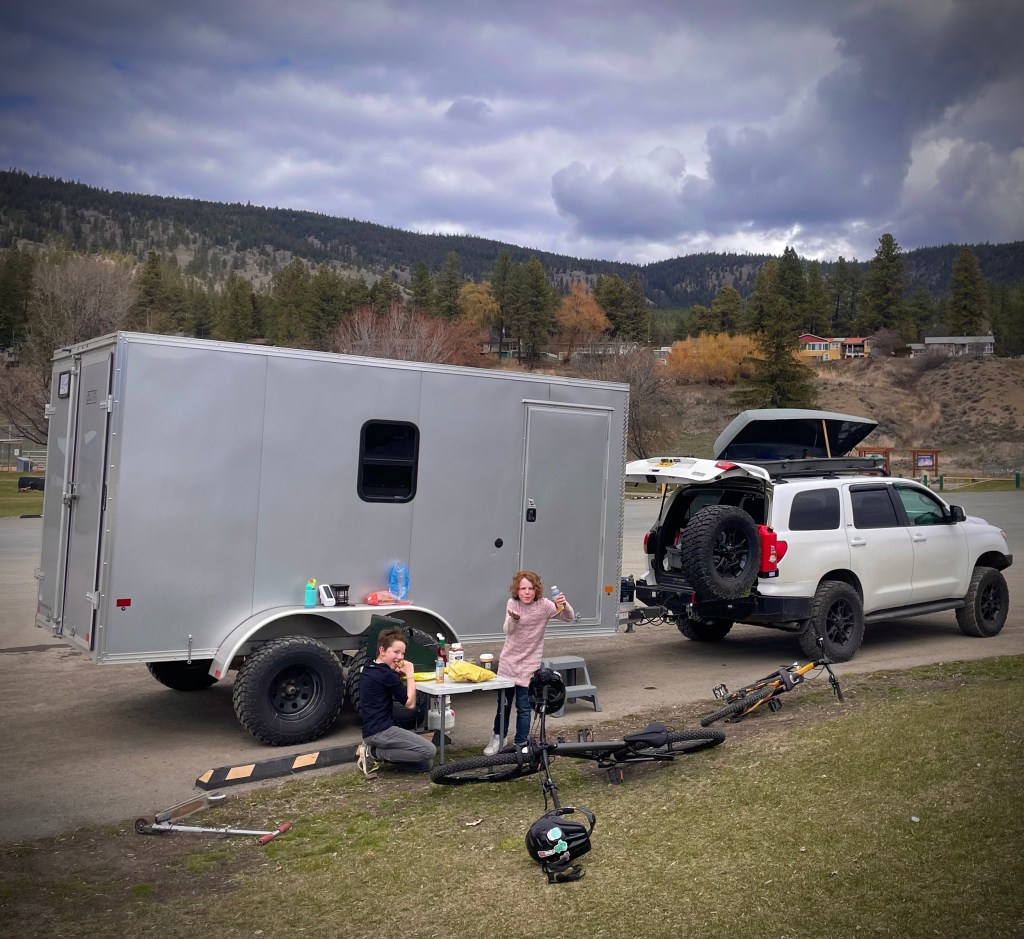
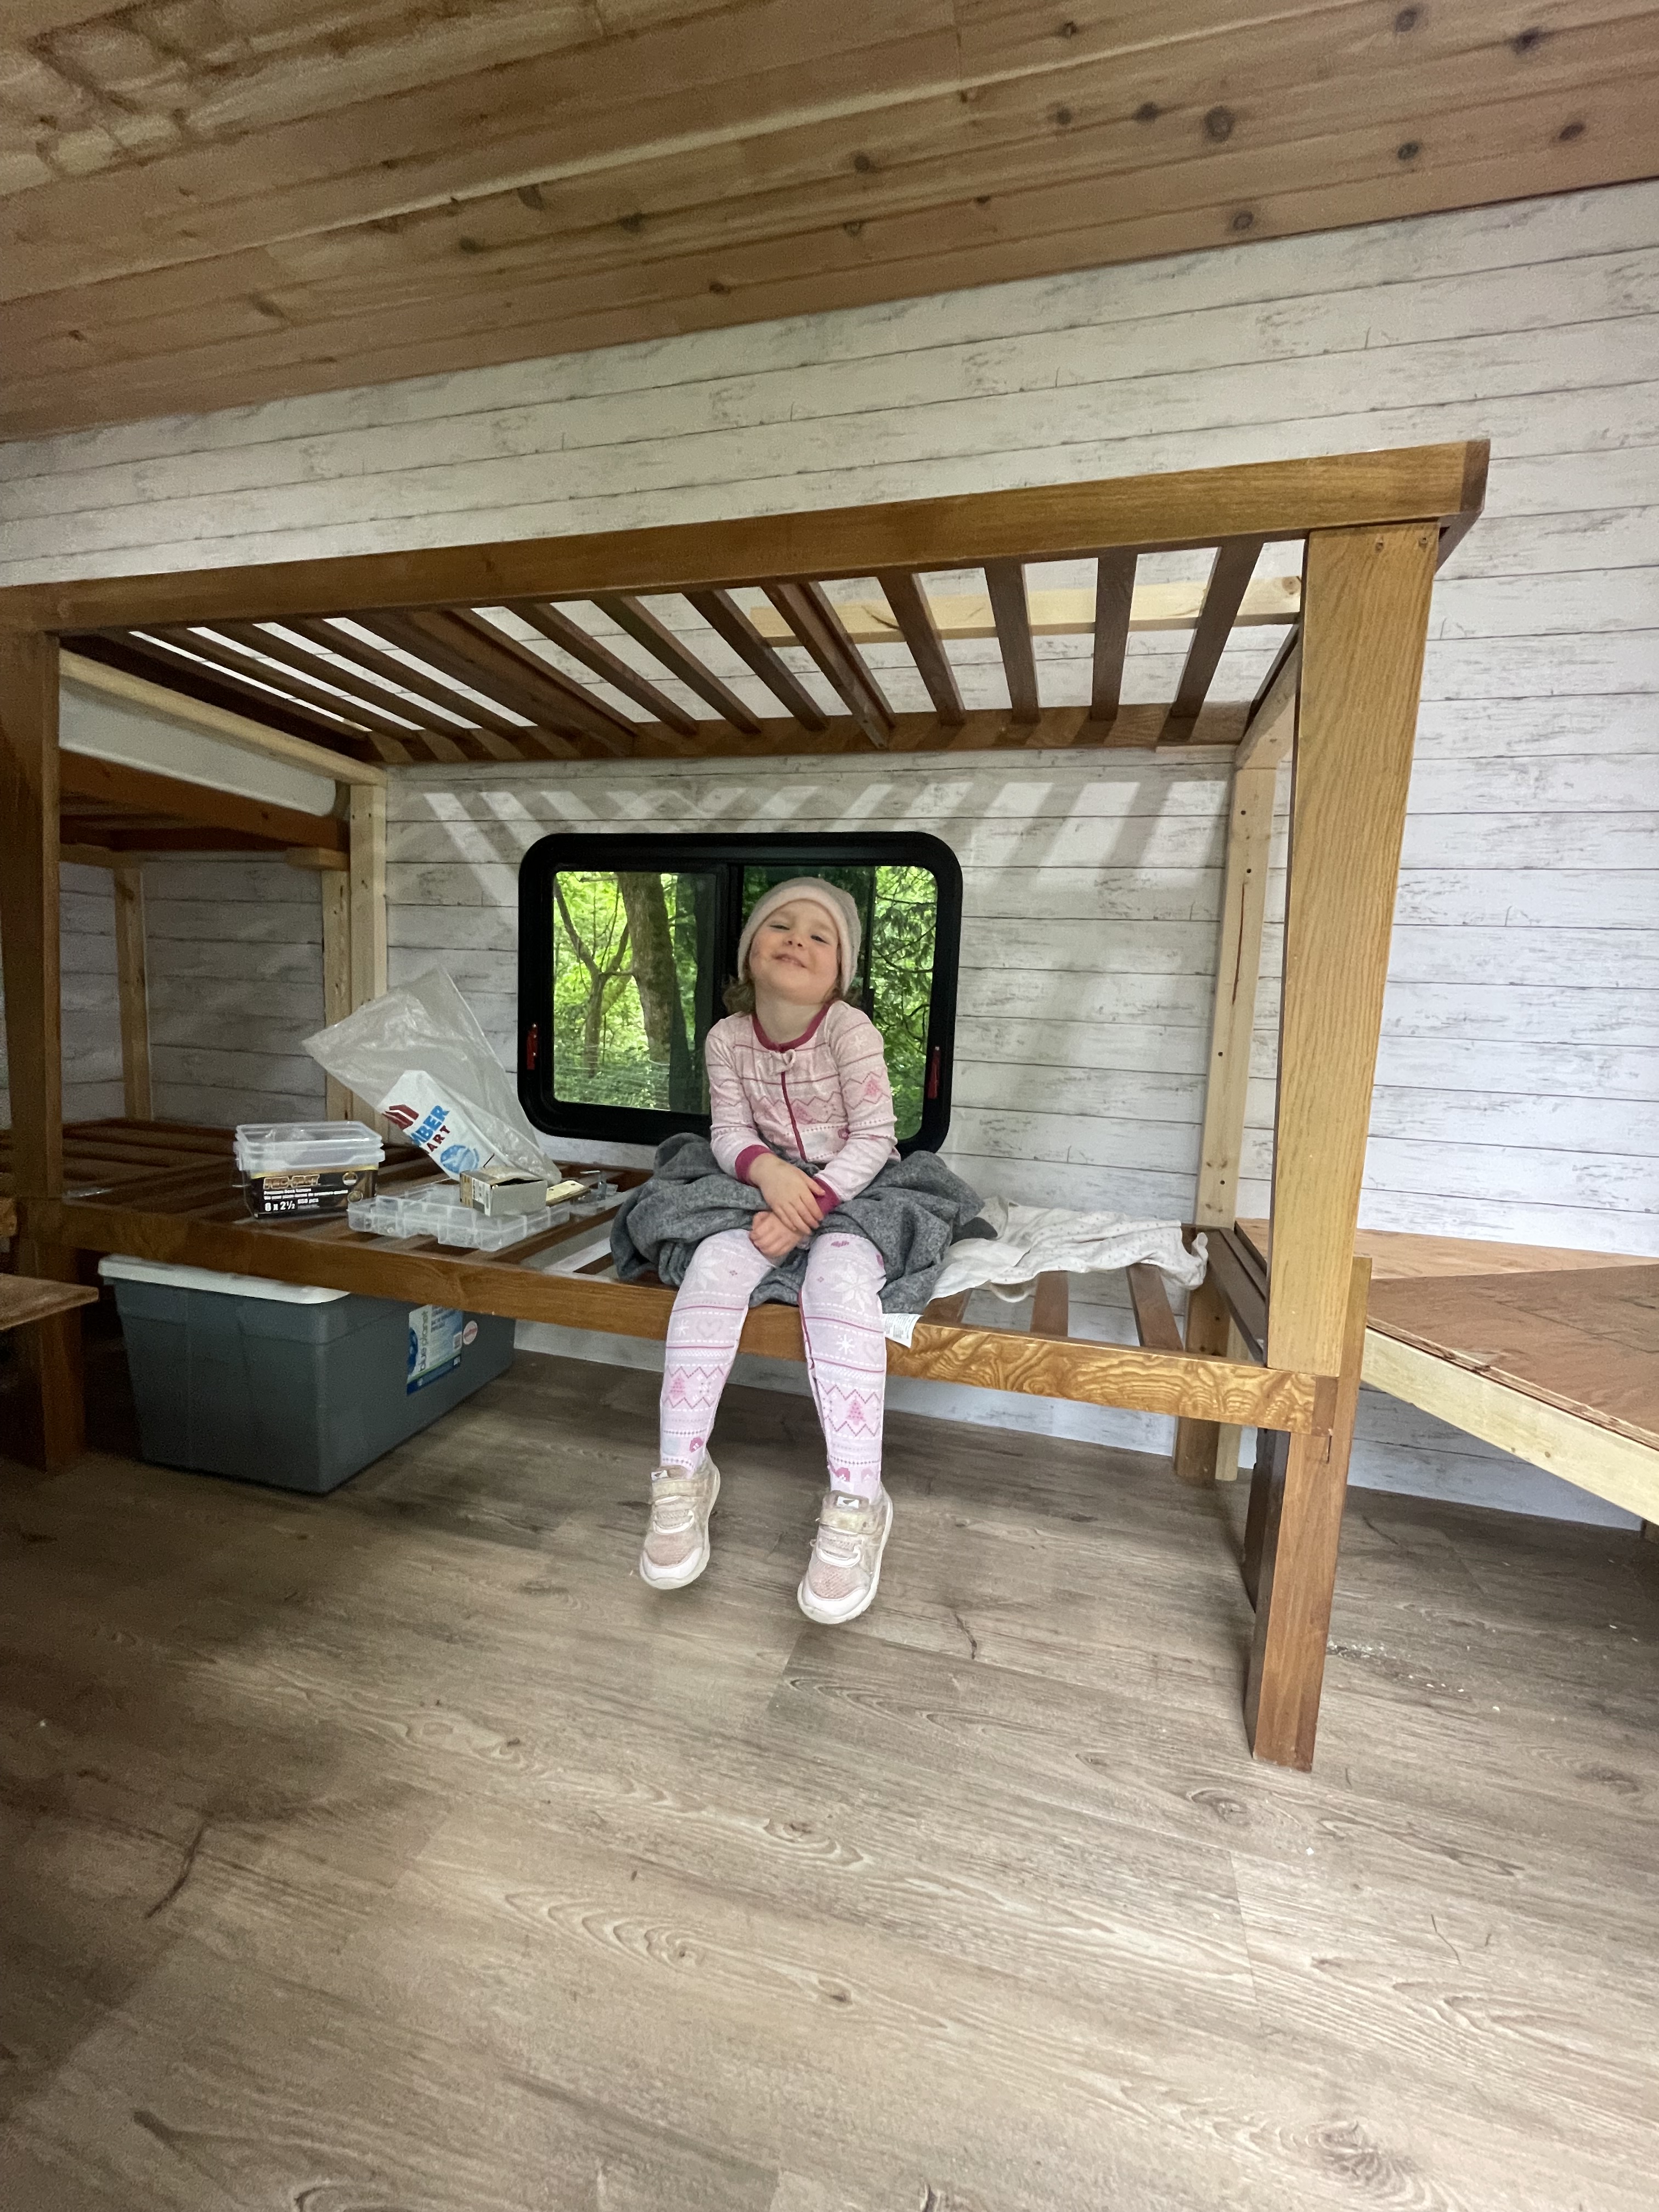
We often get asked “Why is that one side window so low?” It was situated there as it’s the perfect height between the two single bunks we knew would be made on that wall. That window is also an emergency escape hatch by design, although I suppose from the outside it appears strange.
Free futon frames make for strong and lightweight bunk platforms, and we made three single bunks out of these, supported by vertical 2×3’s. Two more custom bunks were formed in a trapezoid shape utilizing most of the v-nose area.
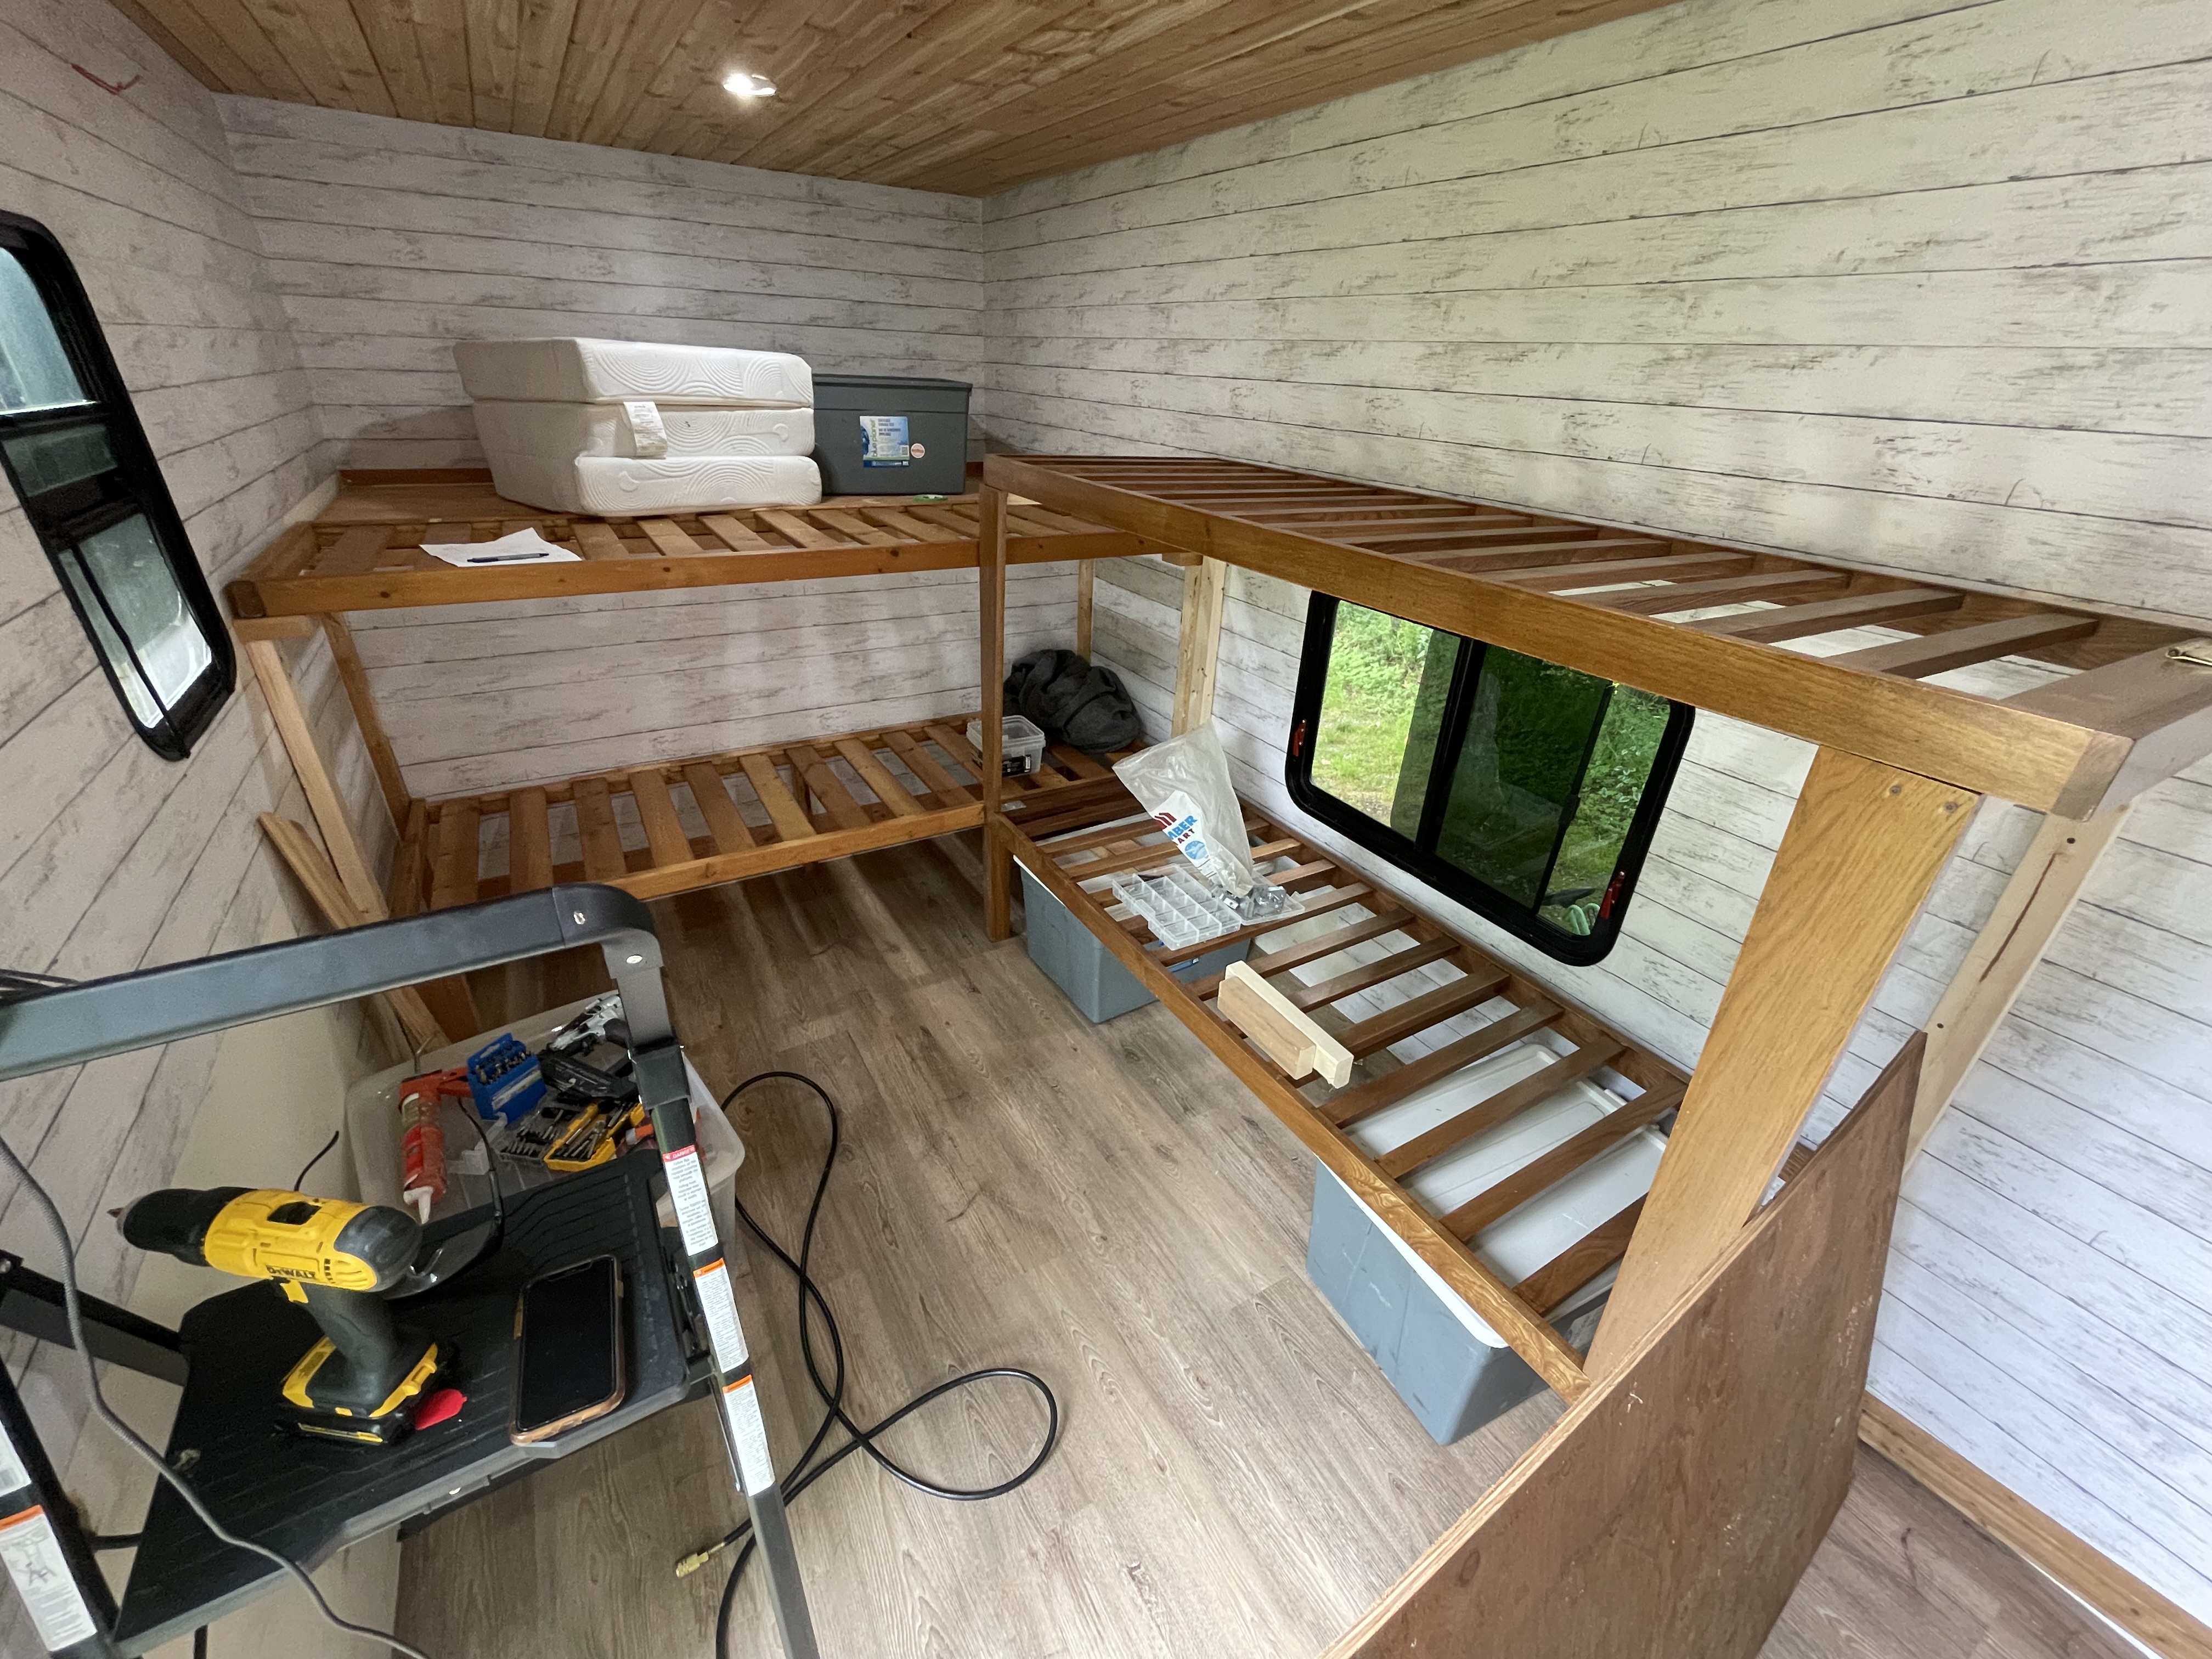
All the lower bunks are just high enough to clear our rubbermaid storage bins and other camping gear that slide in underneath. The upper side bunk folds up on hinges for more comfortable seating (acting as a couch) in the event the weather was too rough for the little ones.
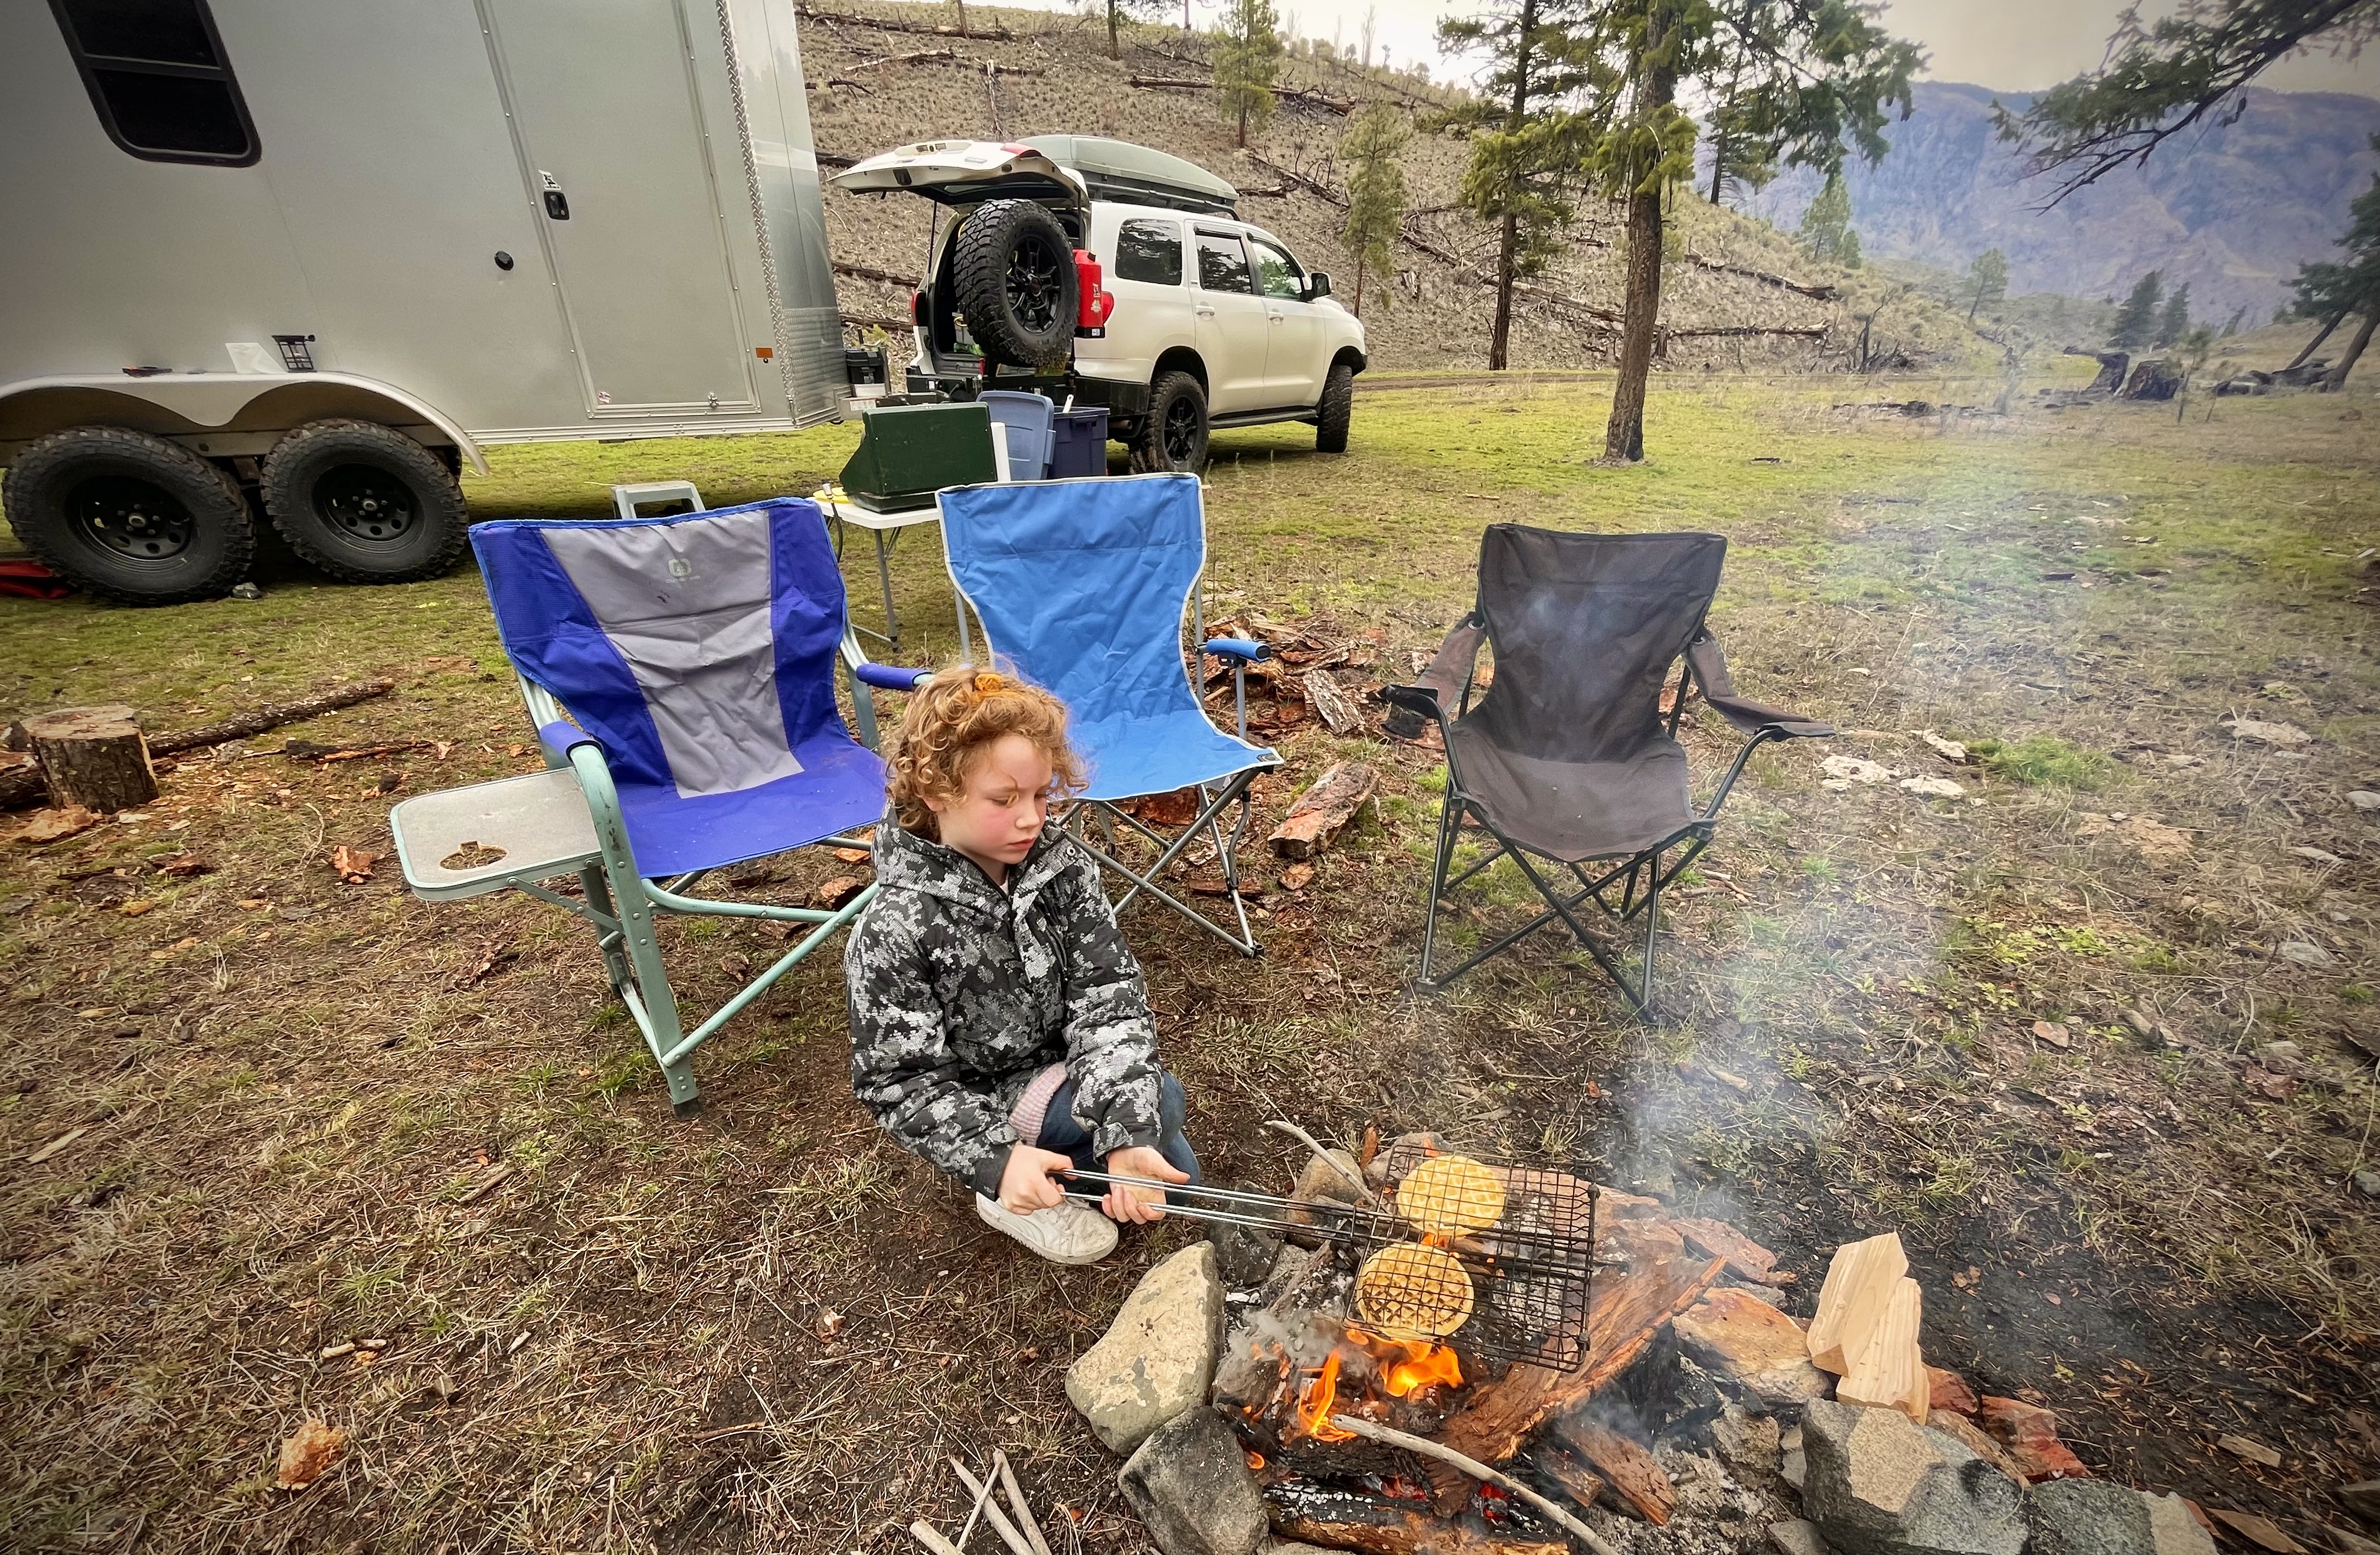
Speaking of rough weather – for colder adventures we heat the trailer with gear we already owned, to stay in line with keeping things simple. While diesel heaters are an attractive option, we are currently running a small electric fireplace powered by a suitcase generator outside. Our camp locations are almost always in the bush, up some logging road and away from others so this option has worked well. The fireplace has one of those fake flickering flames that adds to the ambience of the interior. I suppose a small wood stove would be an option in the future.


The bunks were finished off with temporary railings so the kids would have a tough time falling out of their beds. These are on the to do list for future upgrading and tweaking.
For the “kitchen” area, an old desk has been repurposed as the cooking and pantry area. A plan is in the works to add a small sink in the top for light kitchen use, and a small upper cabinet. Water would come from a portable water jug with a spigot. Our 12v fridge/freezer sits below and is either powered by a Bluetti or by the trailer battery when travelling.
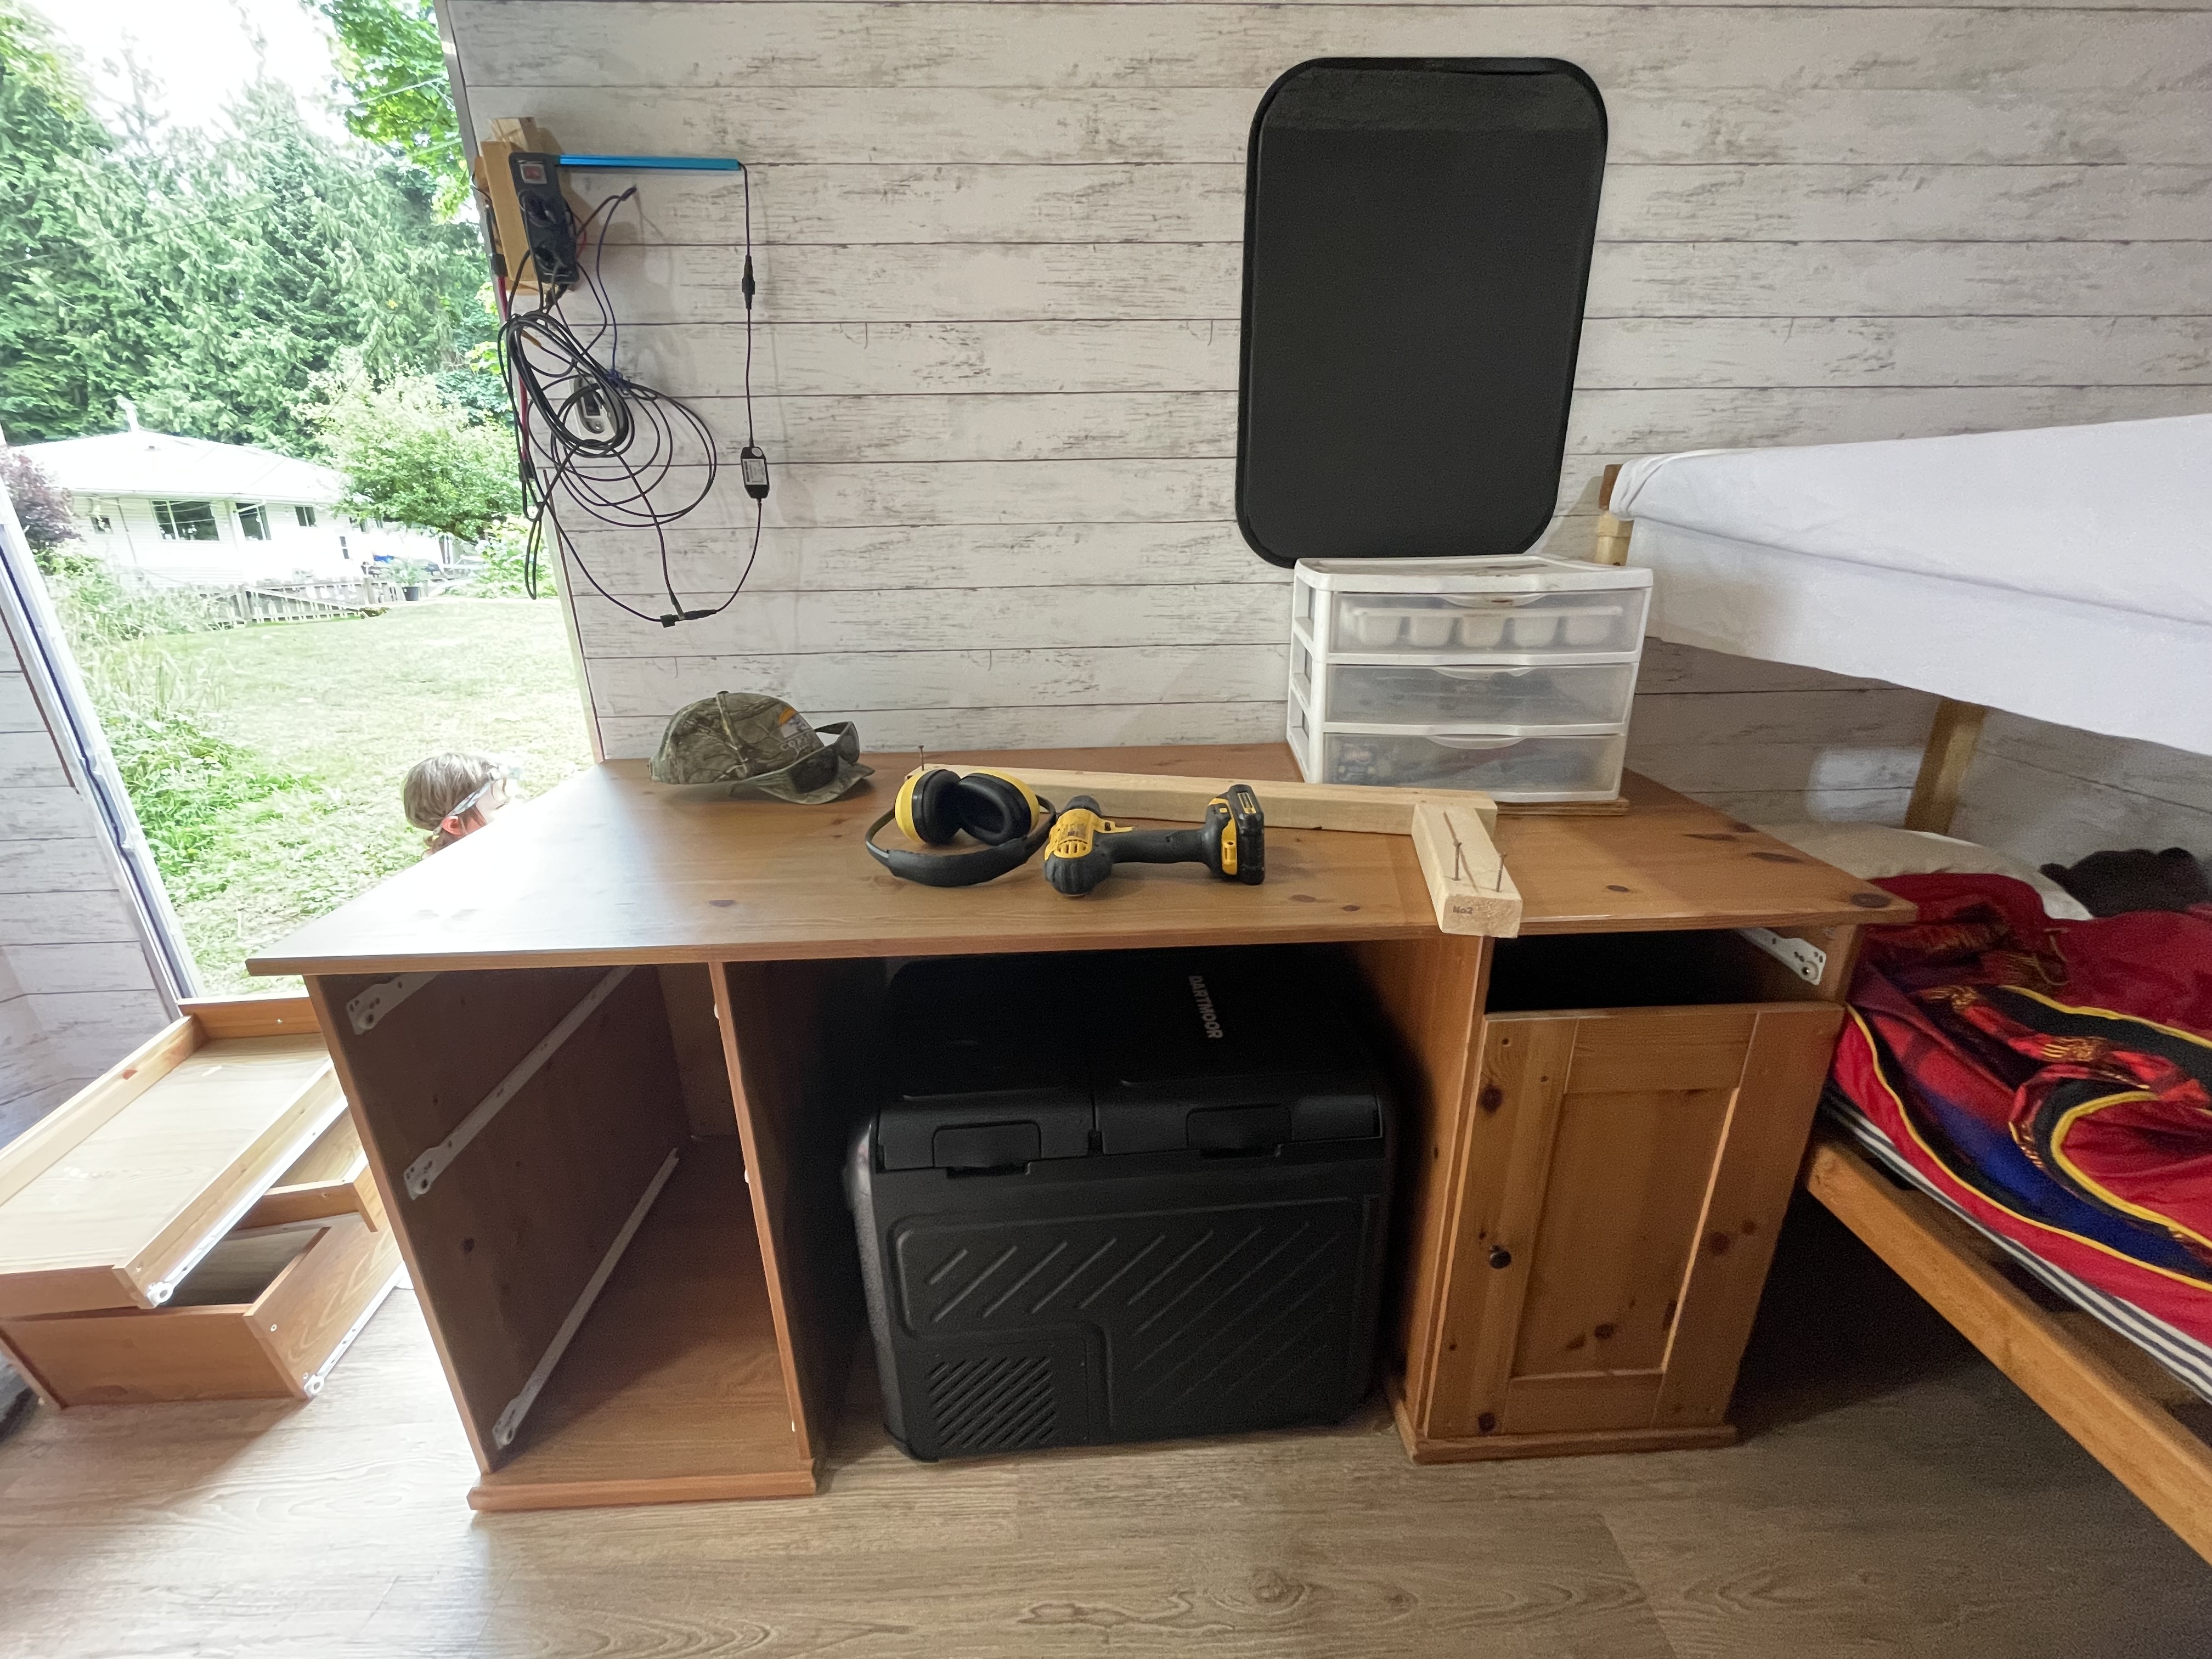
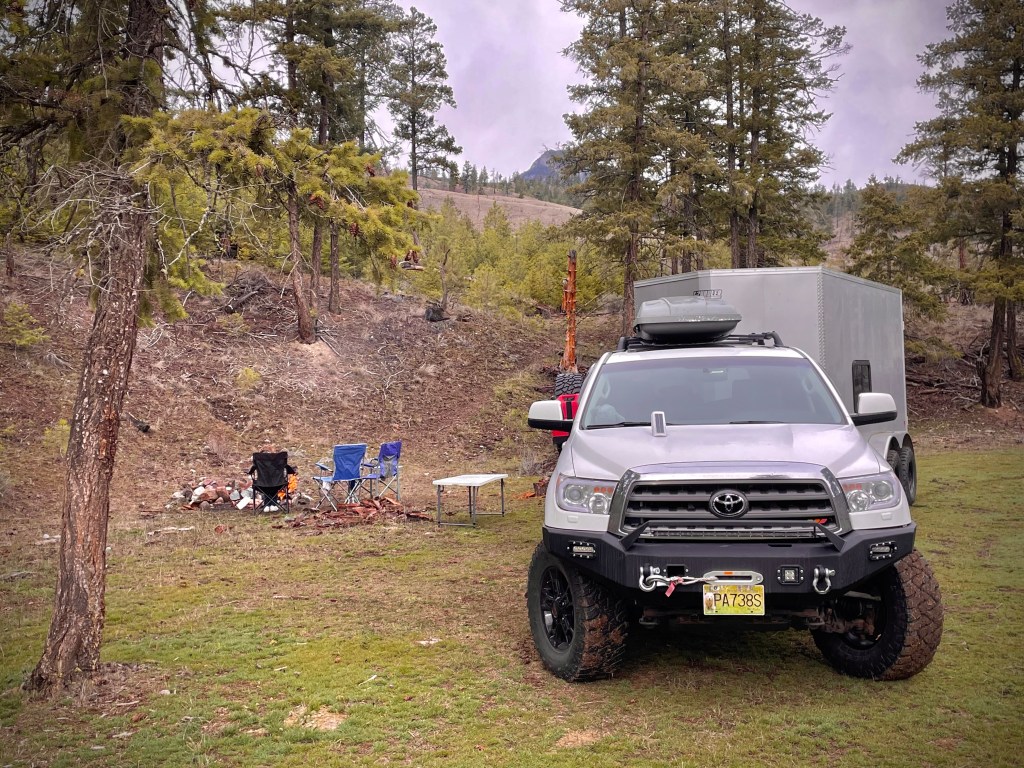
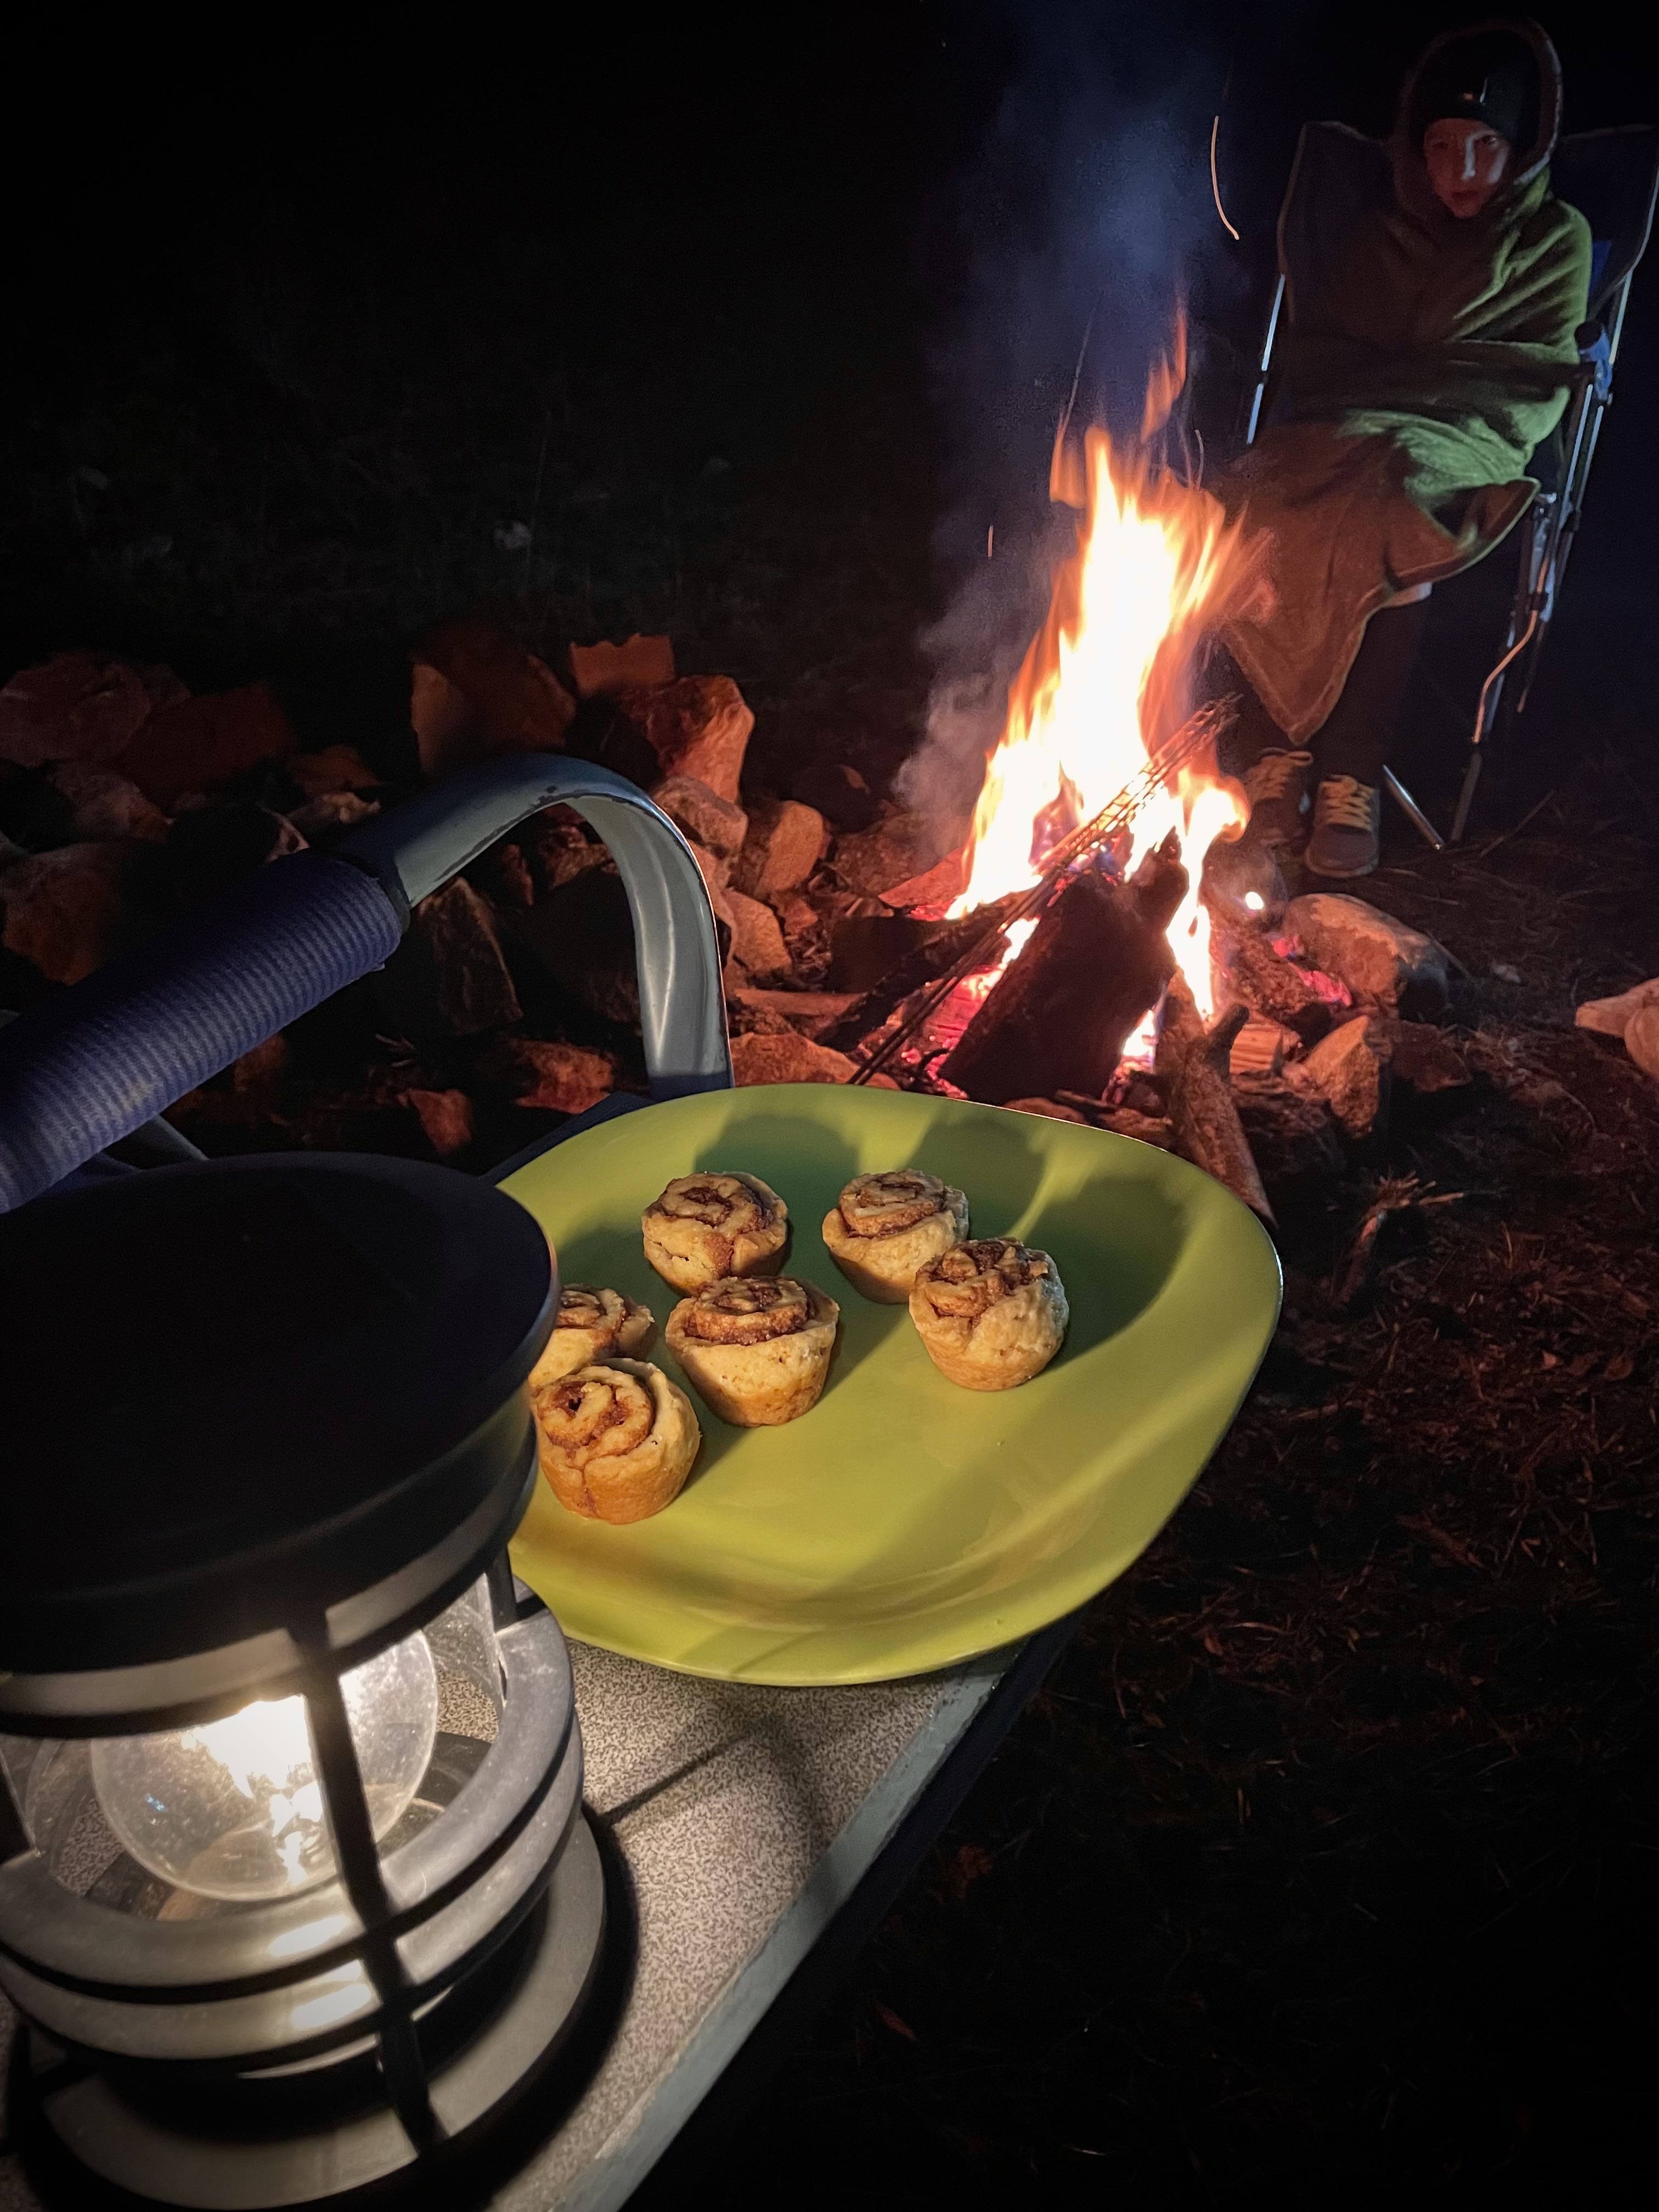
Most of the time the cooking occurs outside and often on the fire.
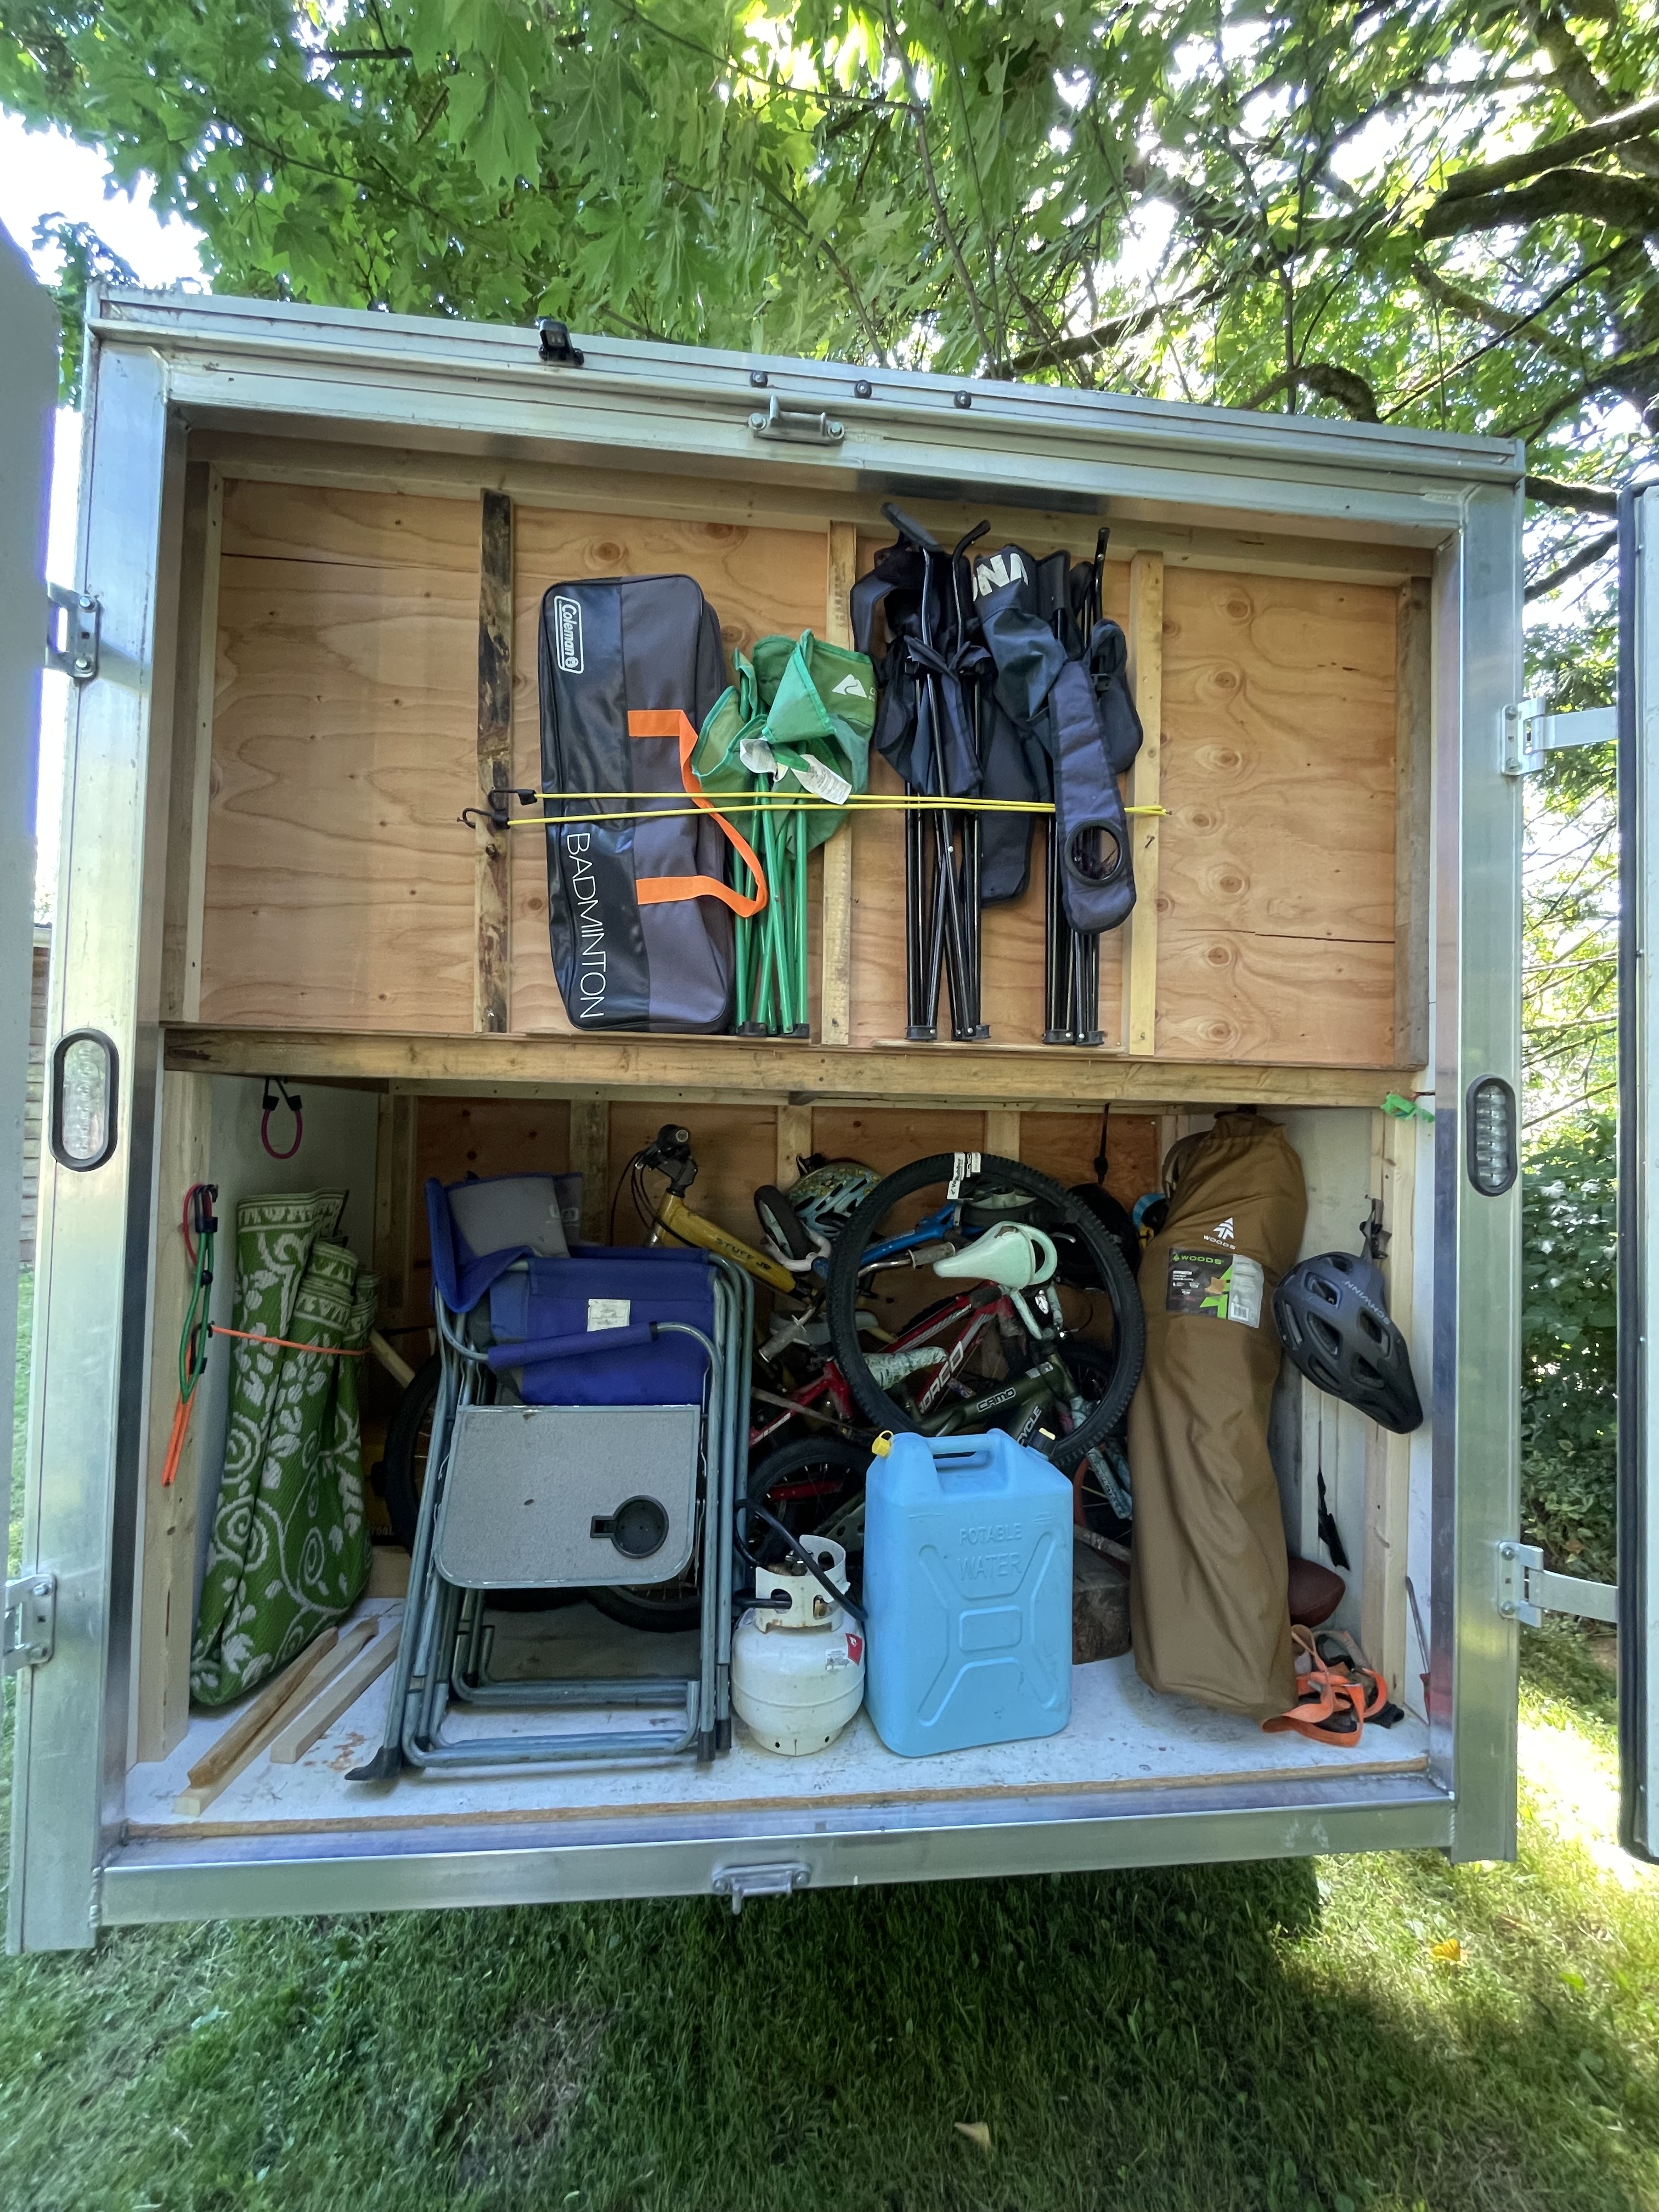
The rear garage is probably the most satisfying part of this trailer build, and I believe we found the right balance between the cabin area and garage space. In this area goes the bicycles, propane, firewood, tools, recovery gear, camp chairs, fishing rods, and pretty much anything that we don’t want inside. For a smaller trailer, it’s important to have a spot for everything which makes packing and setup a breeze.
Future plans include:
-adding more detailed storage options in both the cabin and garage area.
-finishing the underfloor insulation.
-adding dimmable interior lights.
-creating a durable awning setup.
In the mean time, we are enjoying the latest upgrades and trying to use the trailer as much as possible.